 Batch Image Converter

Summary
Python script that enables users to convert images to a specific dpi, maximum long side resolution, and RGB color space. It supports various file types and provides a user-friendly CLI for easy usage. Additionally, it offers precompiled binaries for Linux, Windows, and Mac platforms, allowing users to run the script without installing Python or any dependencies.
Features
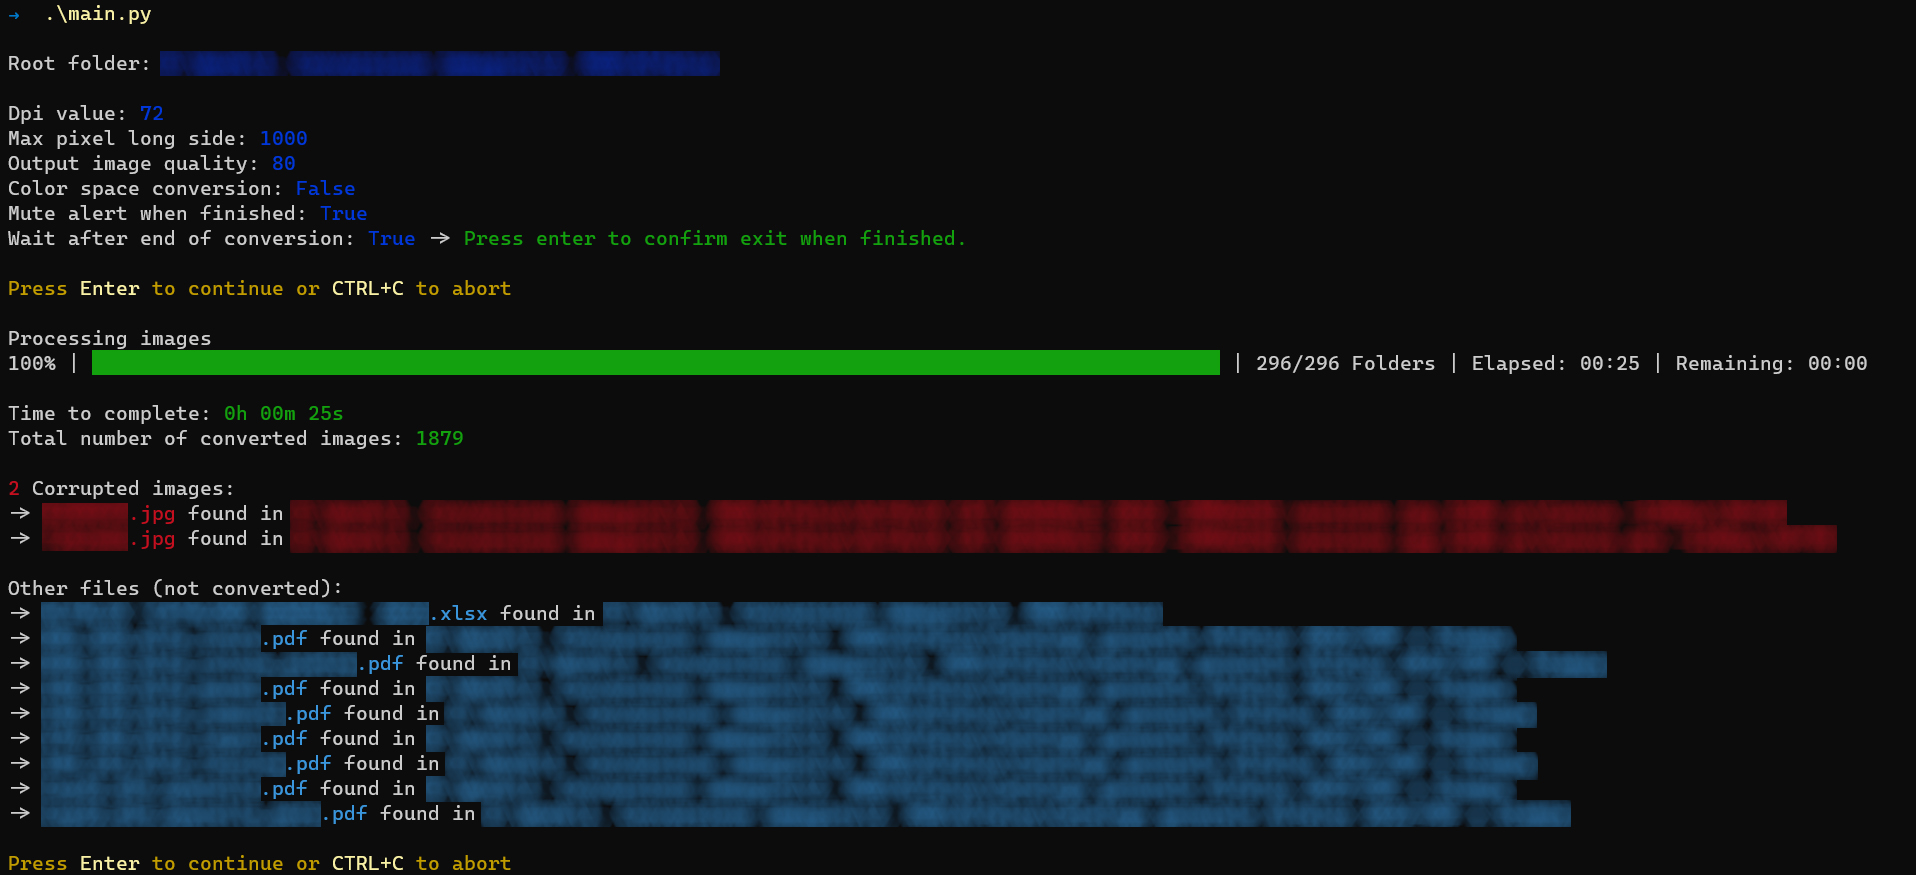
- Convert images to a specific dpi and maximum long side resolution (Default: 72dpi, 1000px).
- Convert images to RGB color space (Important: ICC colour profiles are not used for this conversion so switching between different formats may result in incorrect colours).
- Downscale images using different filters.
- Compress the palette by eliminating unused colors.
- Alert user upon completion of conversion.
- Wait for user keypress upon completion of conversion.
Method 1: Download release binary
There are precompiled binaries for Linux, Windows, and Mac. These binary files allow you to run the script without installing Python or any dependencies. You can download these binaries from the Releases page. After downloading, simply run the binary file to start using the script.
Method 2: Build release binary
If you wish to manually build the binaries, the repository contains scripts to do so for both Windows and Linux platforms.
For Windows, from the Batch-Image-Converter directory run buildWin.ps1 PowerShell script as followed:
git clone https://github.com/EdoardoTosin/Batch-Image-Converter.git
cd Batch-Image-Converter
.\tools\buildWin.ps1
For Linux, from the Batch-Image-Converter directory run buildLinux.ps1 bash script as followed:
git clone https://github.com/EdoardoTosin/Batch-Image-Converter.git
cd Batch-Image-Converter
./tools/buildLinux.sh
These scripts will automatically build the binaries for the corresponding platform.
Method 3: Run with Python3
First, clone the repository:
git clone https://github.com/EdoardoTosin/Batch-Image-Converter.gitNext, navigate into the cloned repository:
cd Batch-Image-ConverterAfterwards, install the required Python packages using the requirements.txt file:
pip3 install -r requirements.txtOnce you have installed the required packages and are ready to run the script, you need to move the main.py file from the src directory into the folder where you want to convert images.
On Linux, use the mv command:
mv src/main.py /path/to/your/folderOn Windows, use the move command:
Move-Item -Path "src\main.py" -Destination "\path\to\your\folder"After moving the main.py file, navigate to the folder where you moved the file and run the script:
On Linux:
cd /path/to/your/folder
python3 main.py --help
On Windows:
cd \path\to\your\folder
python main.py --help
Usage
The script takes several command line arguments:
-por--path: Specify the directory where the images are located. Defaults to the current directory.-dor--dpi: Specify the pixel density in pixels per inch (dpi). Must be in the range 1-1000. Defaults to 72.-sor--size: Specify the maximum resolution of the image (long side) in pixels. For downscaling only. Must be in the range 1-10000. Defaults to 1000.-for--filter: Specify the type of filter used for downscaling. Must be an integer in the range 0-5. Defaults to 0 (Nearest). (Filters comparison table)--colorspaceor--cs: Convert all images to RGB color space.-qor--quality: Specify the quality of output images. Must be in the range 1-100. Values above 95 should be avoided. Defaults to 80.-mor--max-image-mpixels: Specify the maximum images resolution allowed in Megapixel. Defaults to 0 (None).--optimize: Attempt to compress the palette by eliminating unused colors.--alert: Play alert sound when finished the conversion.--wait: Wait for user keypress (Enter) when finished the conversion.
Security Policy
For more details see the SECURITY file.
Contributing
See CONTRIBUTING.md.
License
This software is released under the terms of the GNU General Public License v3.0. See the LICENSE file for further information.