This guide will illustrate how to install Ubuntu Server (operating system) along with the FOSS tools Pi-Hole (dns ad-blocker) and Unbound (dns resolver). Furthermore, two-factor authentication (2FA) is used as an additional protection against unauthorized access.
Requirements
Pi-Hole and Unbound can be installed on an operating system other than Ubuntu Server. In case you use a Raspberry Pi (Model B or Zero) or similar, you can install a different operating system (thus skipping the installation of Ubuntu Server) and follow the rest of the guide. If installed on a computer with Linux OS, 2GB of RAM is also acceptable.
Ubuntu Server installation preparation
First, proceed with the installation of the Ubuntu Server 22.04 distribution downloadable from the official site.
Installation on USB drive
After downloading the distribution iso file, it needs to be mounted on a USB drive. To mount the image, you can use Balena Etcher, UNetbootin or Rufus (all FOSS).
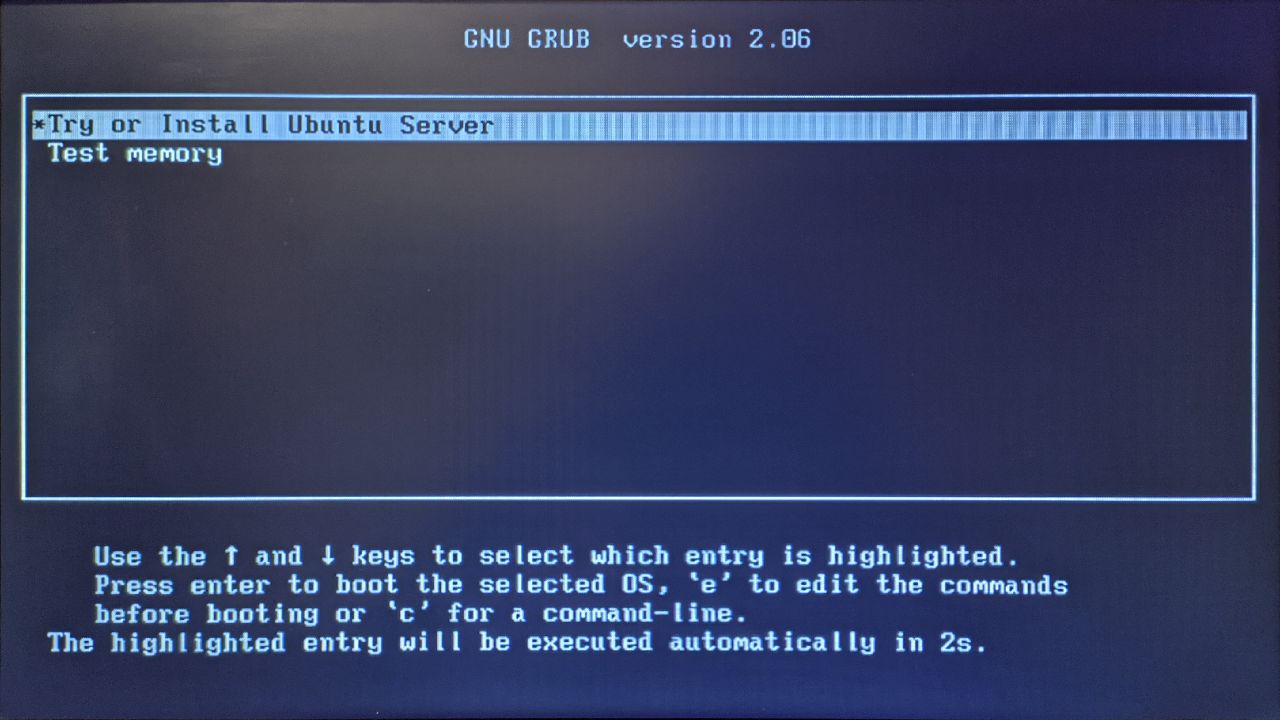
Boot from USB
During the computer's POST phase, press the key to display the boot menu, in order to start the operating system from the USB drive. Select with the arrow keys the choice Try or Install Ubuntu Server and press the Enter key.
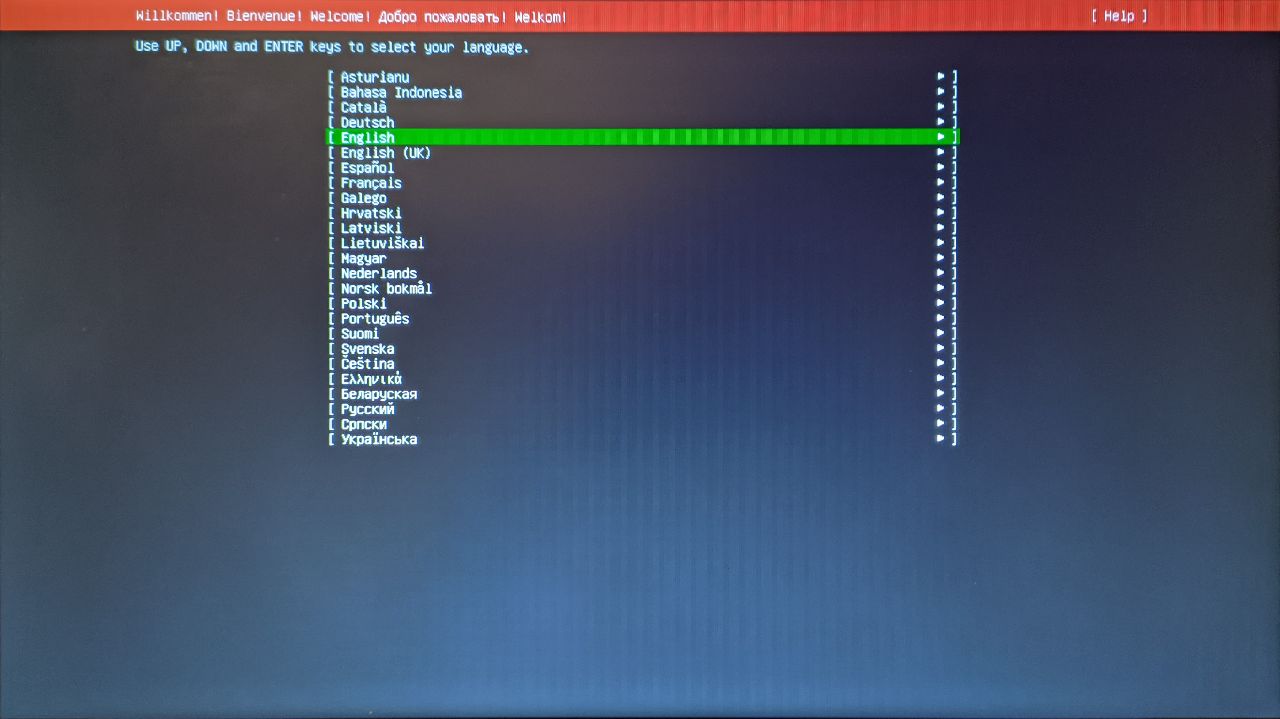
Language selection
The first configuration choice concerns the system language. You can select English because no graphical interface will be installed on the computer and therefore becomes irrelevant.
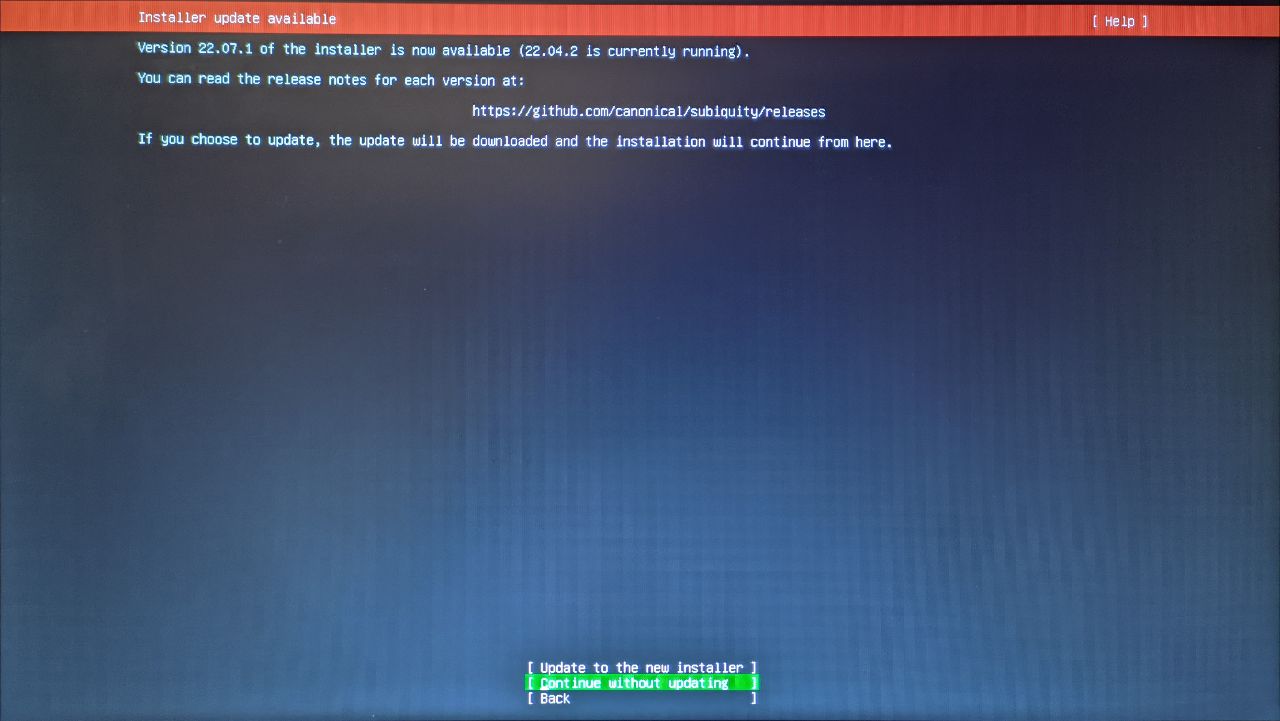
Updating installer
If the version installed on the stick is not the latest, it asks if you want to update (from 22.04 to 22.07) before performing the installation. It is not important because the update will still be done from the command line at the end of the operating system installation. To ignore the update, simply confirm the choice Continue without updating.
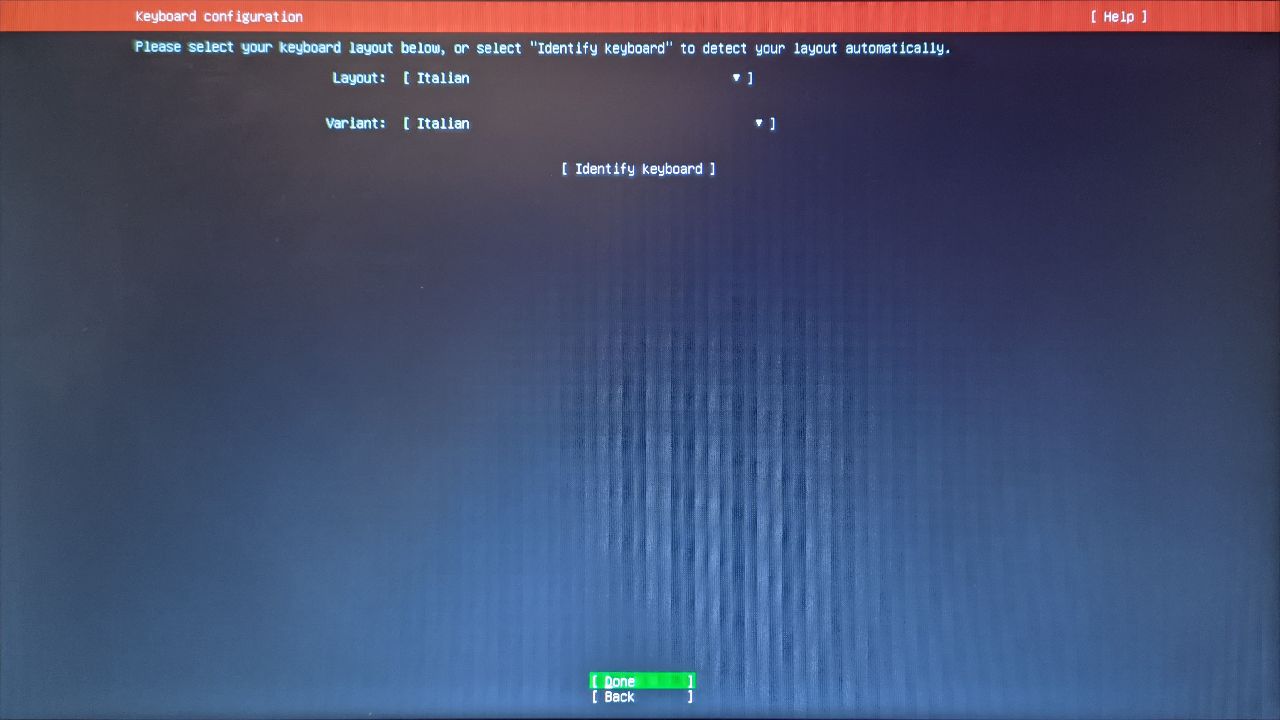
Keyboard configuration
Choose the keyboard layout used. Make sure that under Layout and Variant it says English (in my case Italian since mine has the italian layout), otherwise choose it from the respective menu. Confirm by pressing the Ok choice and then Done.

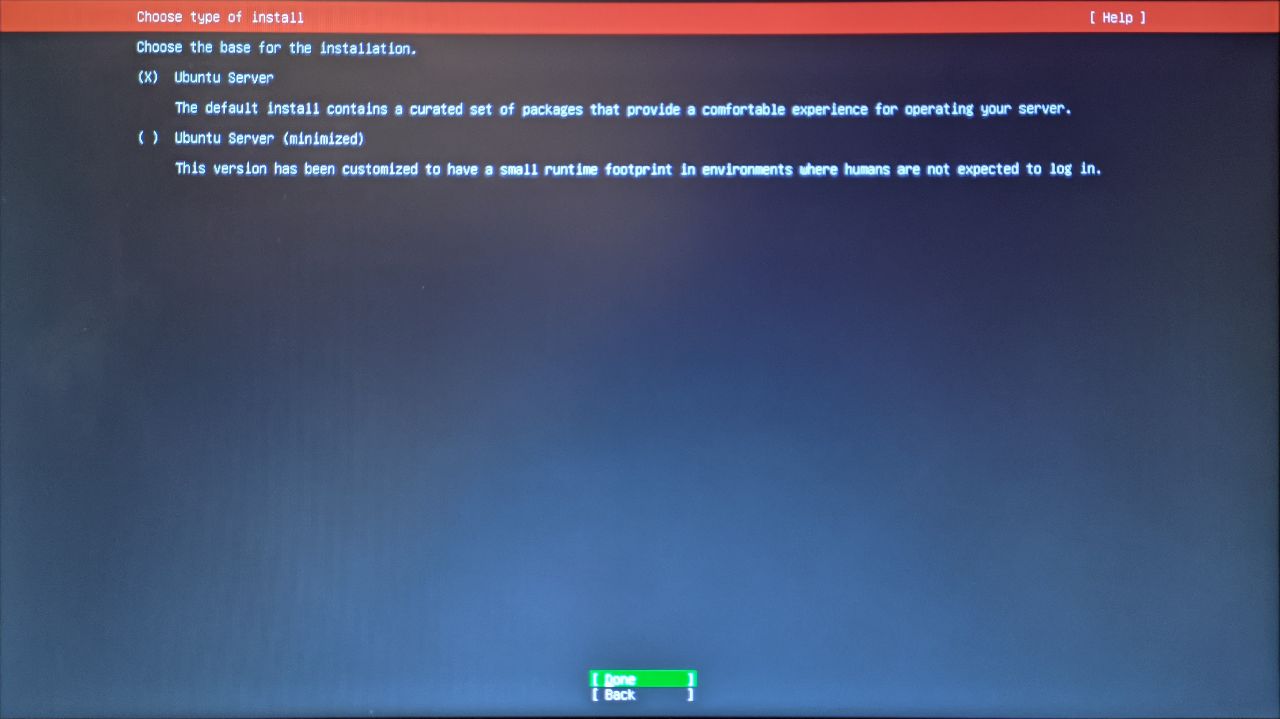
Installation type
Make sure the box next to Ubuntu Server is checked, otherwise select it using the Space key. Press enter on Done to confirm.
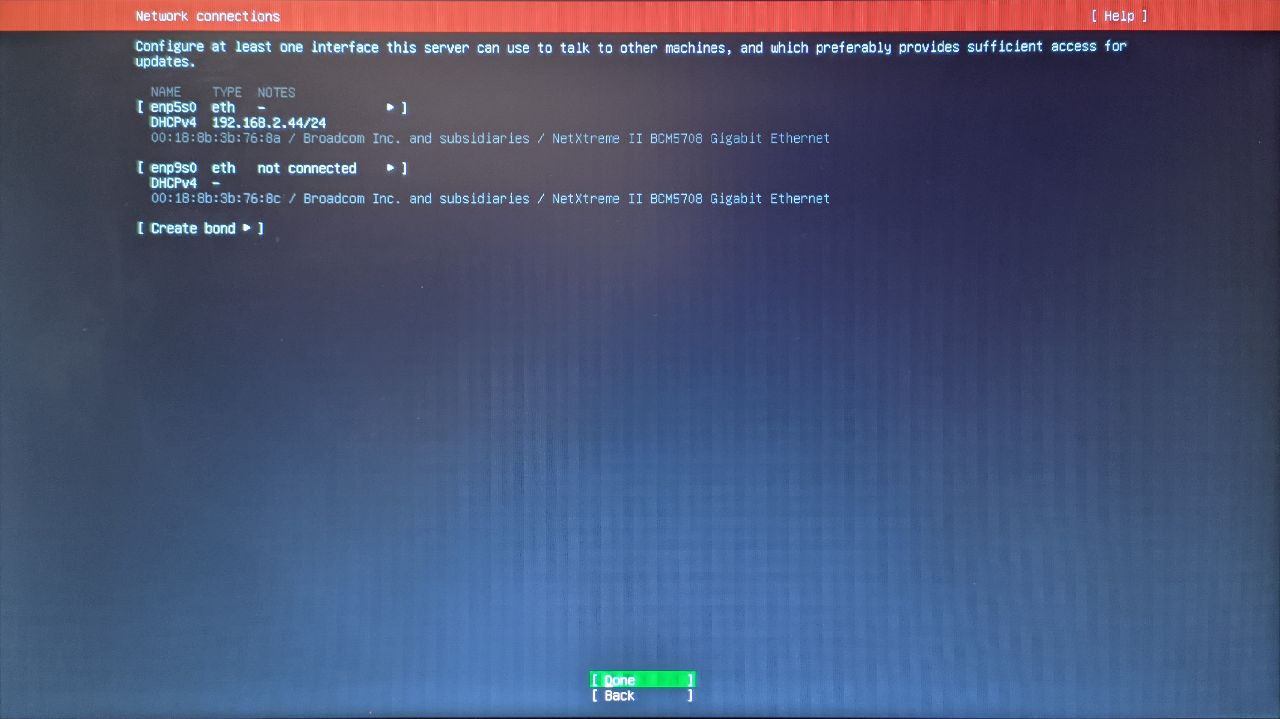
Network connections
Make sure at least one interface does not say not connected, and remember the IP address (which appears after DHCPv4 and without the following slash and number) because it will be needed to connect with the ssh protocol and execute commands remotely. It is important to assign this address as static in the router settings of the network so that it does not change. Press enter on Done.
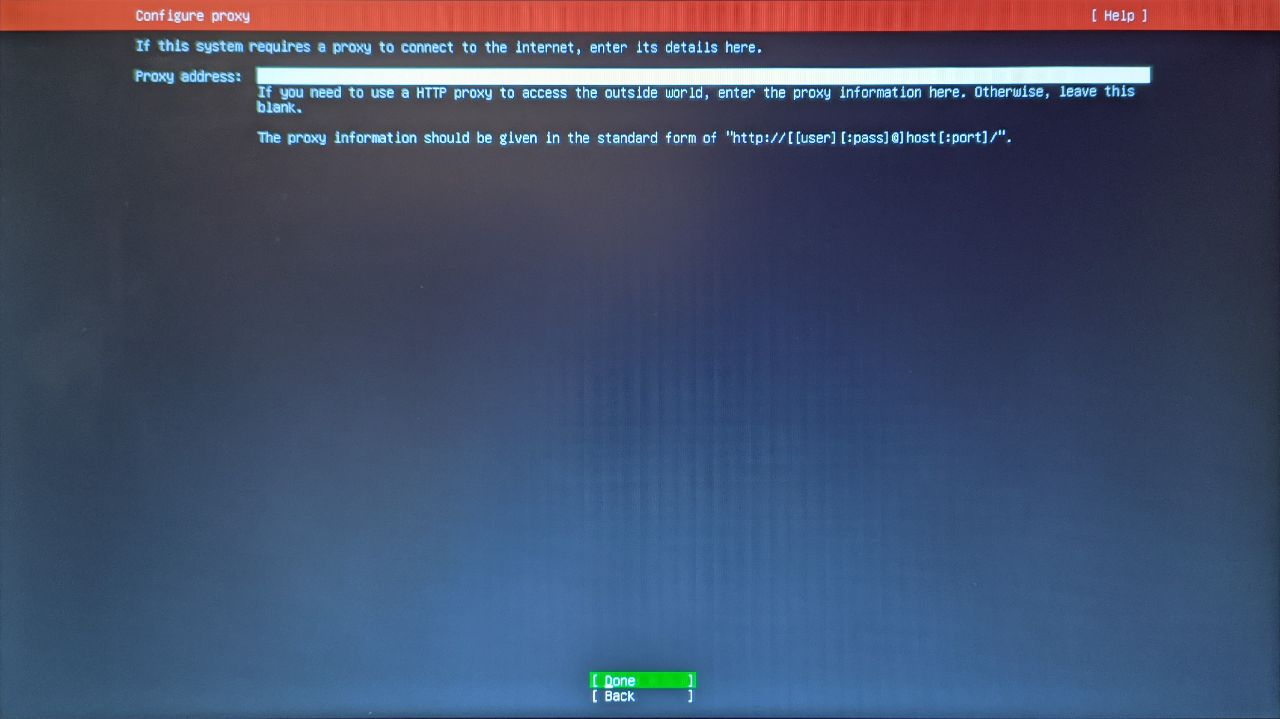
Proxy configuration
In this case, no proxy is used, so nothing should be entered in the white space but simply confirm again the choice Done.
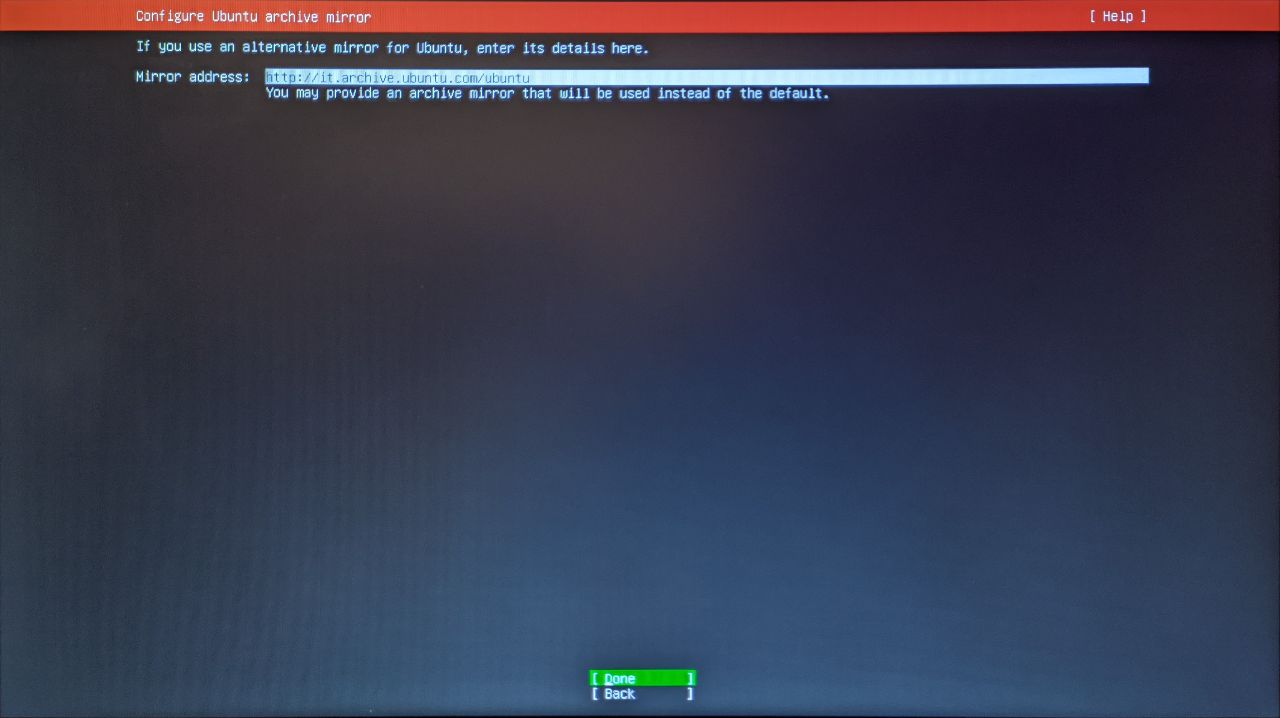
Alternative repository mirror
Check that there is a mirror to find packages and updates for the operating system. In this case, http://it.archive.ubuntu.com/ubuntu is good. Confirm by choosing Done.
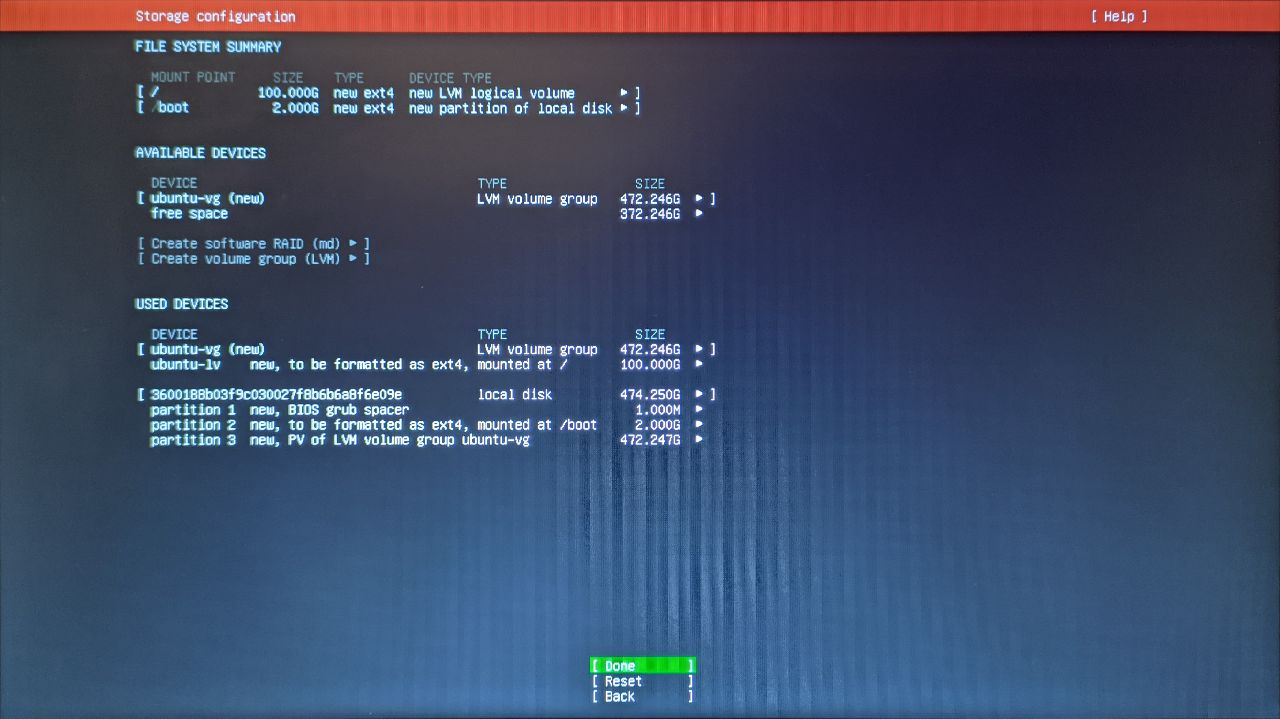
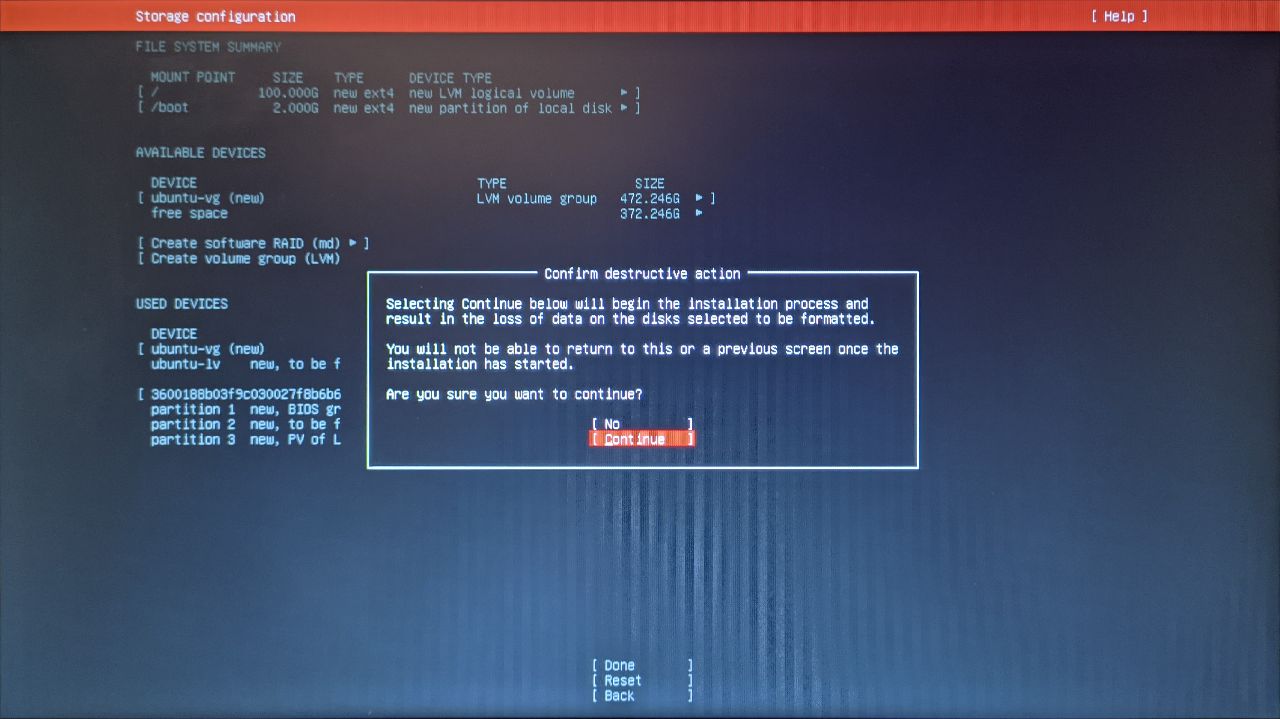
Disk space configuration
In the following screen, you can see the formatting of the disk in detail. To confirm, select Done and then Continue.
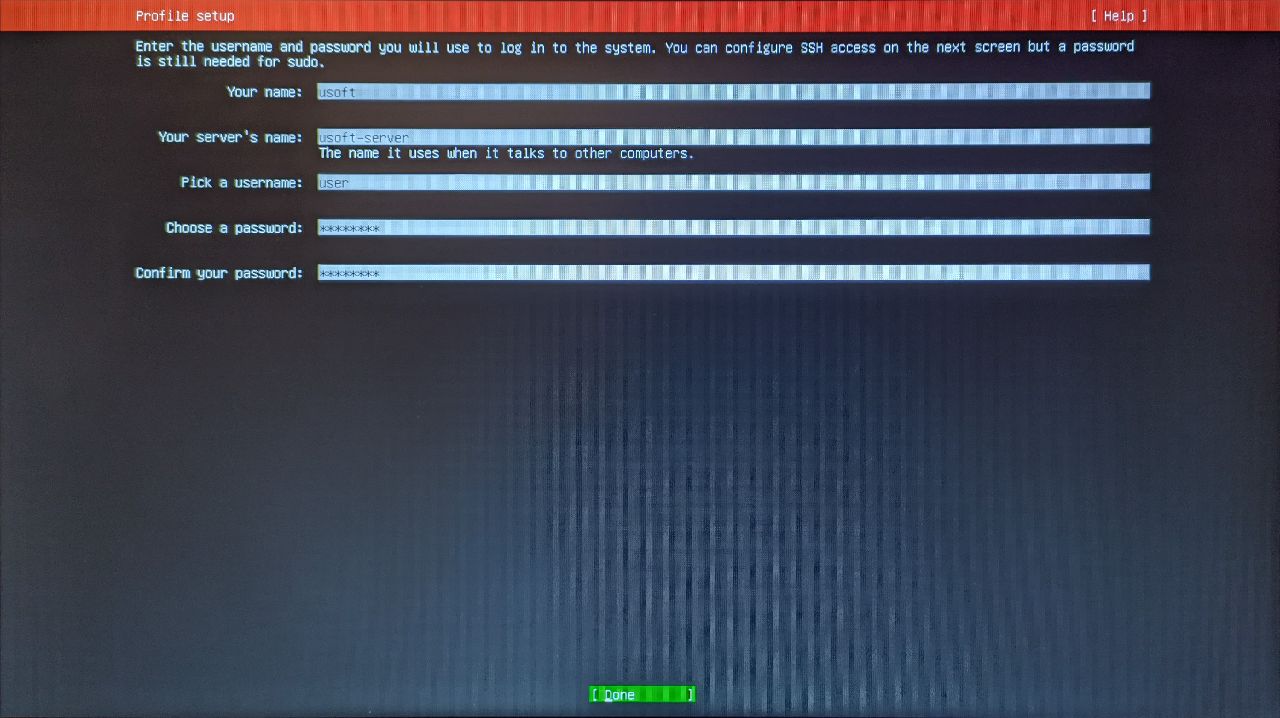
Profile settings
Import the name, server name, username, and password. It is important not to lose the username and password, otherwise it is no longer possible to log in to the operating system. The username and password fields will be used later for SSH login.
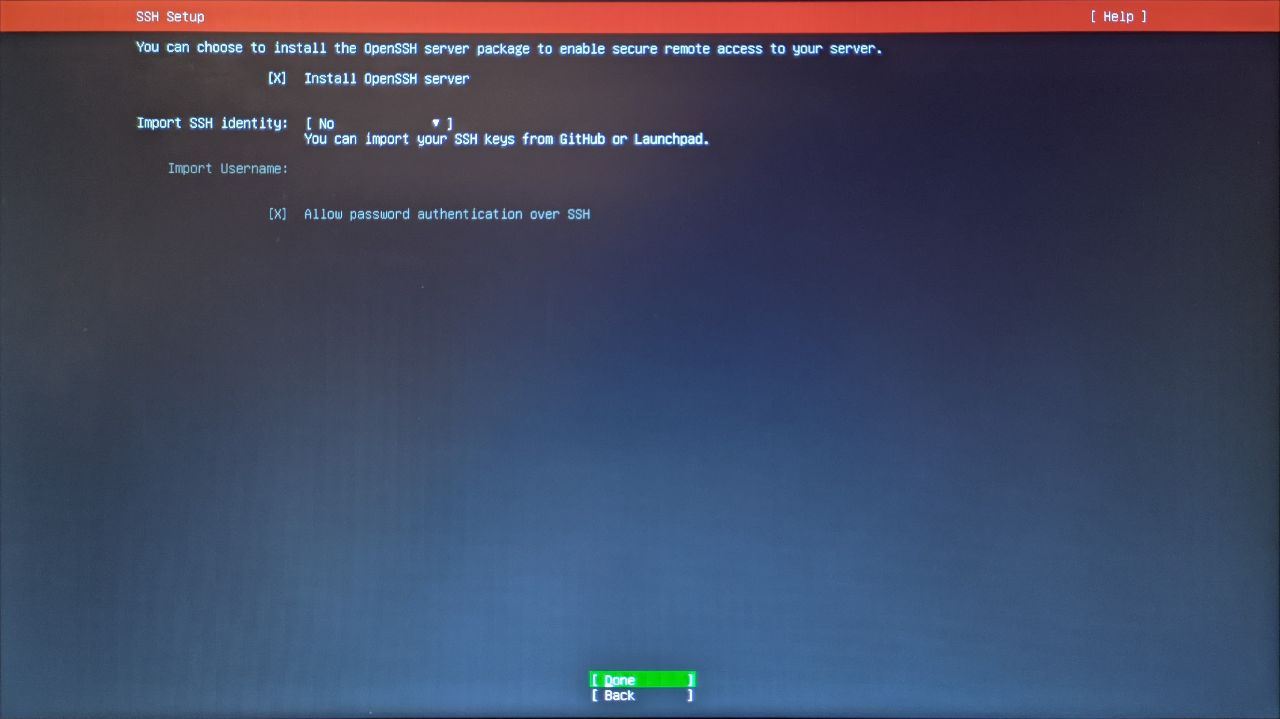
SSH settings
Select with the Space key the voice Install OpenSSH server so that it installs and makes the server accessible via the ssh protocol (default port 22) for remote control.
To confirm, select Done.
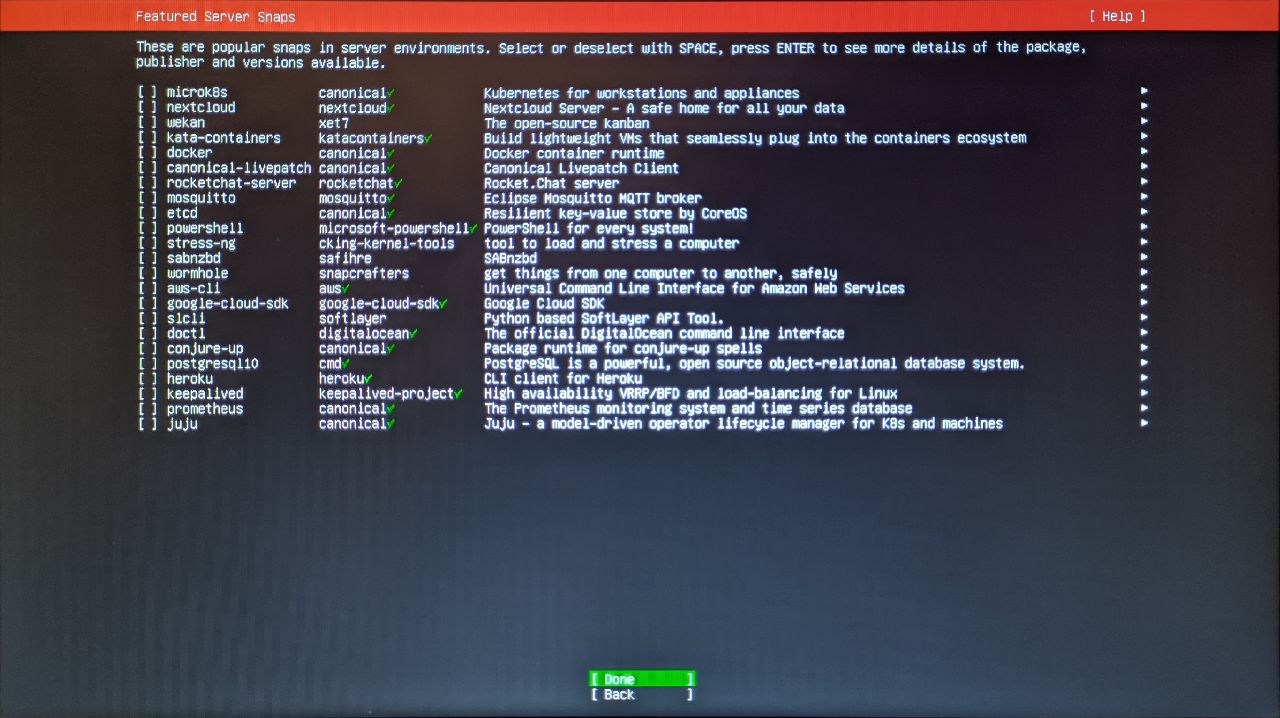
Additional components for the server
In this screen, it is possible to enable the installation of additional components to add functionality to the server. In this case, none of them are needed (those that we will install later are not present in this list) so just select Done to start the actual installation of the operating system.
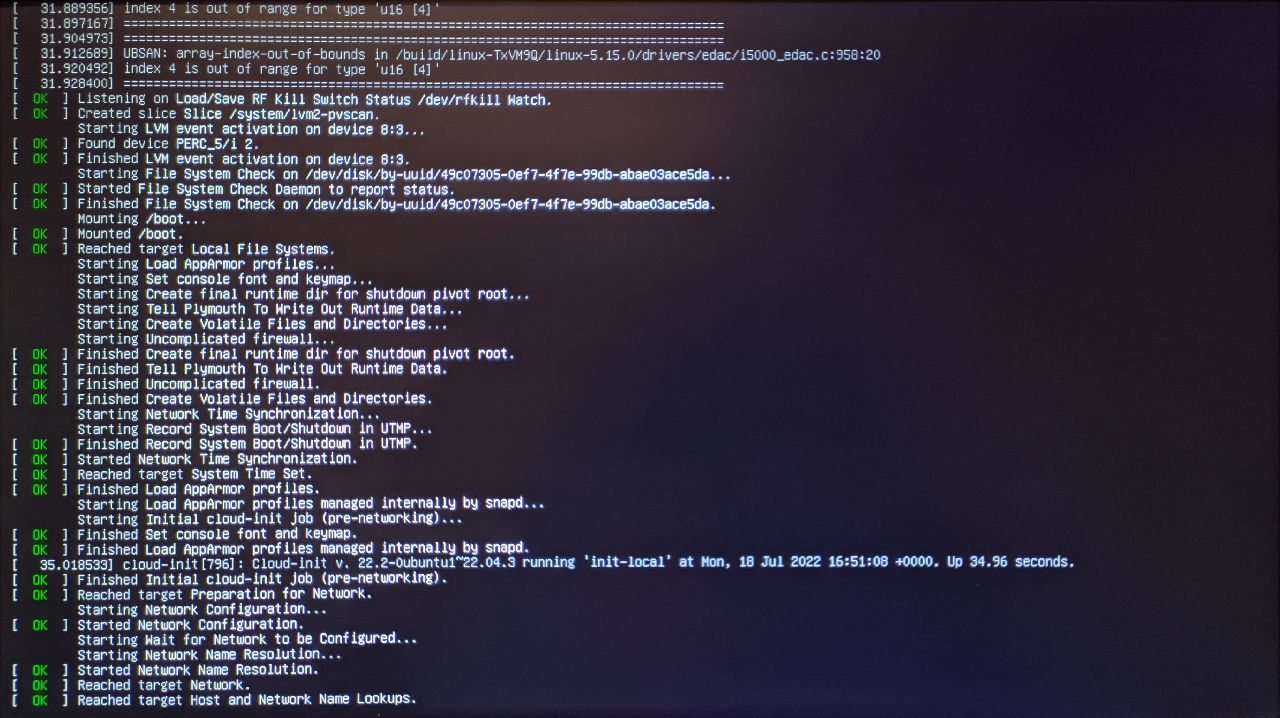
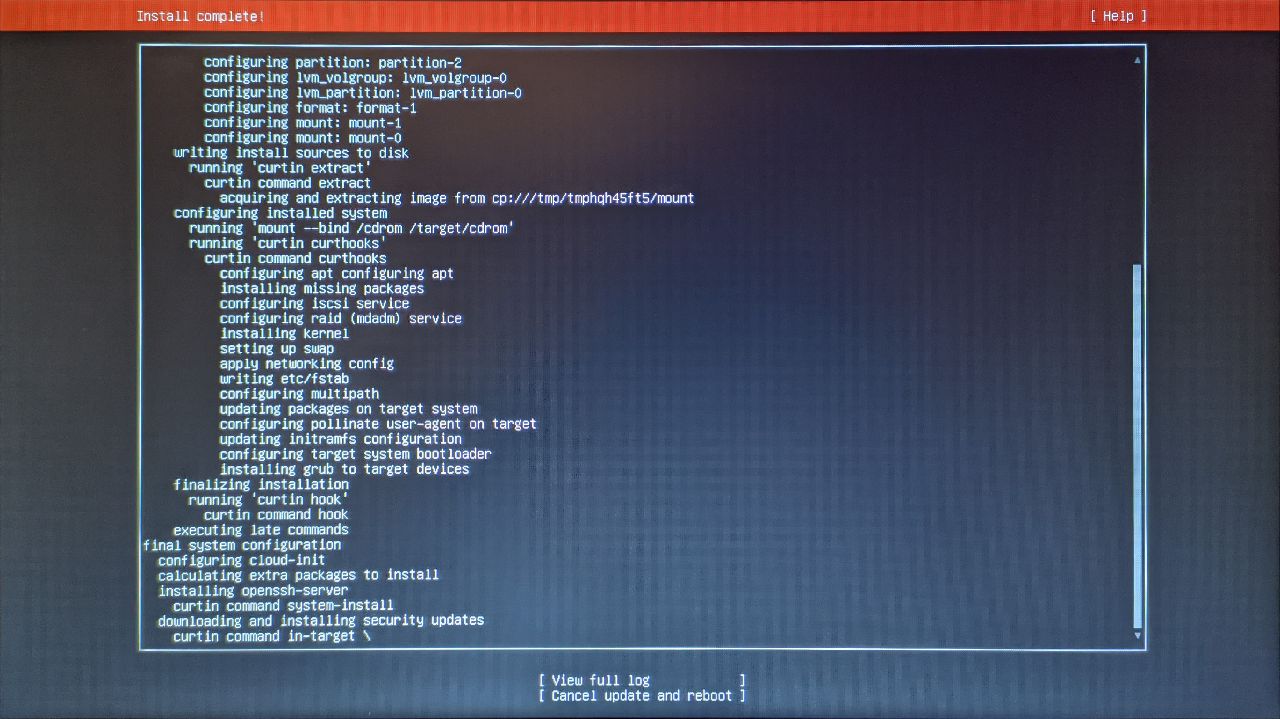
Operating system installation
Now the operating system is installed on the internal hard drive of the computer.
At the end of the procedure, the Reboot Now option appears. Press Enter.
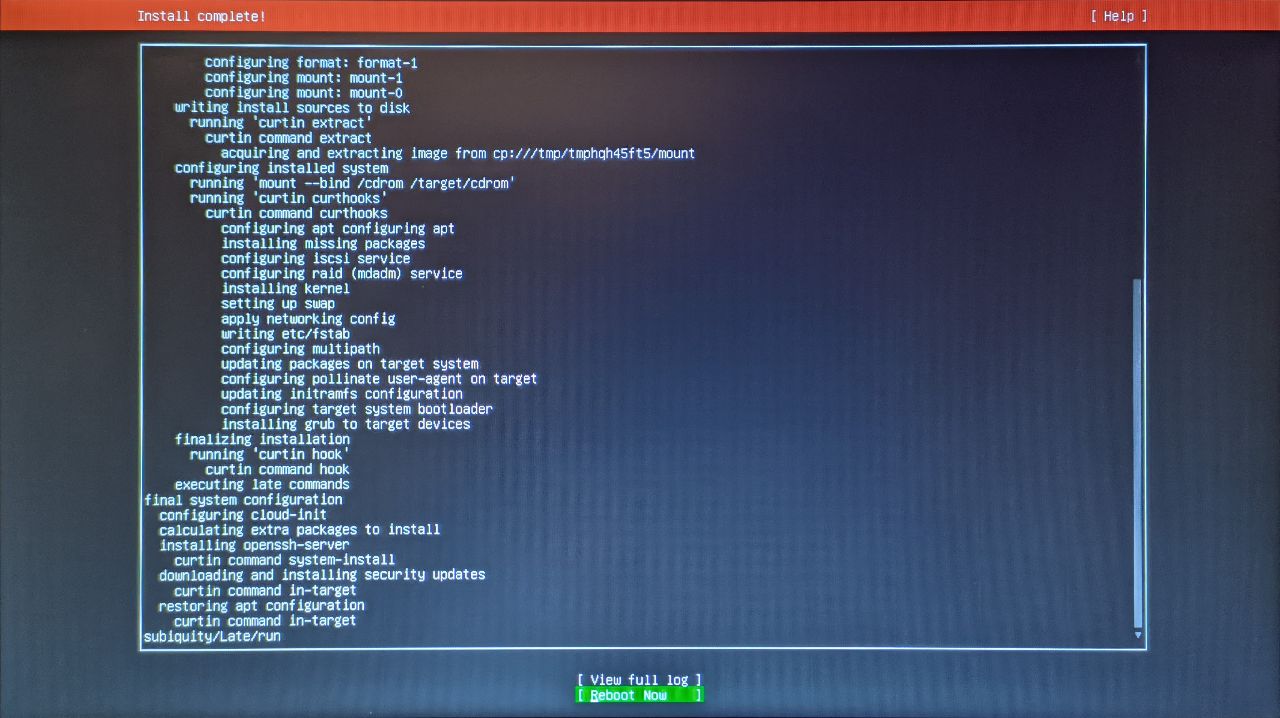
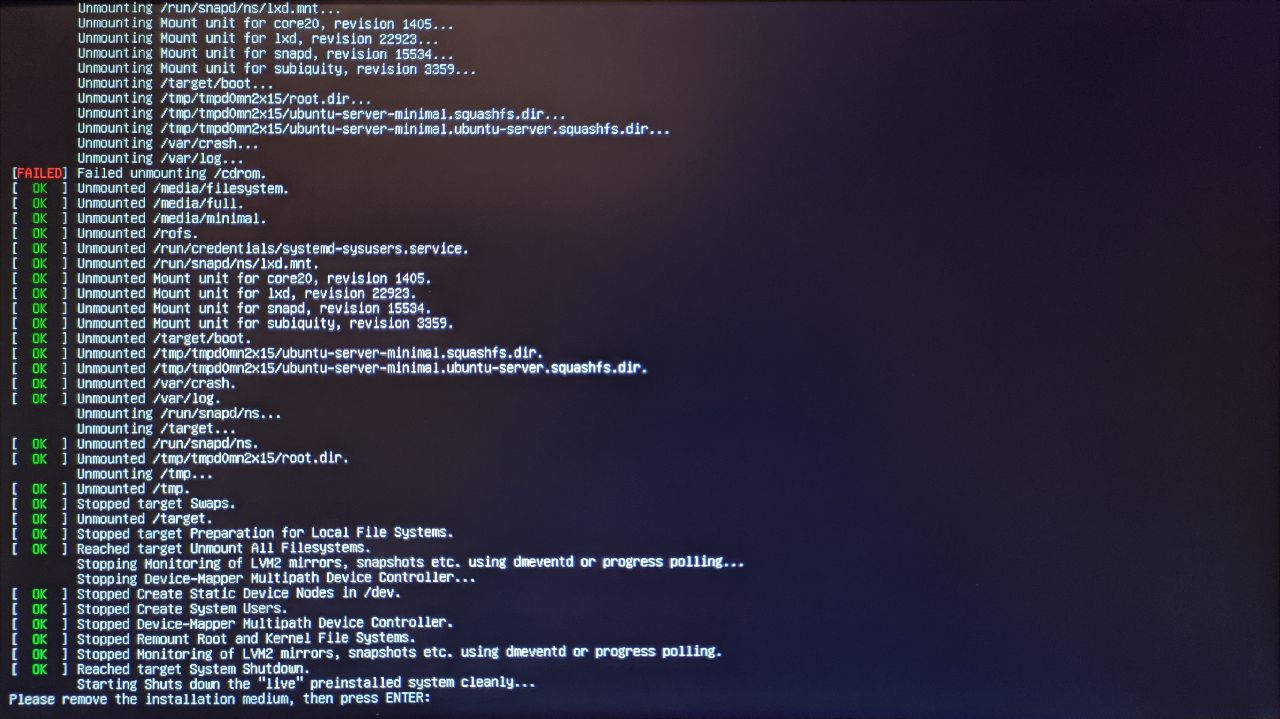
It will be requested to remove the USB drive that we used for installation. After disconnecting it, press the Enter key to reboot the computer.
Now the computer will proceed with the reboot.