In the previous part it was explained how to install Unbound.
Pi-Hole Web Interface Configuration
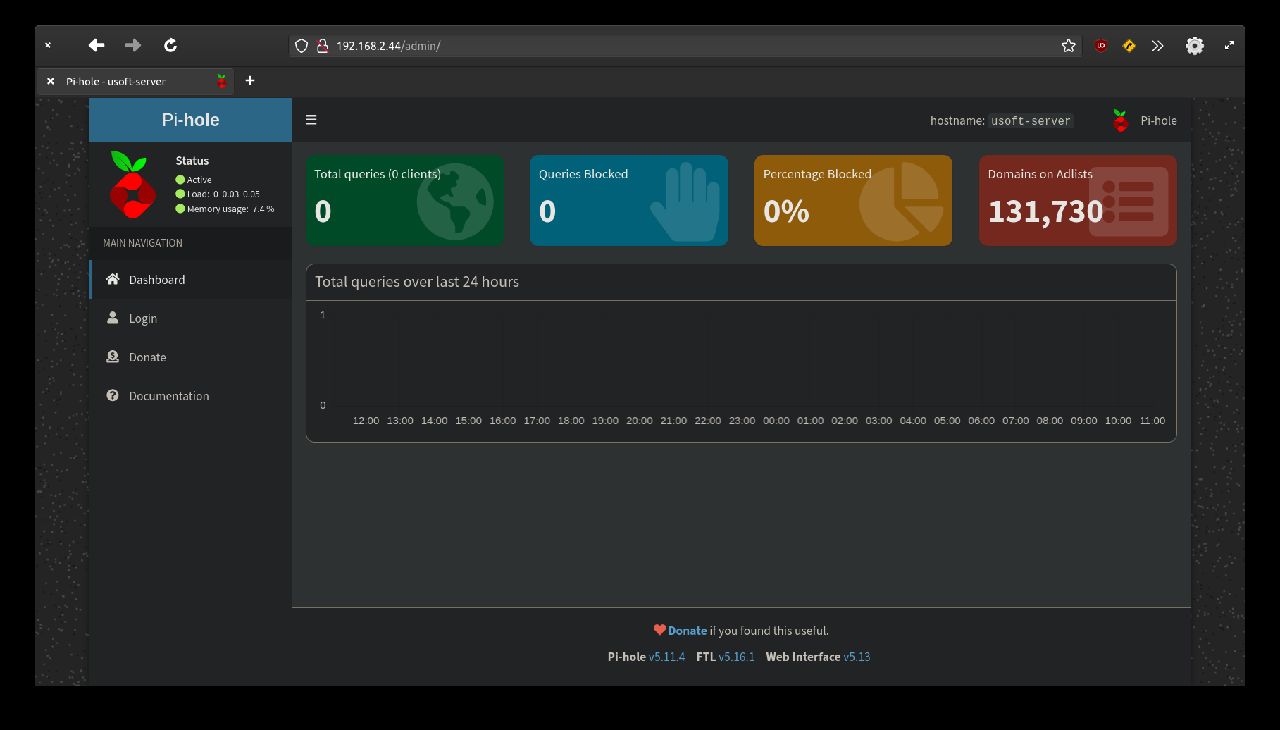
Open the browser and enter the IP of the computer where Ubuntu Server is installed followed by /admin as shown in the following figure. When the page loads, click the Login item present in the left vertical menu.
The Pi-Hole web interface password will be asked. Enter it and click Login to confirm and enter.

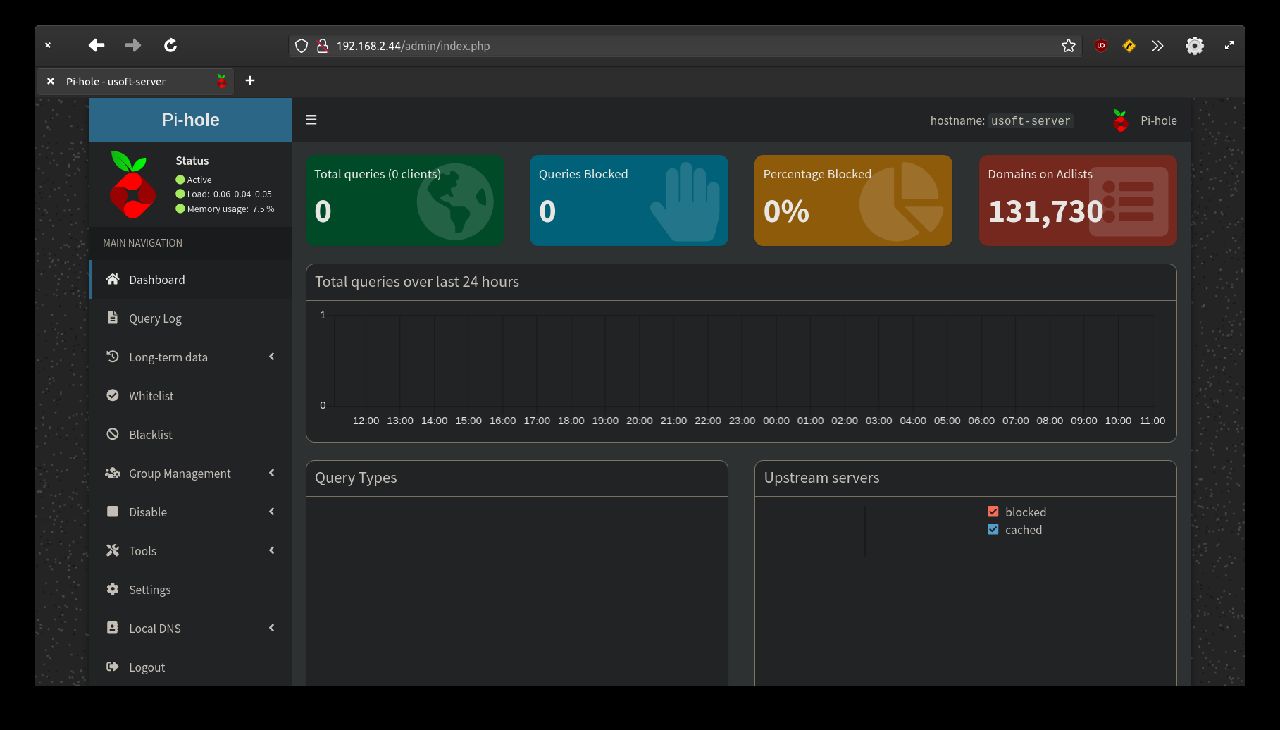
The following screen is the one before logging in. The difference is that now there is the possibility of configuring Pi-Hole.
Click the Settings item in the left menu.
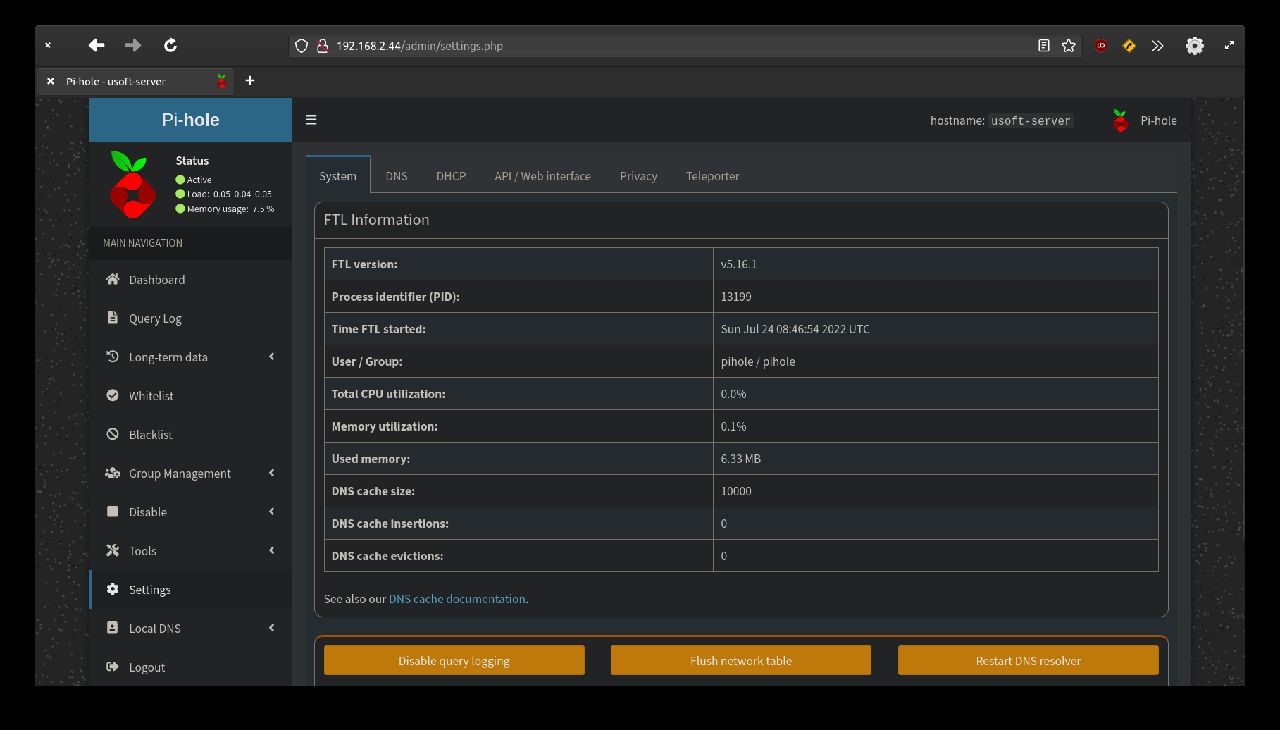
Click DNS from the items present at the top.

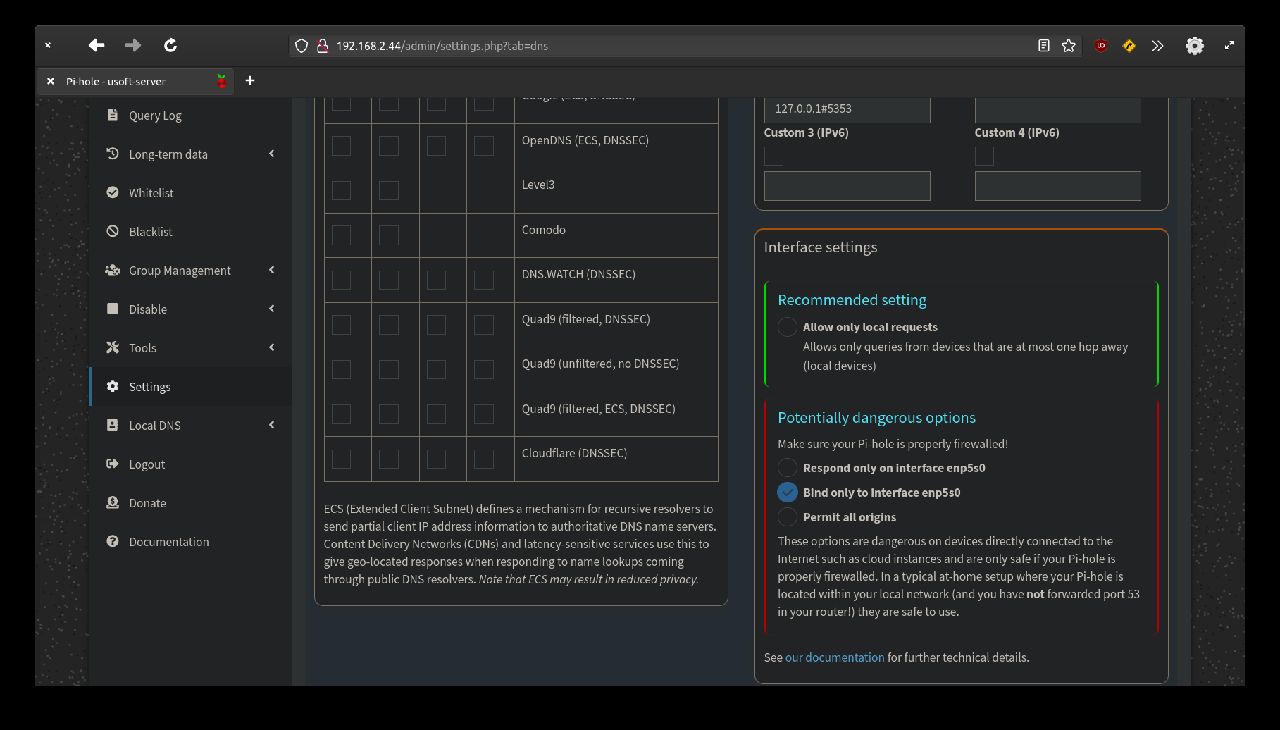
In the block titled Upstream DNS Servers on the left, deselect any tick present. Instead, in the homonymous block on the right, select Custom 1 (IPv4) and enter 127.0.0.1#5353 which are the interface and the port that were previously entered in the Unbound configuration file. This will make Pi-Hole ask Unbound for DNS resolution instead of using an external server outside the network.
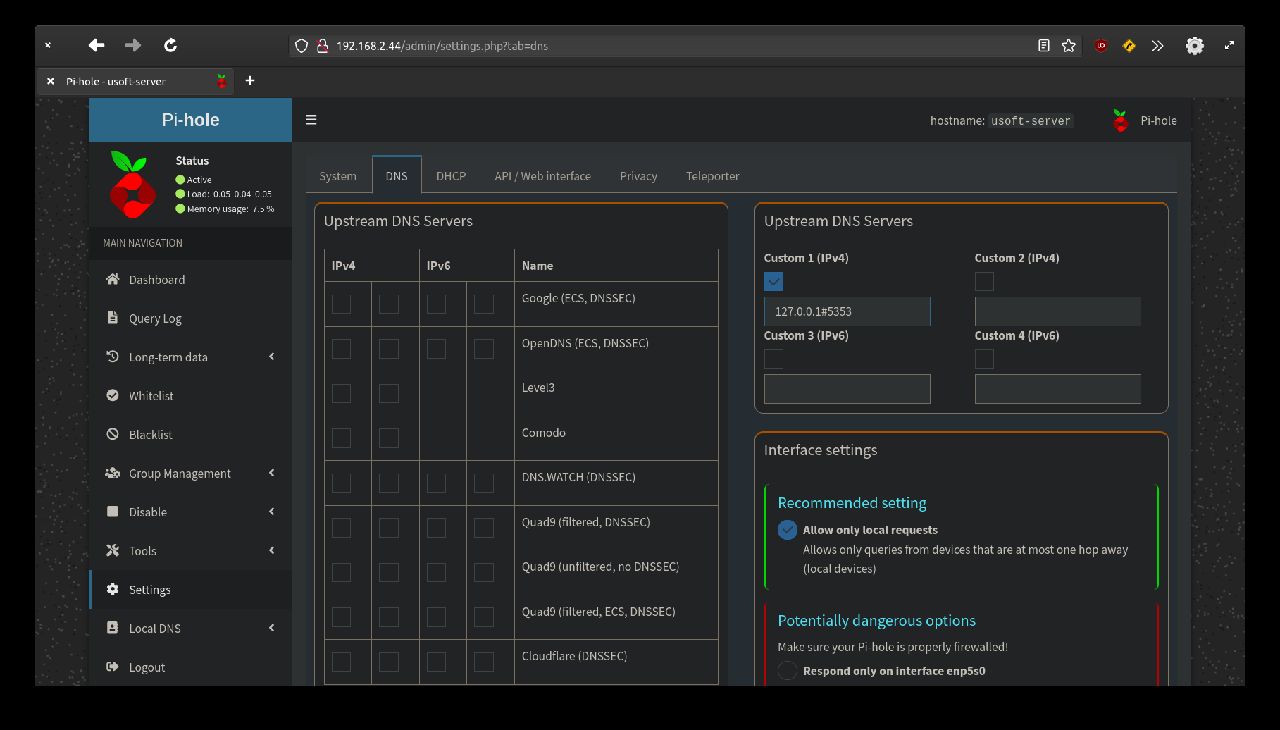
In the block titled Interface settings, click the Bind only to interface ... voice.
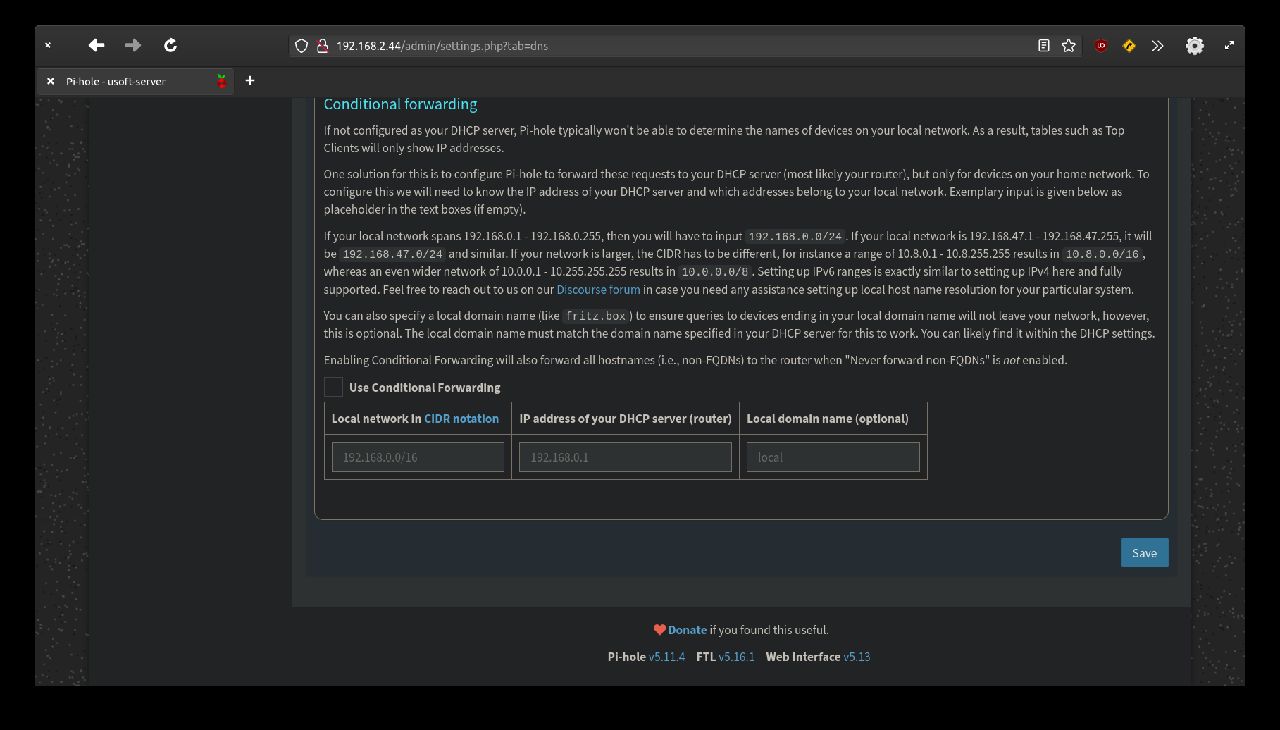
To save all this, scroll down with the mouse and click Save located at the bottom right of the screen.
Backup Pi-Hole Settings
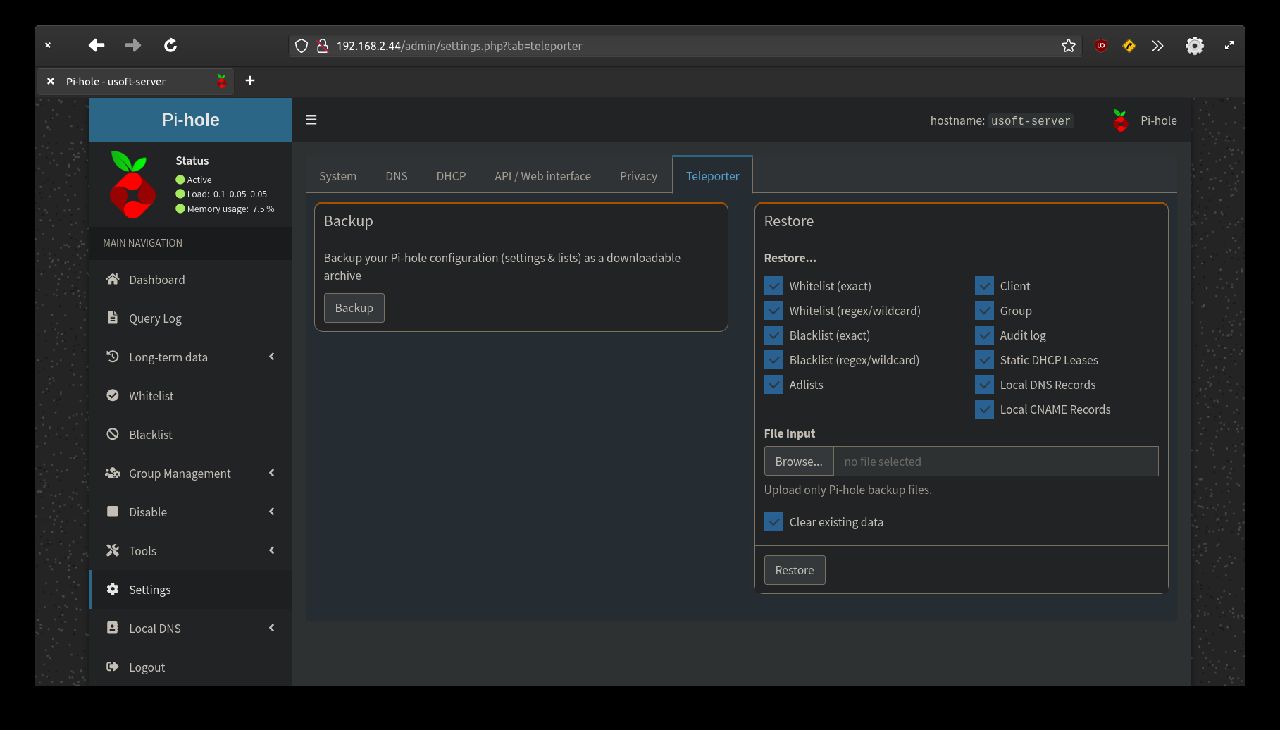
For safety, download the current Pi-Hole configuration so that in case of need to restore the settings it is faster to do it from a file.
To do this, press click from the horizontal menu present at the top the Teleporter voice. Finally, click Backup and confirm the file save.
Router Configuration
Now from the router settings (refer to the router manual to understand where to find the setting), you can change the DNS to the IP of the computer where Ubuntu Server is installed. This will make every device connected to the network with automatic DNS make a resolution request to the router which in turn will forward the packets to the system filtering most of the advertising from websites and also dangerous content.