In the previous part it was explained how to install the Ubuntu Server operating system.
SSH
After installation, the system and installed packages are updated to their latest versions.
Login via SSH
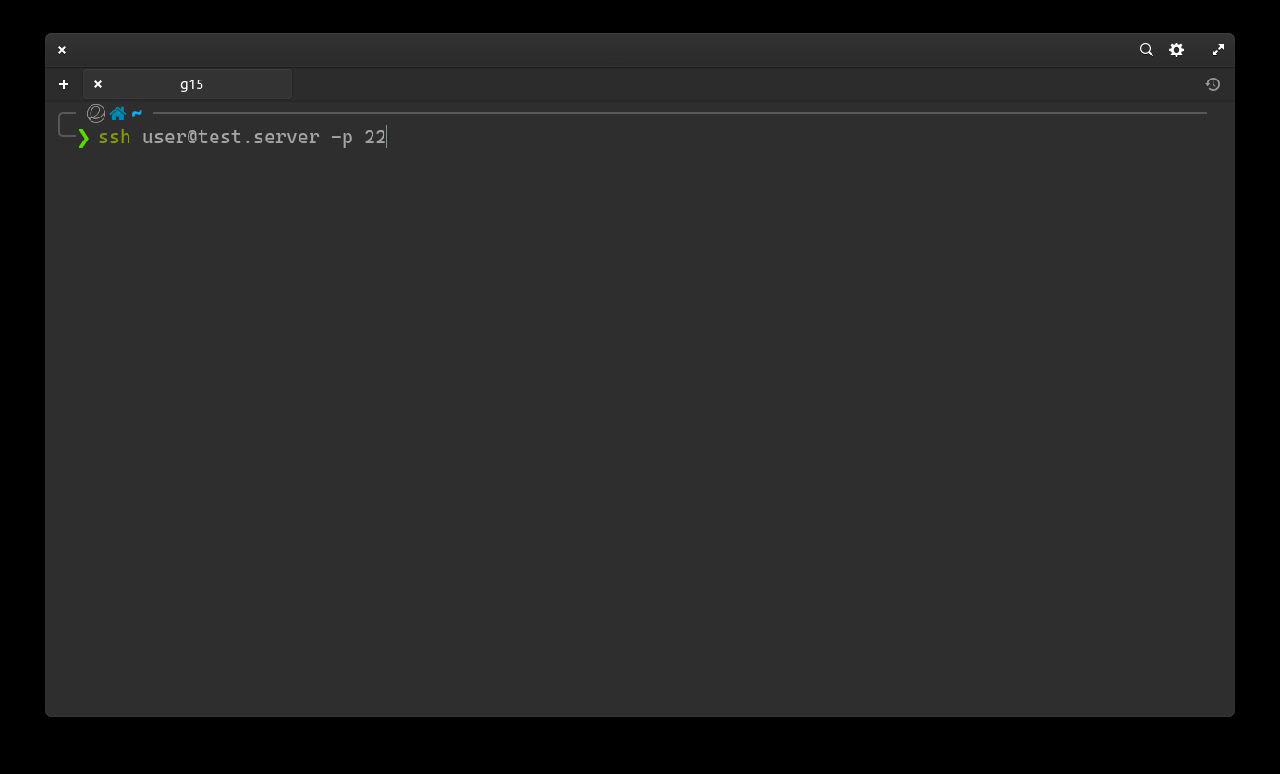
To access, open the terminal on another computer in the same network (Powershell in the case of Windows) and type the following command:
ssh USERNAME@IP
USERNAME is replaced with the username entered during the Ubuntu Server installation phase (Profile settings)
Replace IP with the IP address of the computer where Ubuntu Server is installed.
-p 22 is optional since by default ssh connects to port 22 of the device.
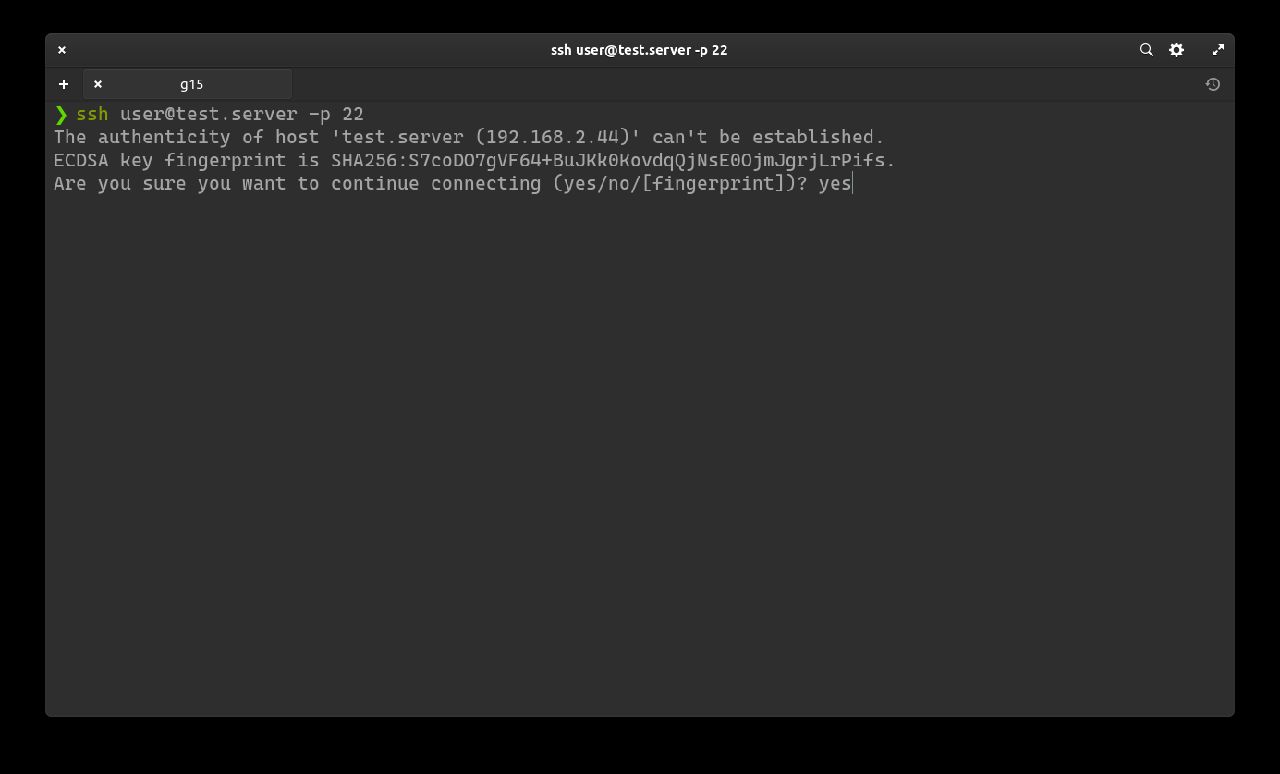
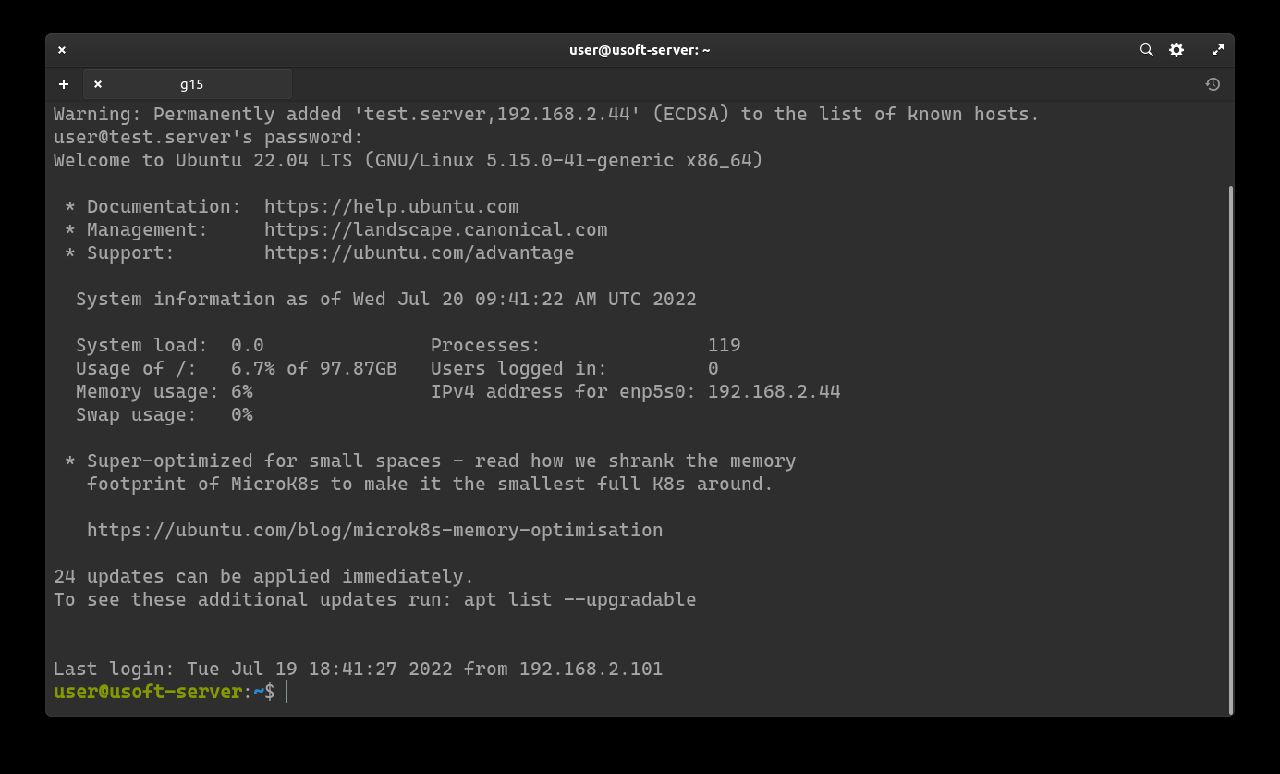
After pressing enter, it will ask to save the SHA256 key. Write y and confirm by pressing the Enter key.
Now enter the password set during the Ubuntu Server installation phase (Profile settings).
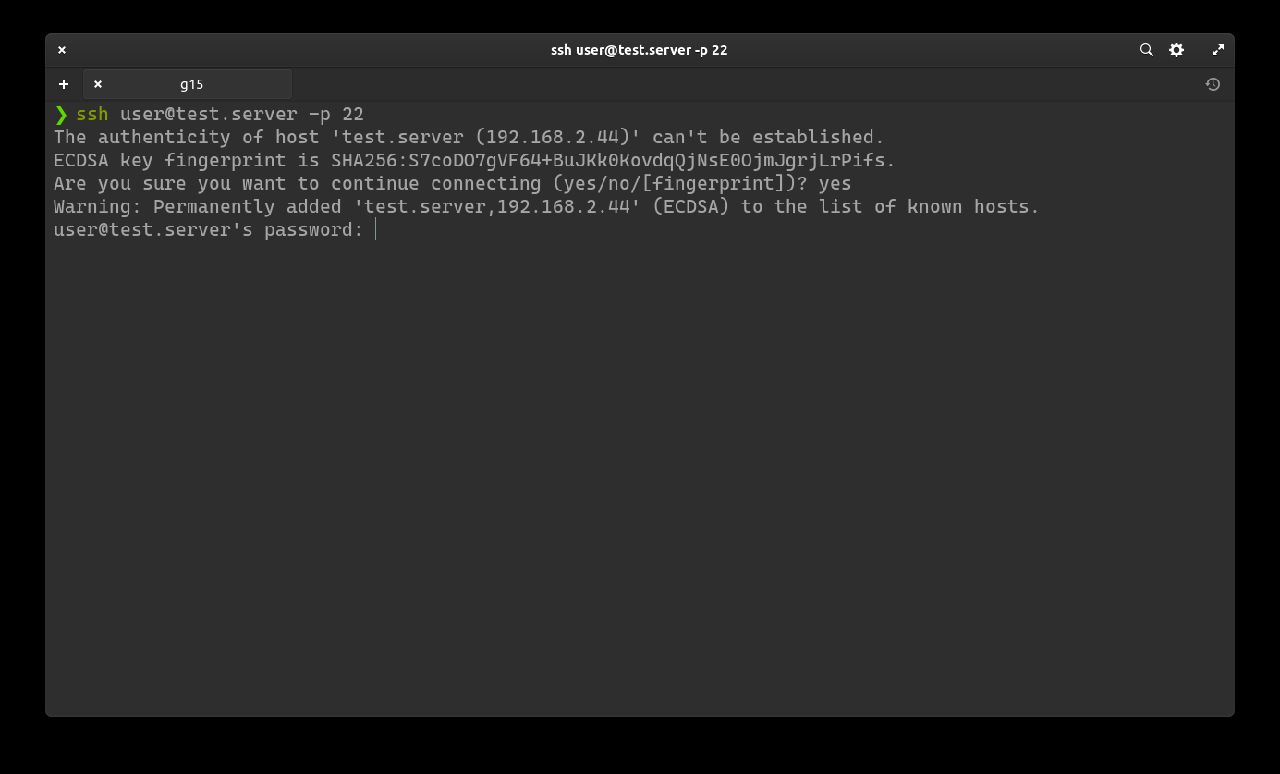
If everything has been entered correctly, it is possible to control Ubuntu Server remotely from CLI.
System Update
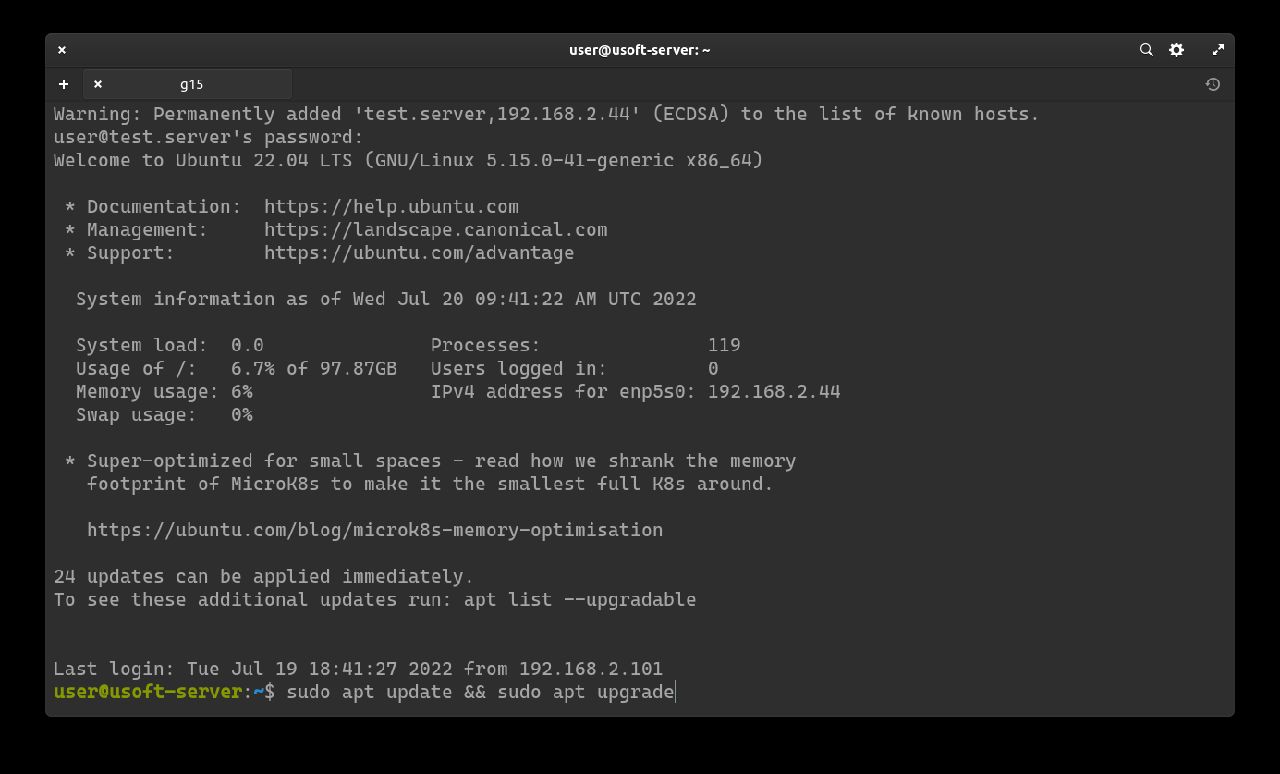
Update repositories and system
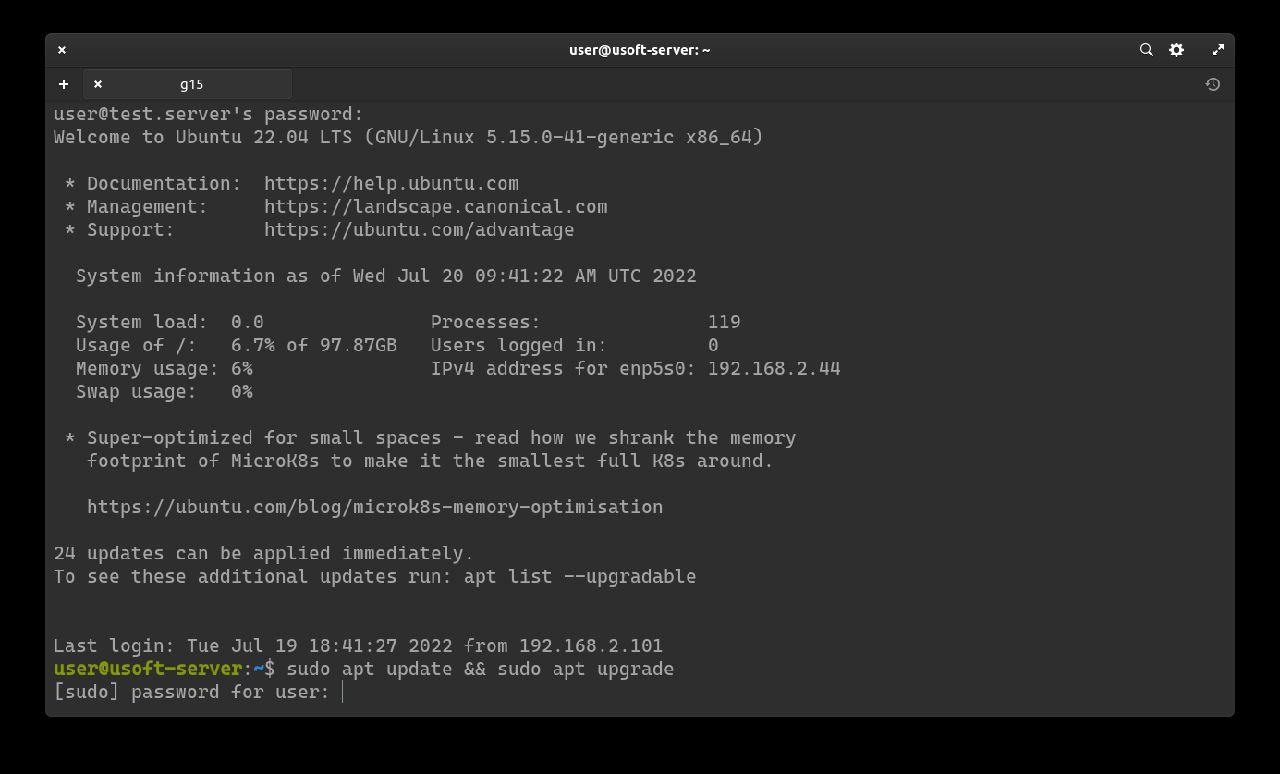
To start the update, just run the line sudo apt update && sudo apt upgrade. Running both commands with sudo will ask for the user's password (the same used for login).
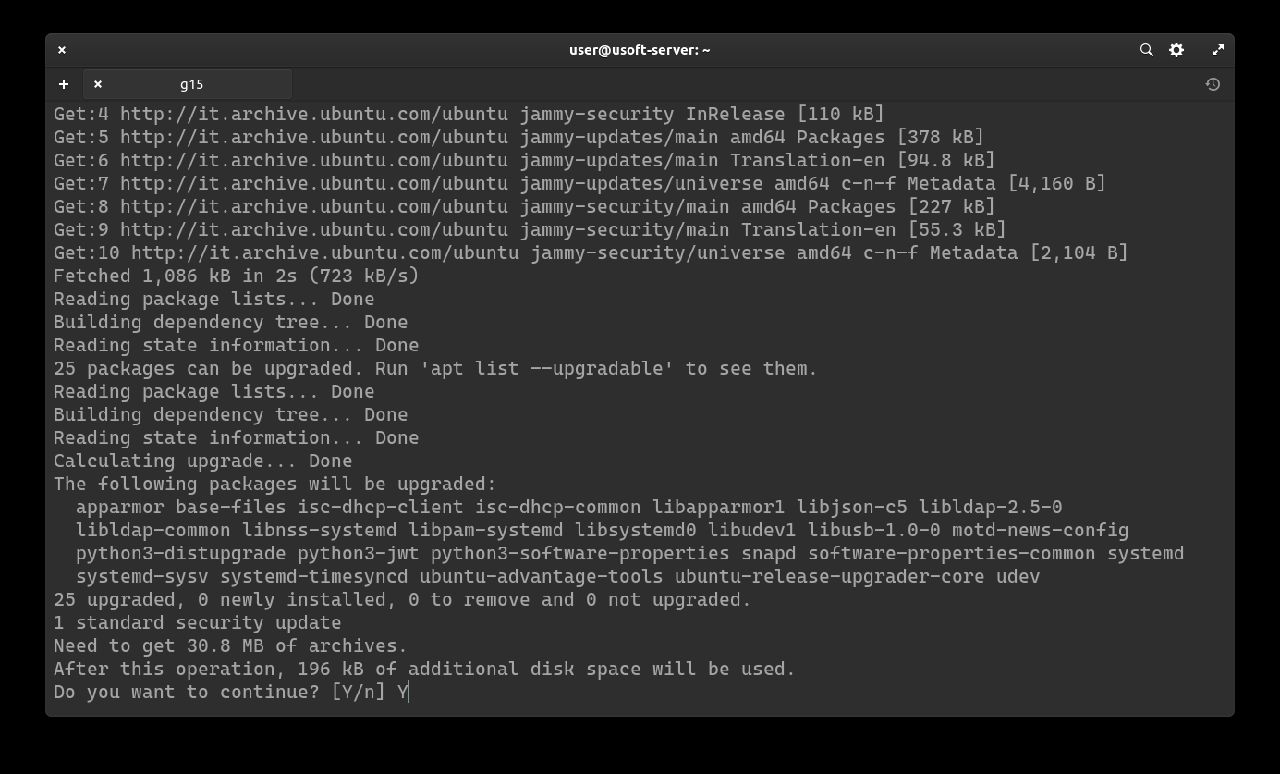
Confirm updates
To confirm the start of the updates, write y and press Enter.
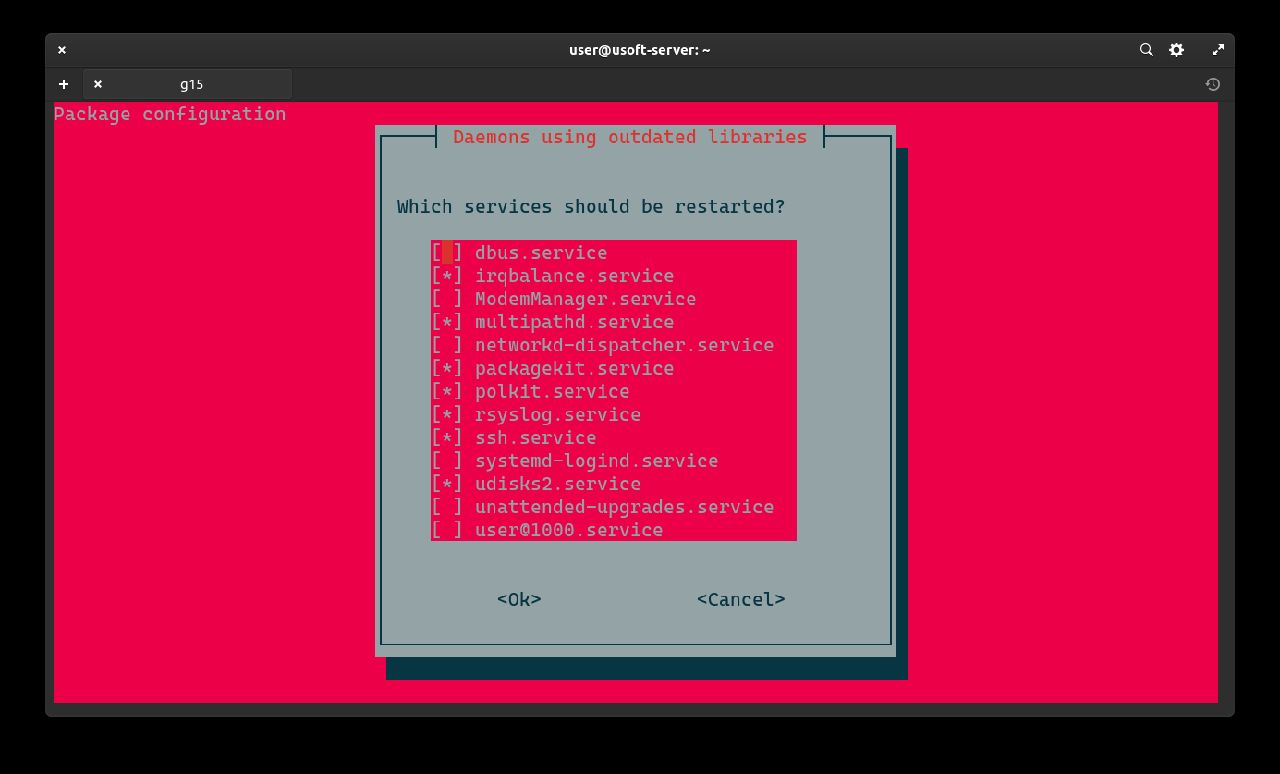
Restart services
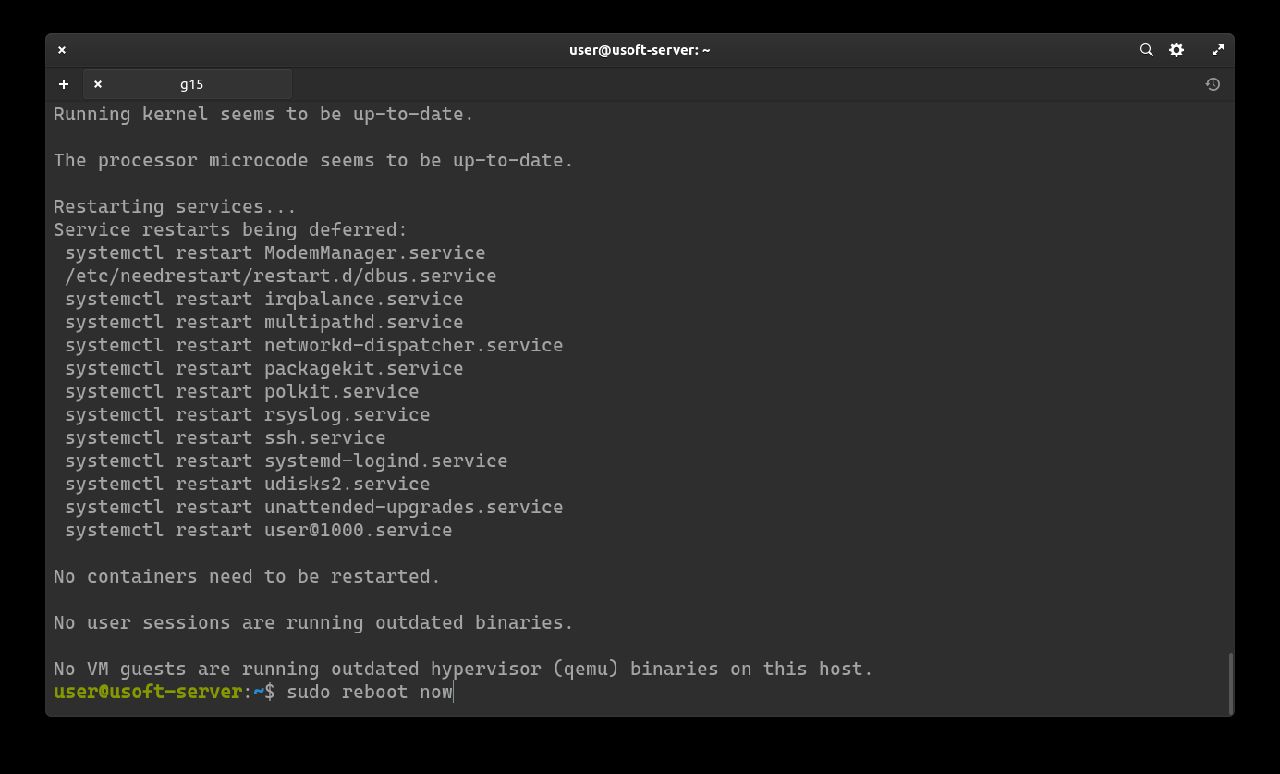
It is likely that a screen will appear asking which services to restart. Select Ok without changing anything from the list and then press Enter to confirm.
Now you can restart the computer to verify that with the latest updates the system works before proceeding with the installation of applications.
2FA Installation
In the following procedure, two-factor authentication will be added to reduce the risk of unauthorized access (Zero Trust).
Package Installation
Log in again following the Login via SSH procedure without the paragraph regarding the key.
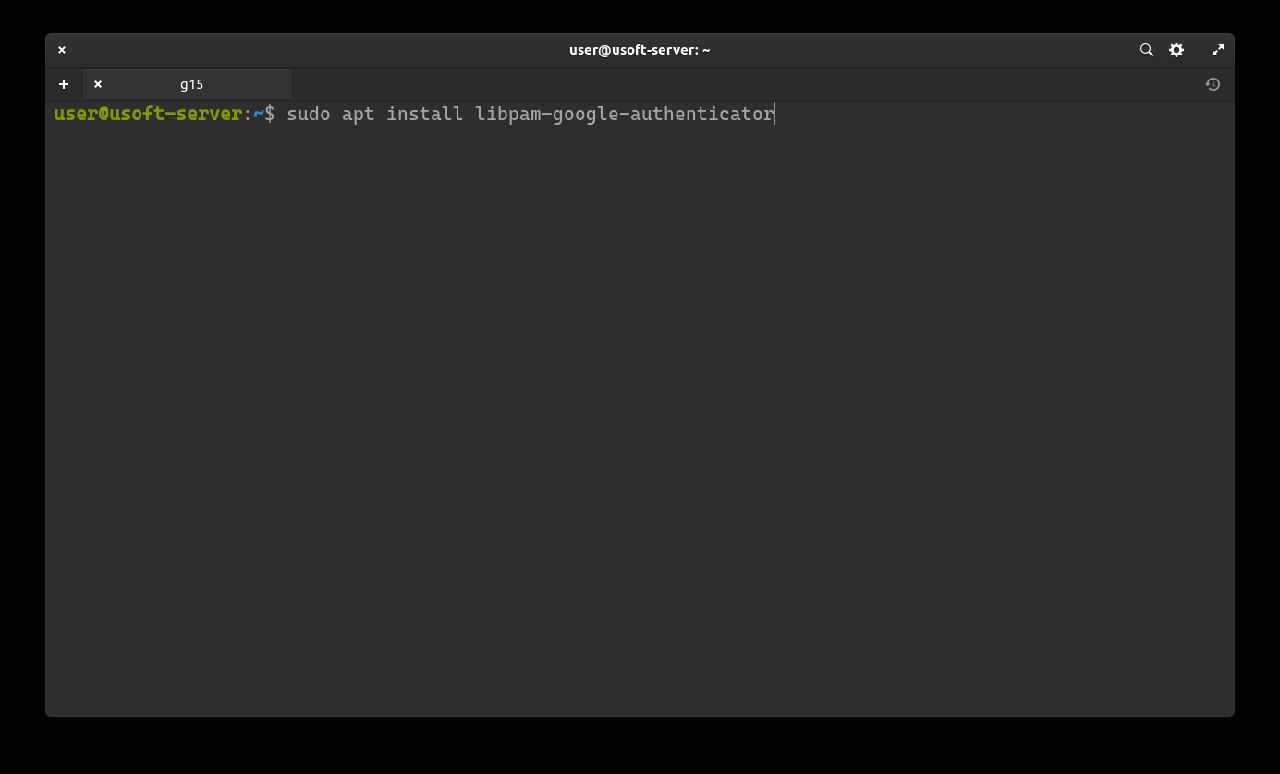
Execute the command sudo apt install libpam-google-authenticator to install the package required for two-factor authentication.
Enter the user password confirming it. Subsequently, you will be asked to confirm the installation of the package. Write y and press Enter.
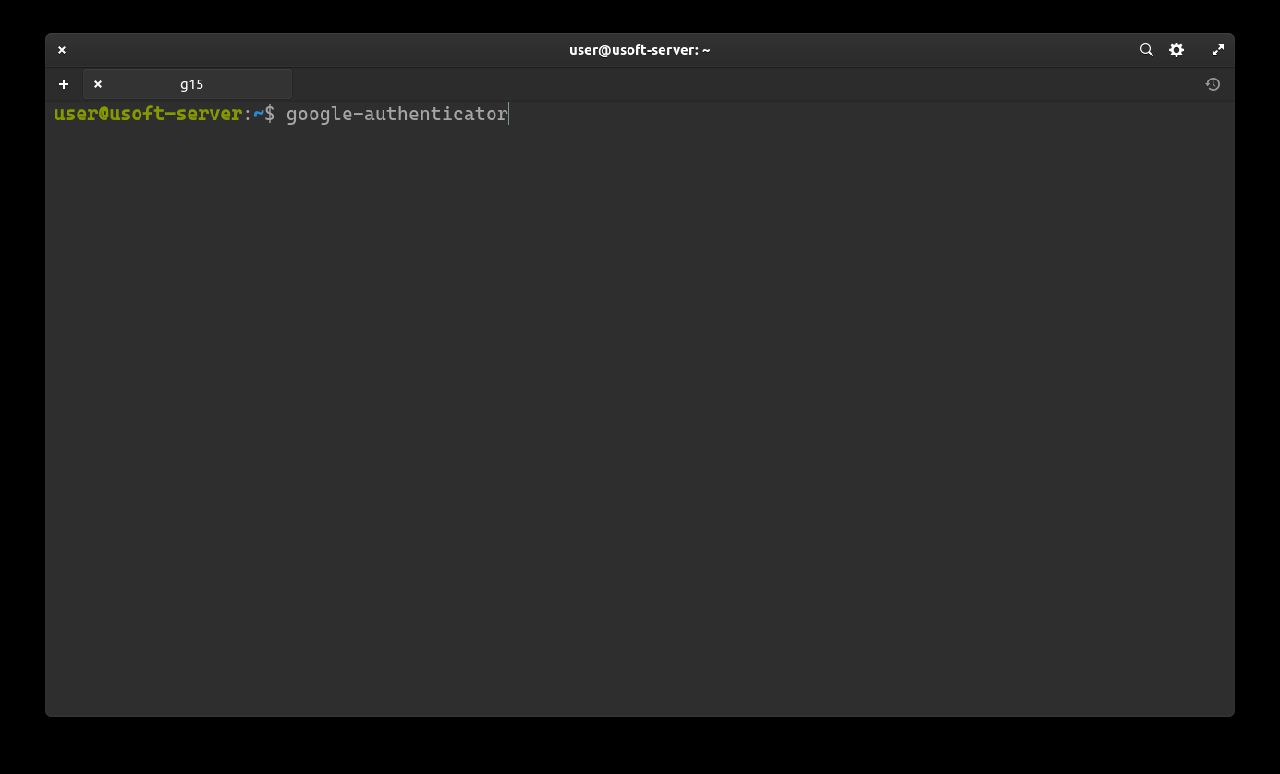
2FA Configuration
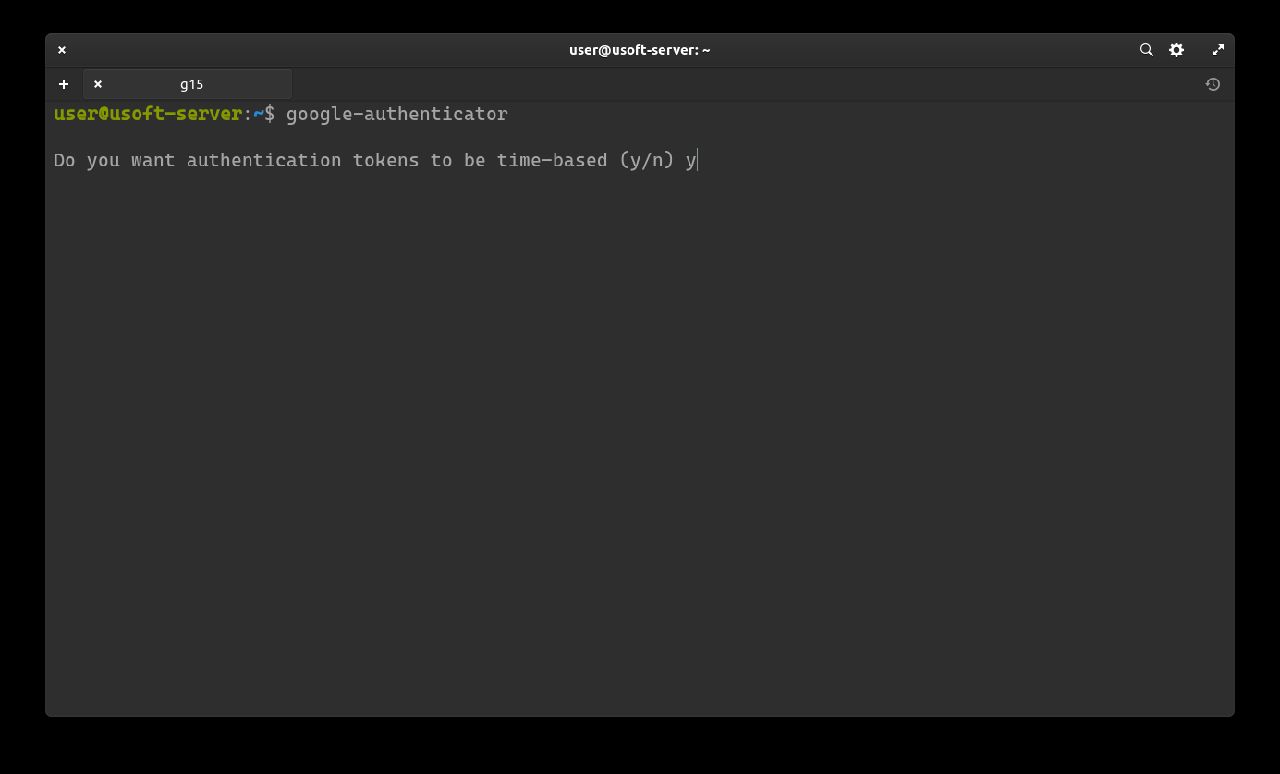
Now proceed to configure authentication with the temporary 6-digit code (changes every 30 seconds).
It will be asked whether you want the tokens to be temporary. Write y and press Enter.
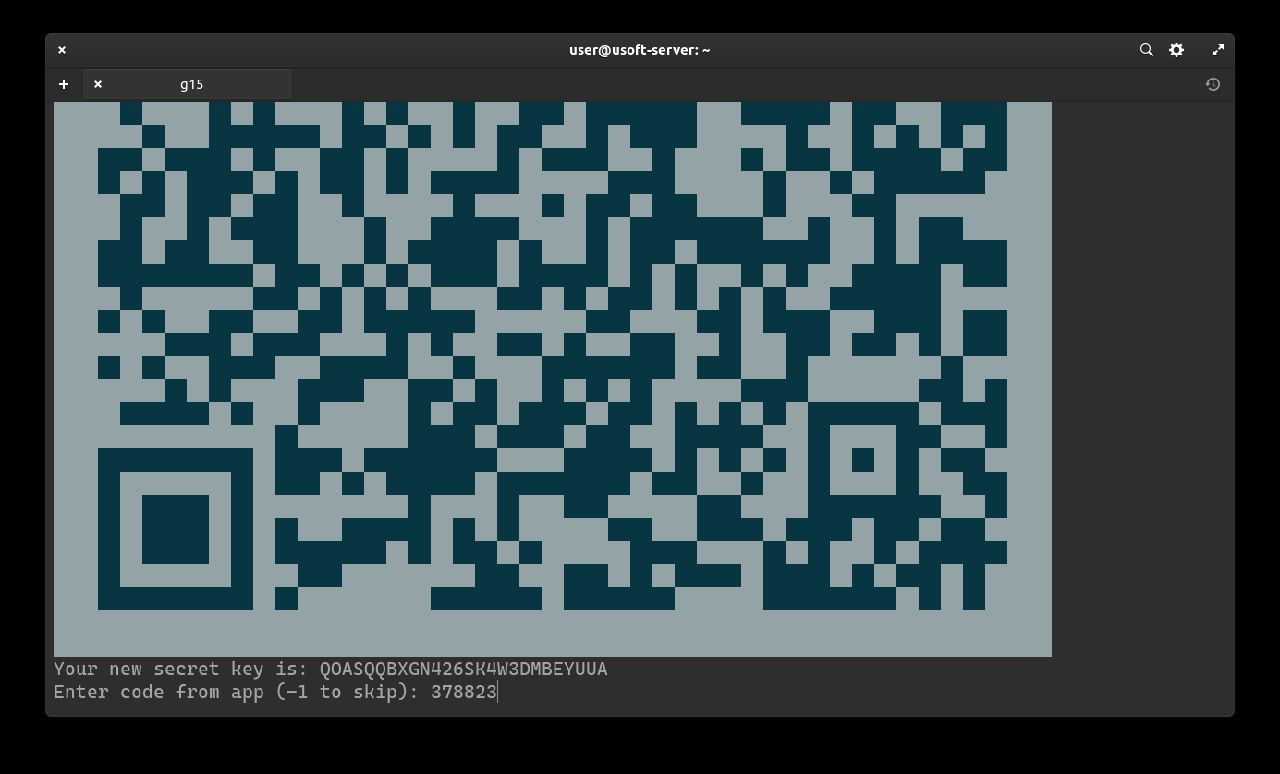
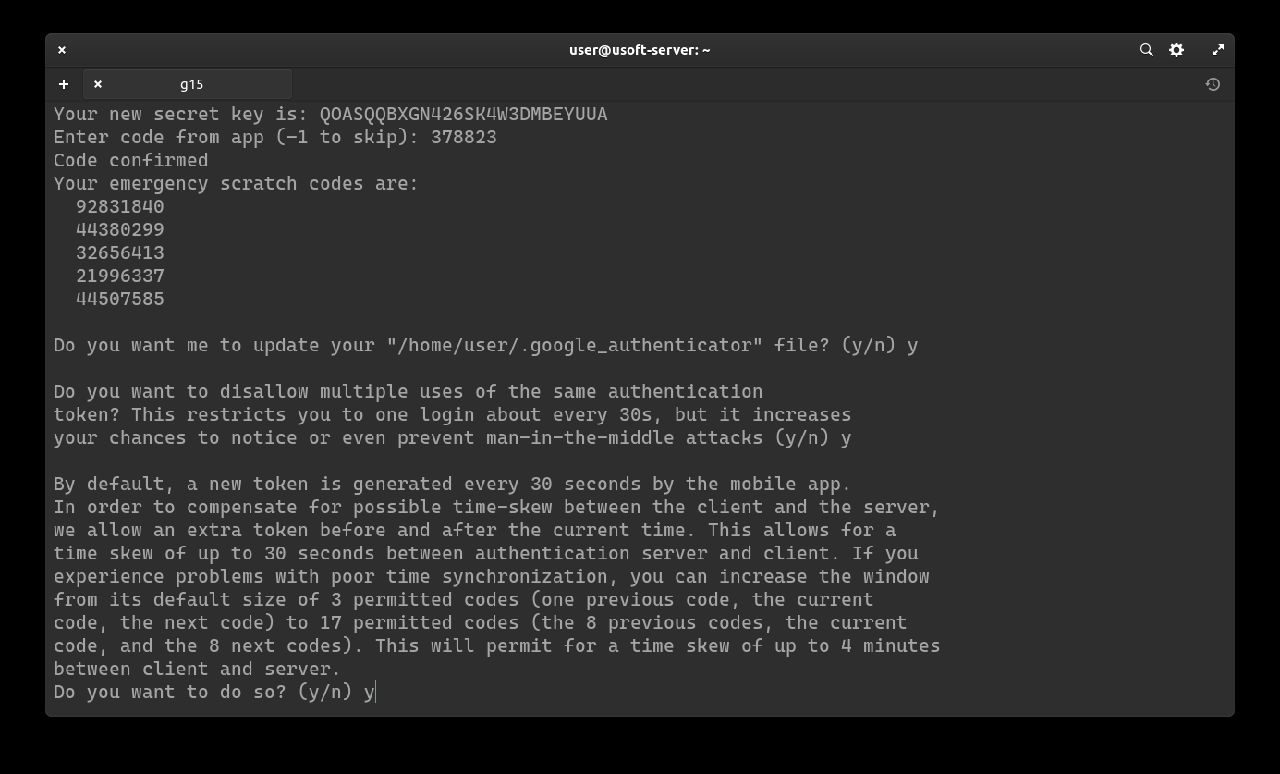
A secret key (Your new secret key is:) will be created for generating time-based codes.
It is important to keep a backup of this key to reduce the risk of losing it.
Scan the QR-Code or insert the key into an application (for Debian distros and derivatives, Authenticator is suitable already present in the system repositories) and save it.
After saving, you can see the code. Insert it into the terminal and press Enter to confirm.
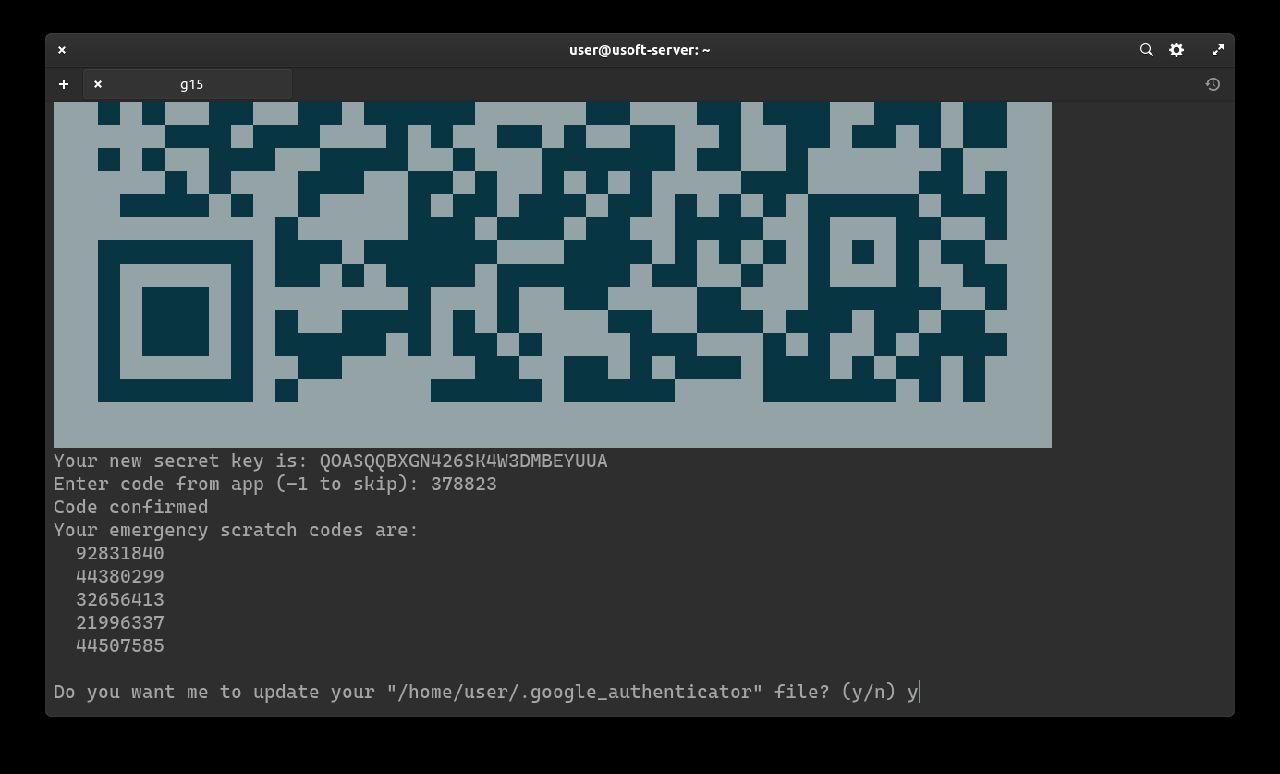
Subsequently, it will be asked whether you want to update the .google_authenticator file. Confirm by writing y and pressing Enter.
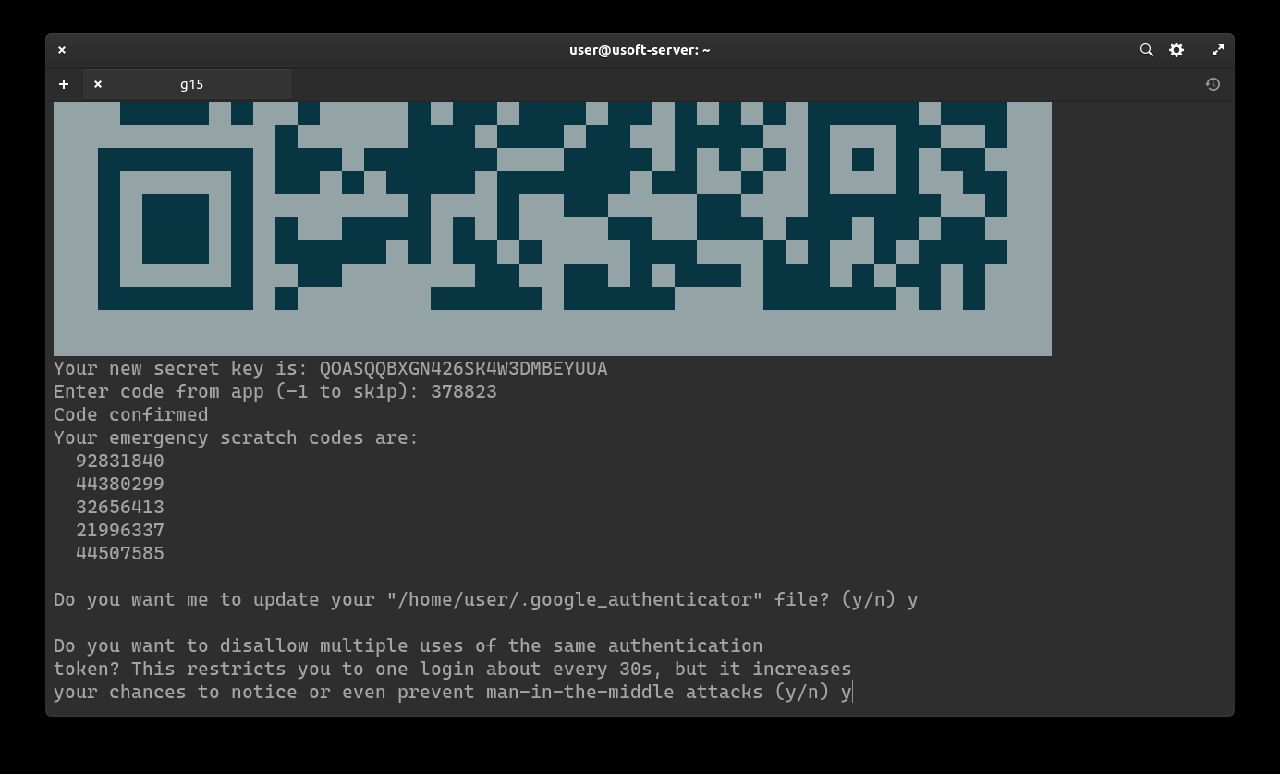
To increase security, we add restrictions to login every 30 seconds (so only one successful login per each generated code).
To confirm, write y and press Enter.
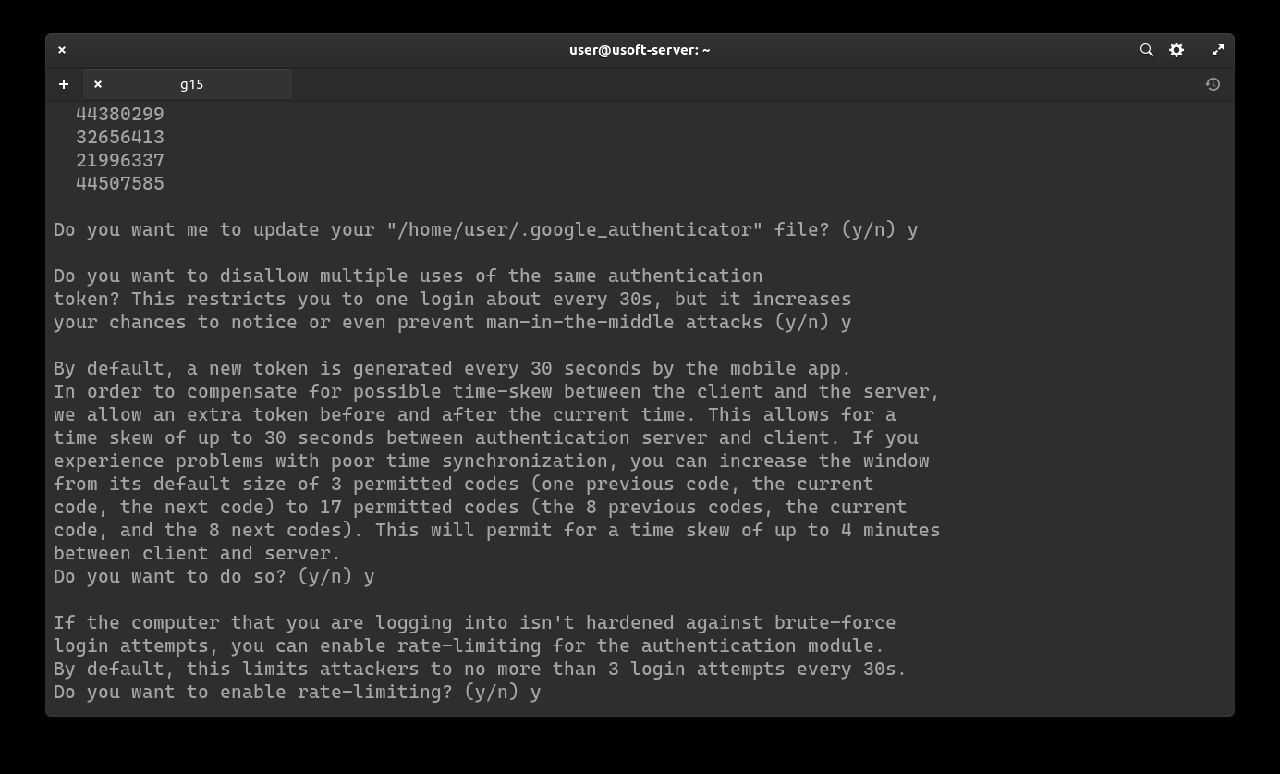
It will be asked whether you want to extend the login with the generated code beyond the time limit from 3 codes to 17 (8 previous, current and 8 subsequent). Since 3 are already enough, it does not need to be extended further so write n and press Enter.
Now the addition of the rate-limit will be confirmed, so that only 3 login attempts are possible every 30 seconds. To do this, write y and press Enter.
Adding 2FA to login
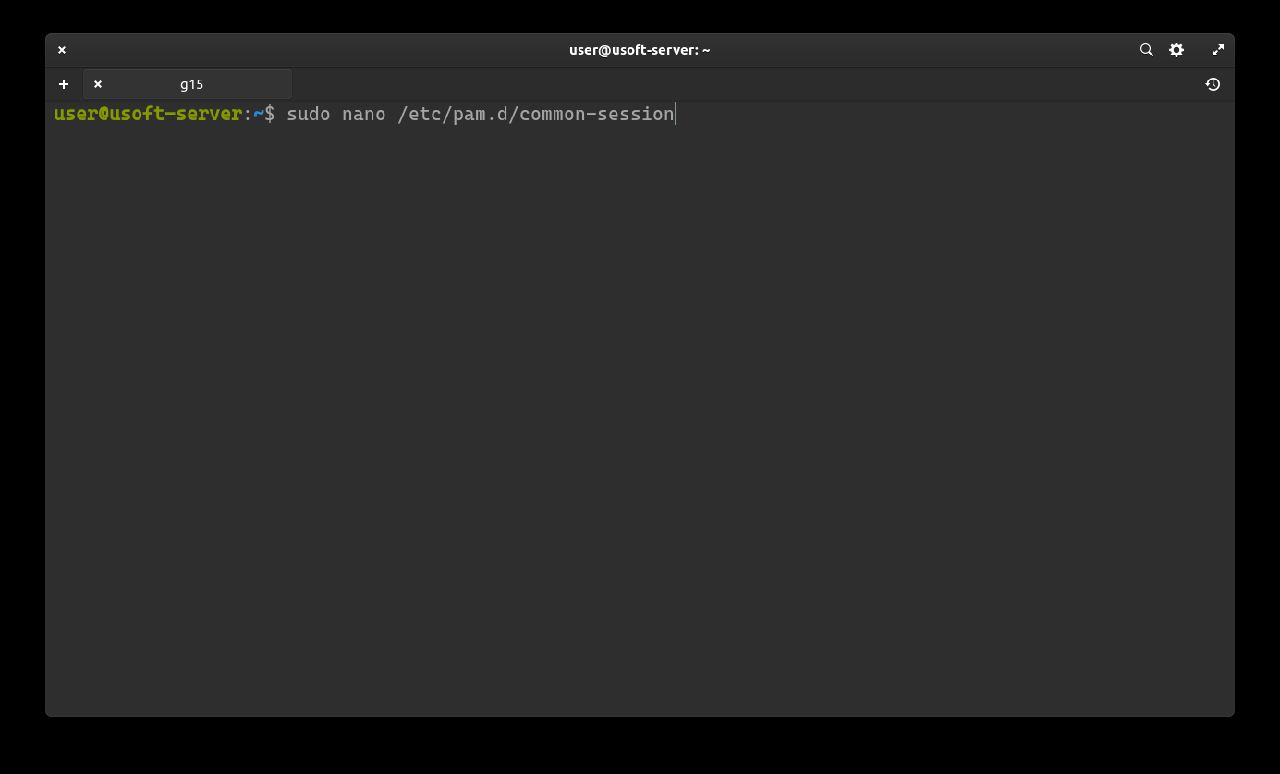
To add the just configured two-factor authentication, the common-session file must be modified with the command sudo nano /etc/pan.d/common-session. If the password is requested, enter the user password.
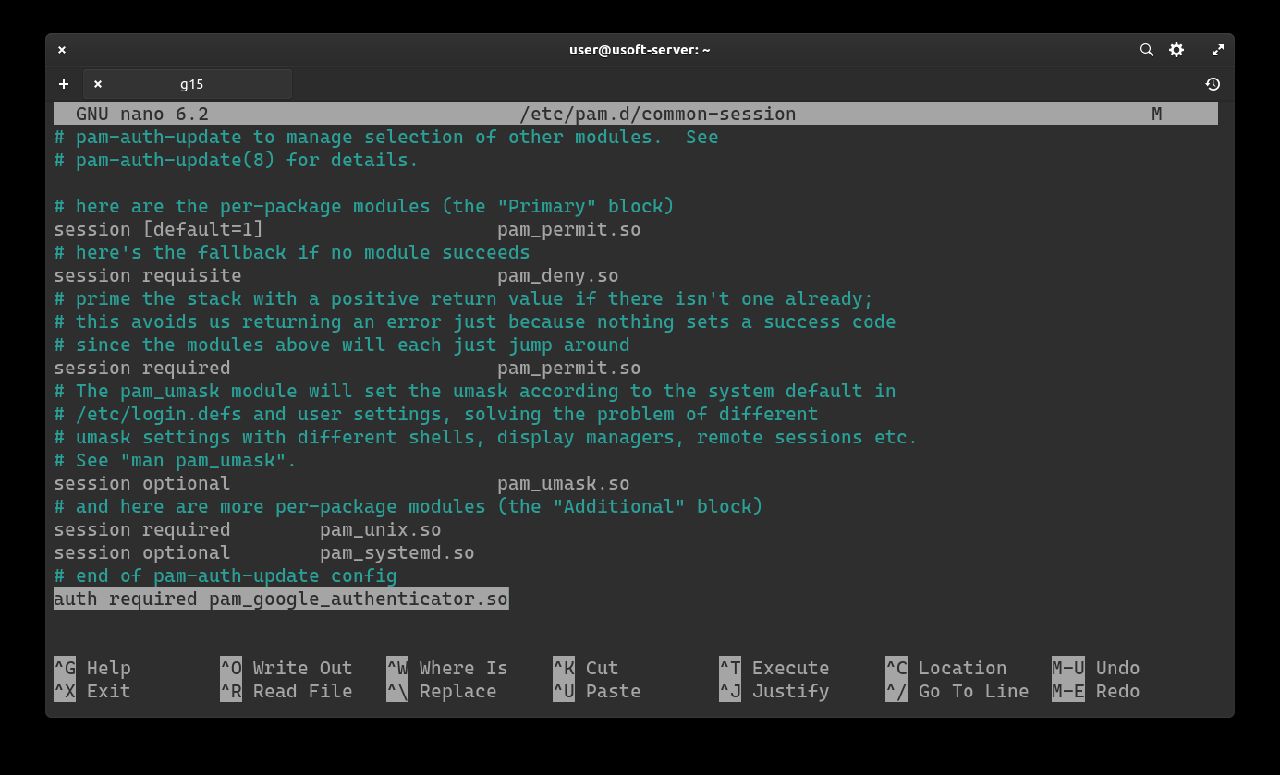
Pressing Enter the file to edit will appear. After the line # end of pam-auth-update config you must add a new line that contains auth required pam_google_authenticator.so as shown in the next screen.
To save the changes and exit the editor, press CTRL+X then write y and finally press Enter to confirm.
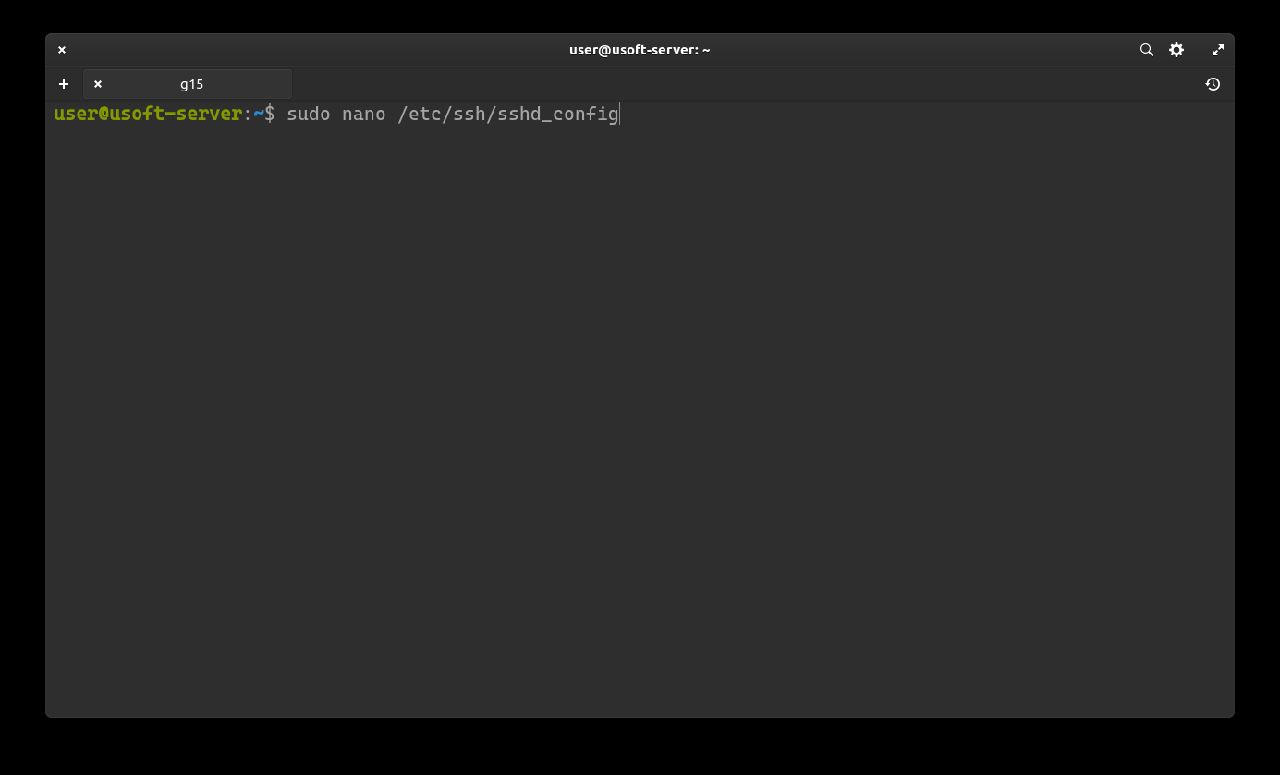
Another file to modify is sshd_config. To do this, just open it again with the command sudo nano /etc/ssh/sshd_config. If it asks for the password, enter the user password.
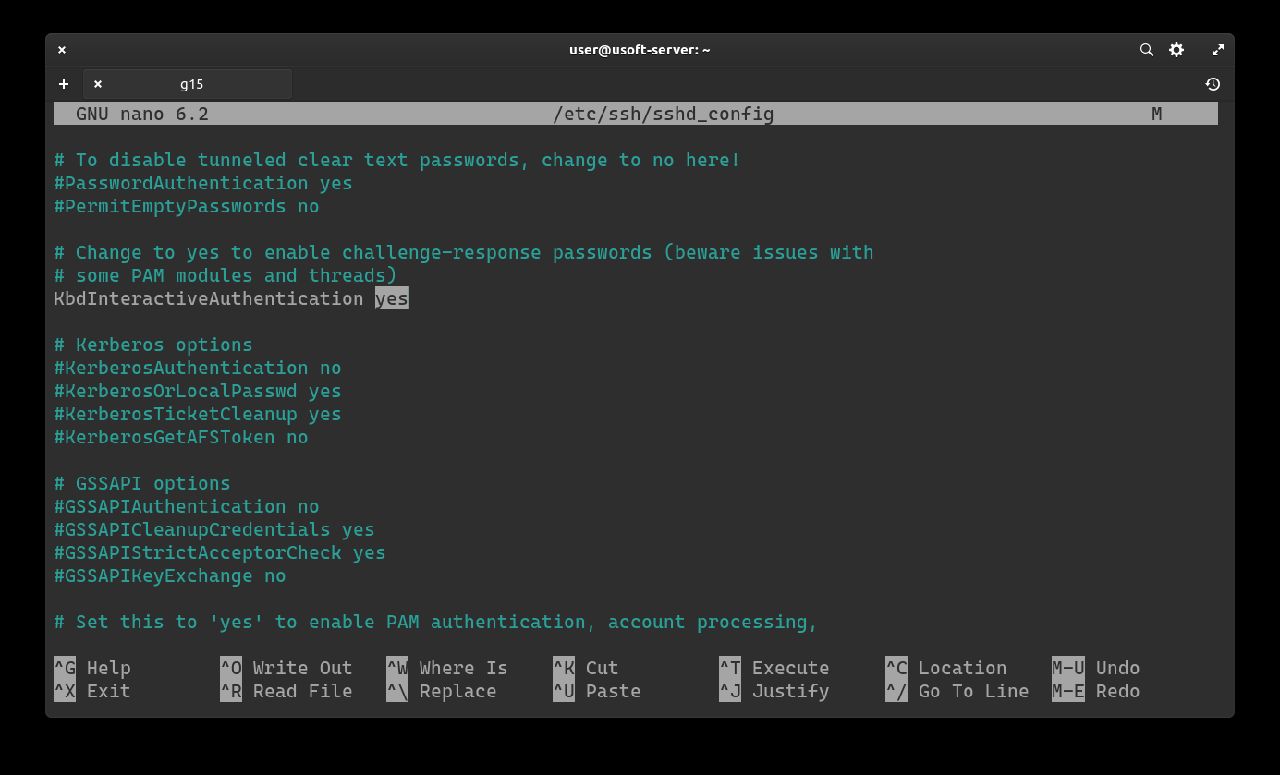
If the KbdInteractiveAuthentication option is set to no, replace it with yes.
To save these changes and exit the editor, press CTRL+X then write y and finally press Enter to confirm.
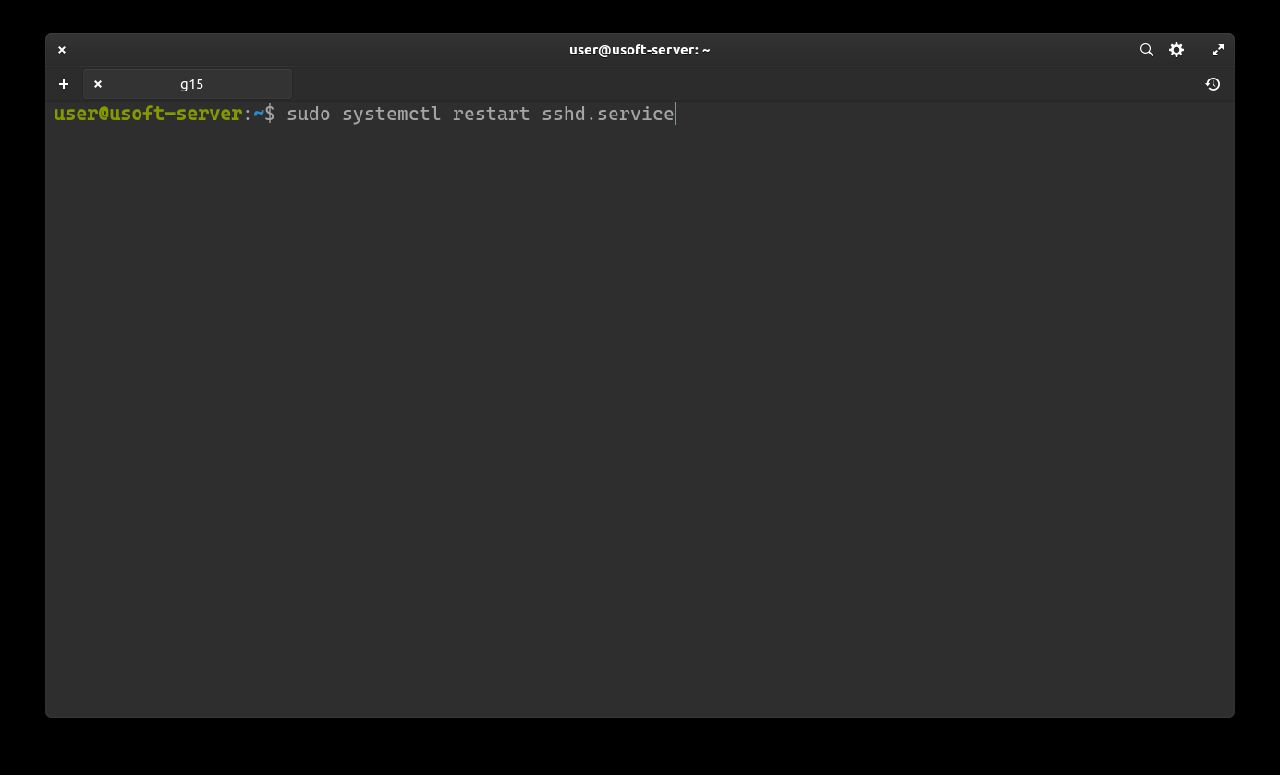
Restart the sshd.service service to load the changes with the command sudo systemctl restart sshd.service