Nella parte precedente è stato spiegato come installare Pi-Hole.
Installazione Unbound
Installazione pacchetto
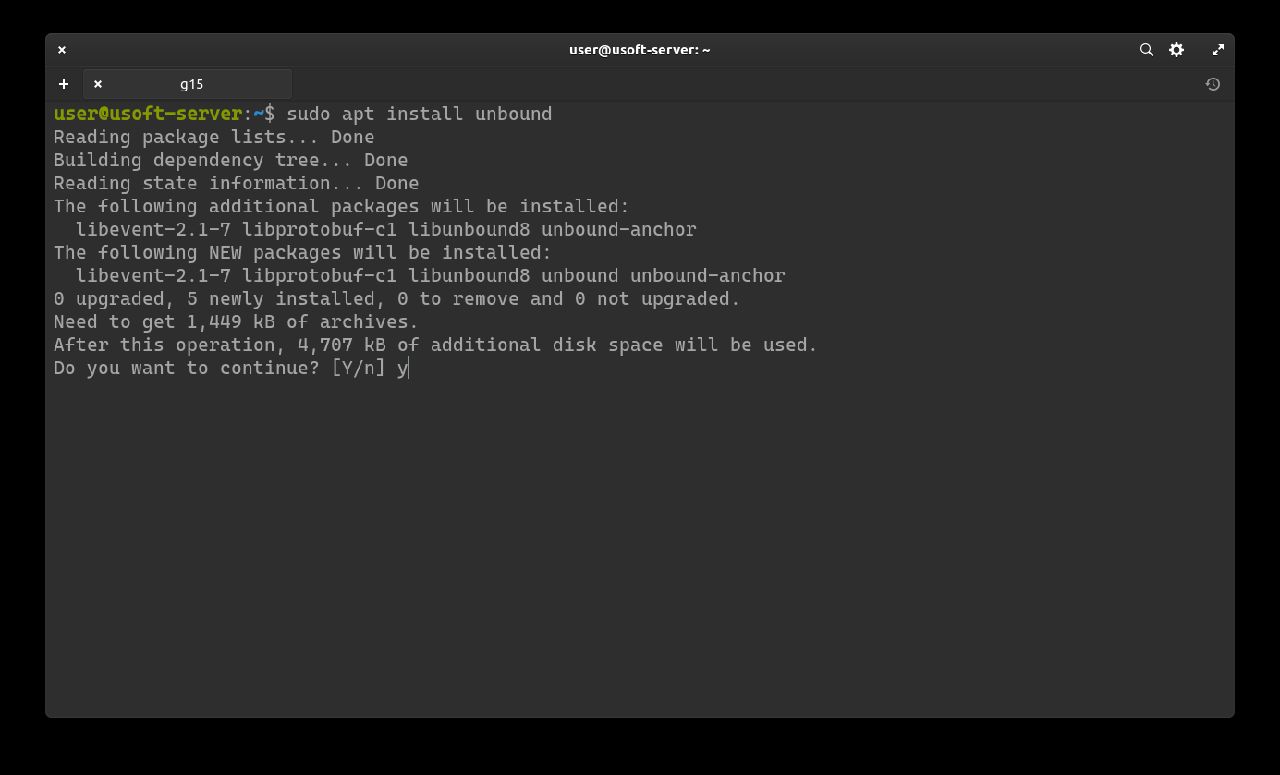
Ora di può procedere all'installazione del DNS resolver Unbound con il comando sudo apt install unbound.
È possibile che venga richiesta la password utente poiché viene lanciato con i privilegi di amministratore.
In caso affermativo inserirla e premere Invio.

Confermare l'installazione dell'applicazione scrivendo y e premendo Invio.
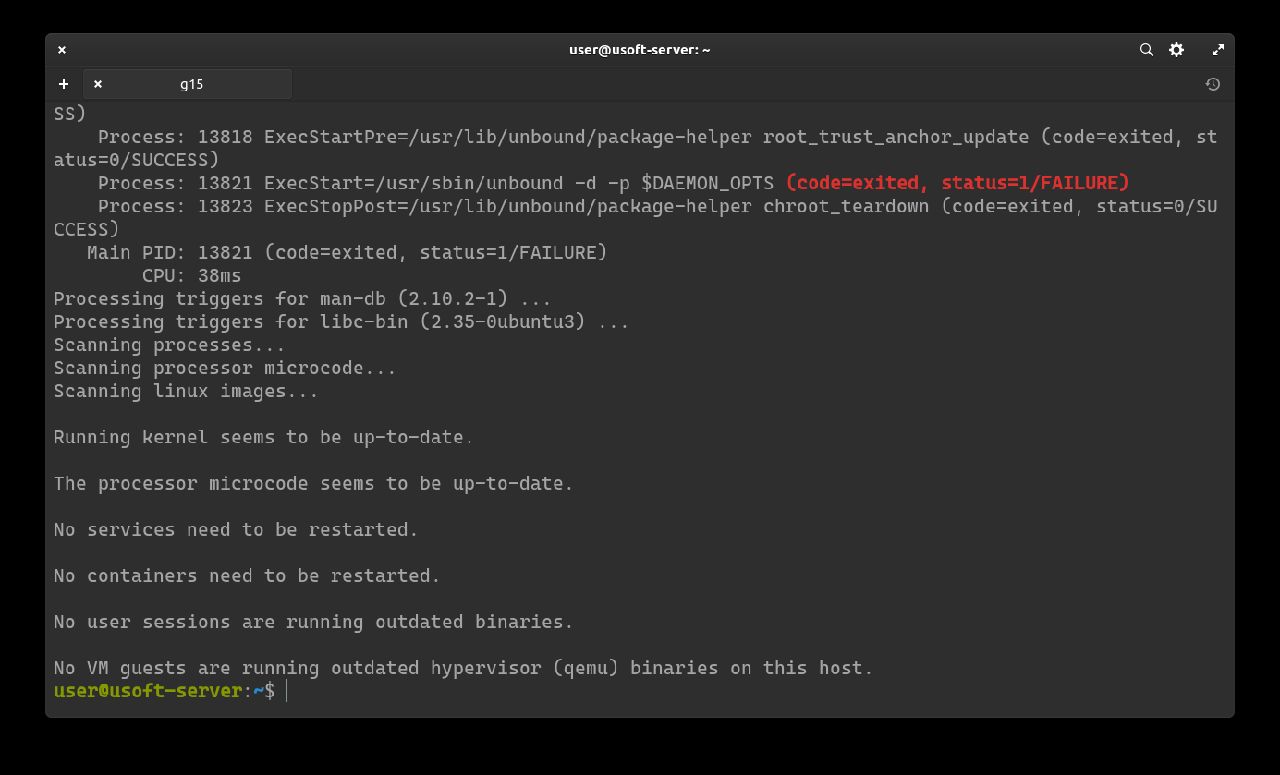
Finita l'installazione è possibile che comparirà qualche messaggio in scritto in rosso come segue. Si può ignorare dato che non influisce sul funzionamento del sistema e delle sue applicazioni.
Scaricamento ip risoluzione server di registrazione dei domini
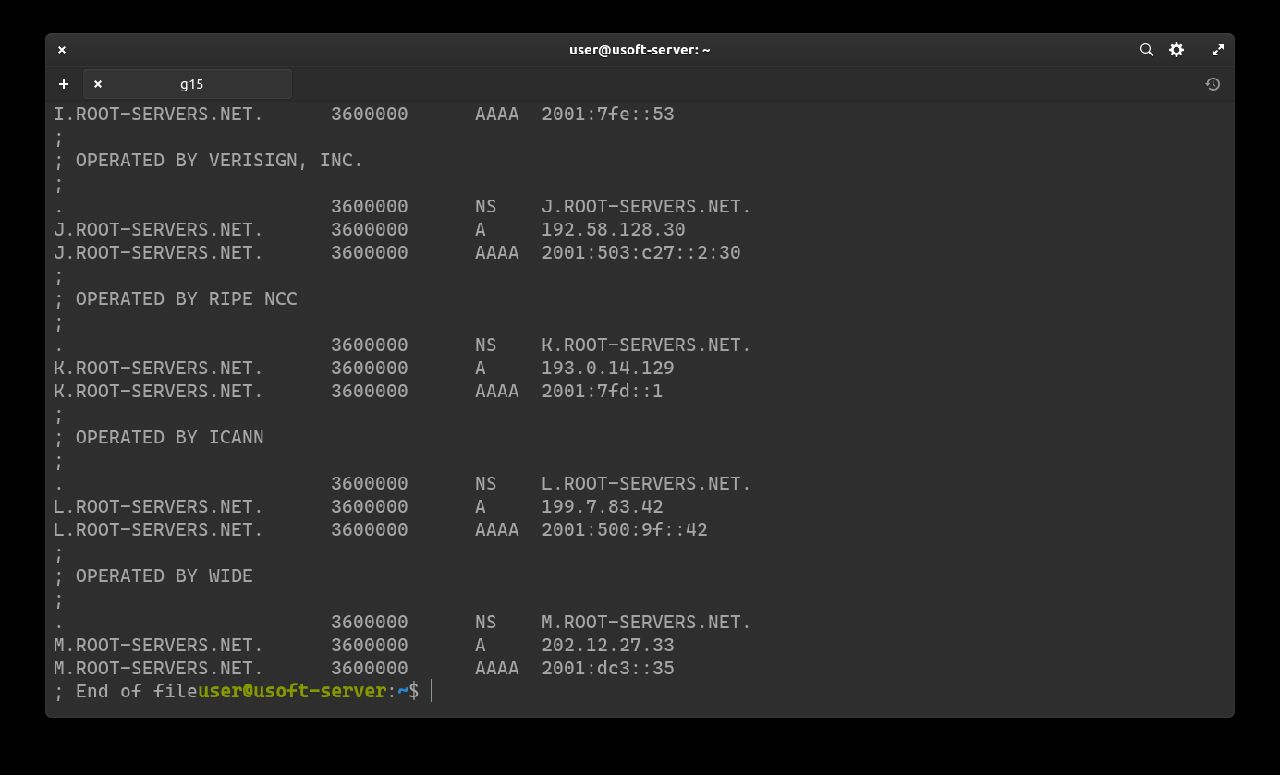
Ora è possibile scaricare la lista degli IPv4 e IPv6 per risolvere i server di registrazioni dei domini. Per far ciò usare la seguente stringa: wget -O root.hints https://www.internic.net/domain/named.root sudo mv root.hints /var/lib/unbound/.
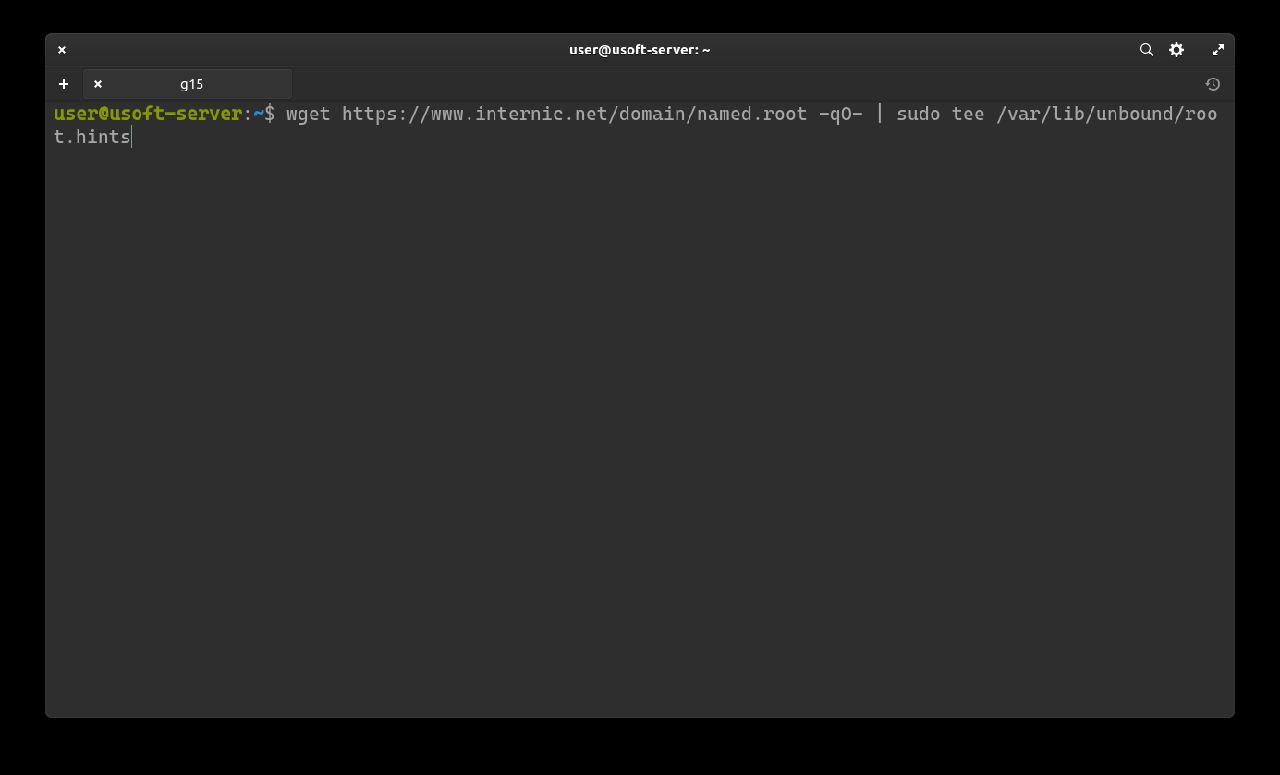
Premere Invio per lanciare il tutto.
Configurazione file
È necessario modificare il file di configurazione di Unbound. Per far ciò scrivere il comando sudo nano /etc/unbound/unbound.conf.d/pi-hole.conf e confermare con la password utente siccome viene eseguito con privilegi di amministratore.

All'interno del file vuoto dovrà essere inserito il seguente testo:
server:
# If no logfile is specified, syslog is used
# logfile: "/var/log/unbound/unbound.log"
verbosity: 0
interface: 127.0.0.1
port: 5353
do-ip4: yes
do-udp: yes
do-tcp: yes
# May be set to yes if you have IPv6 connectivity
do-ip6: no
# You want to leave this to no unless you have *native* IPv6. With 6to4 and
# Terredo tunnels your web browser should favor IPv4 for the same reasons
prefer-ip6: no
# Use this only when you downloaded the list of primary root servers!
# If you use the default dns-root-data package, unbound will find it automatically
#root-hints: "/var/lib/unbound/root.hints"
# Trust glue only if it is within the server's authority
harden-glue: yes
# Require DNSSEC data for trust-anchored zones, if such data is absent, the zone becomes BOGUS
harden-dnssec-stripped: yes
# Don't use Capitalization randomization as it known to cause DNSSEC issues sometimes
# see https://discourse.pi-hole.net/t/unbound-stubby-or-dnscrypt-proxy/9378 for further details
use-caps-for-id: no
# Reduce EDNS reassembly buffer size.
# Suggested by the unbound man page to reduce fragmentation reassembly problems
edns-buffer-size: 1472
# Perform prefetching of close to expired message cache entries
# This only applies to domains that have been frequently queried
prefetch: yes
# One thread should be sufficient, can be increased on beefy machines. In reality for most users running on small networks or on a single machine, it should be unnecessary to seek performance enhancement by increasing num-threads above 1.
num-threads: 1
# Ensure kernel buffer is large enough to not lose messages in traffic spikes
so-rcvbuf: 1m
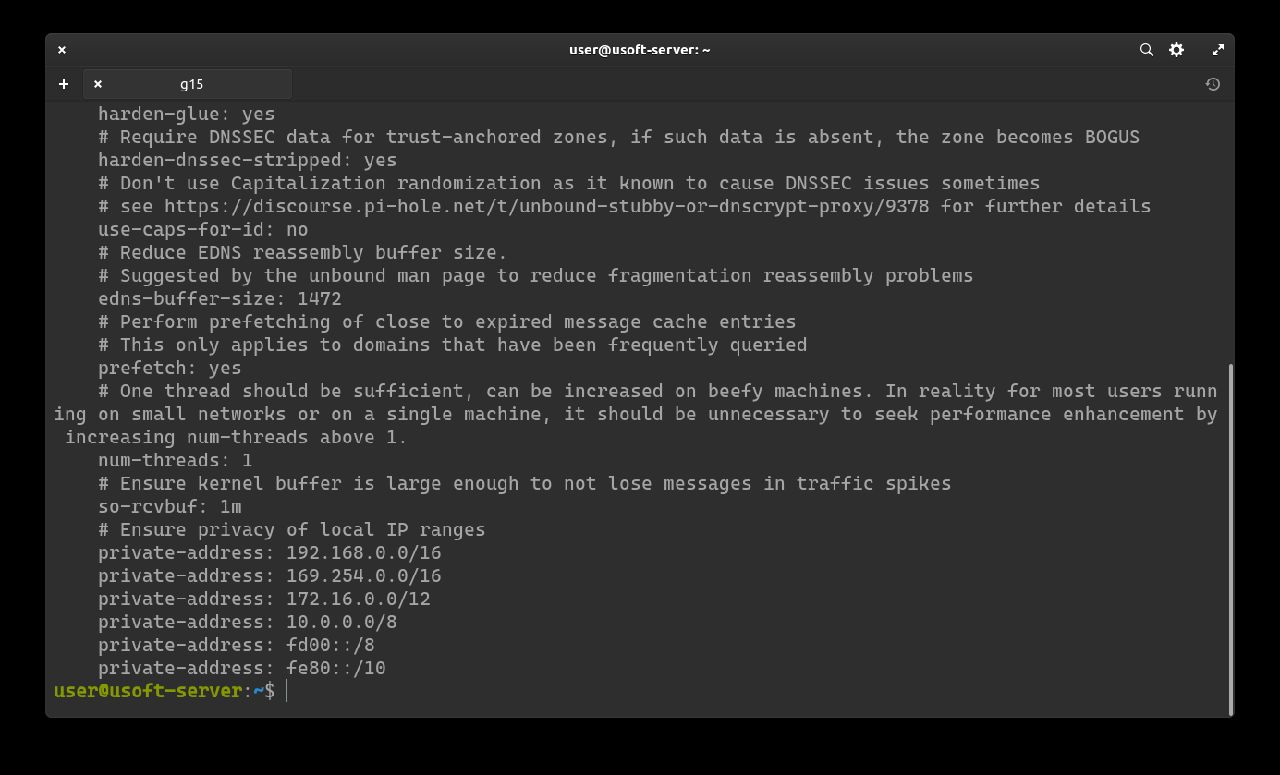
# Ensure privacy of local IP ranges
private-address: 192.168.0.0/16
private-address: 169.254.0.0/16
private-address: 172.16.0.0/12
private-address: 10.0.0.0/8
private-address: fd00::/8
private-address: fe80::/10
Link al file di riferimento: pi-hole.conf
Alle righe che iniziano con interface e port (in questo caso contengono rispettivamente 127.0.0.1 e 5353) avranno le stringhe che successivamente verrano inserite nelle impostazioni di Pi-Hole da interfaccia web.

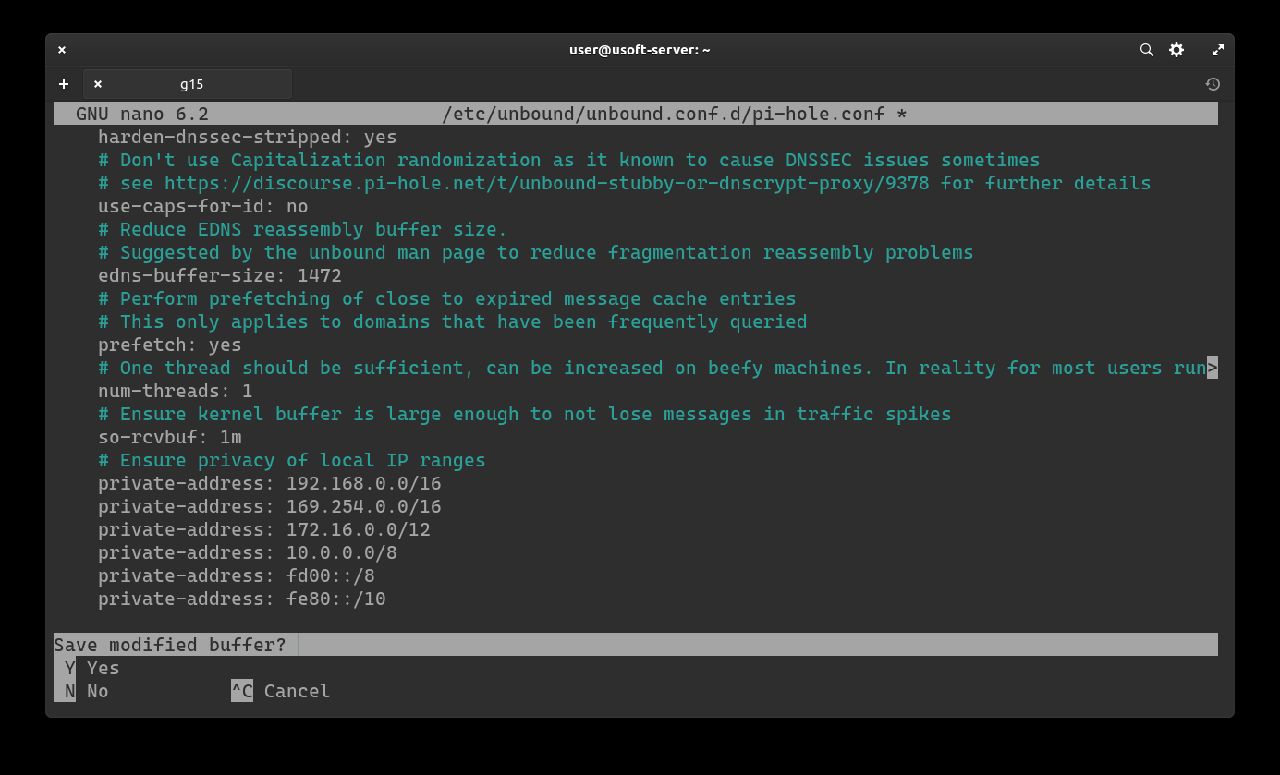
Per uscire premere CTRL+X. Chiederà se si vuole salvare e confermare scrivendo y e premere Invio.
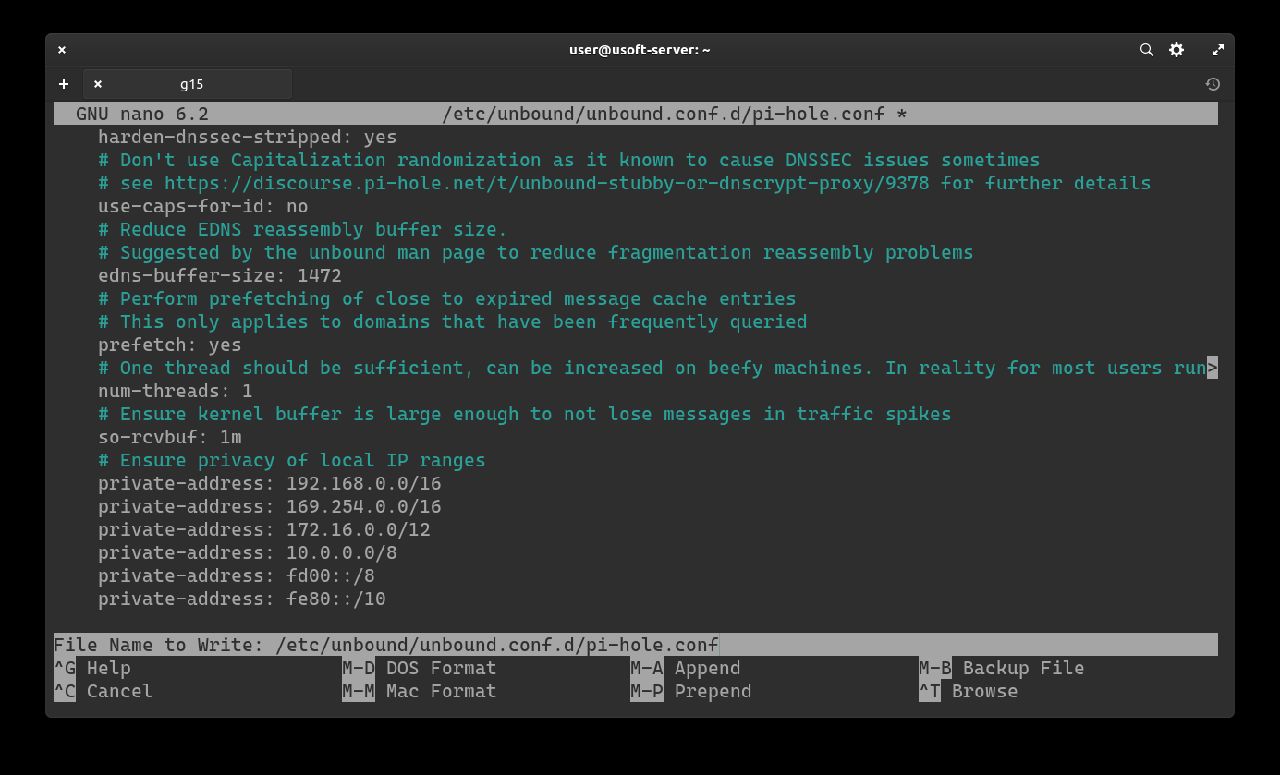
Confermare il nome e percorso di salvataggio del file premendo Invio.
Verifica correttezza file
Per avere la certezza che il file sia stato salvato correttamente copiare il seguente comando sudo cat /etc/unbound/unbound.conf.d/pi-hole.conf e premere Invio per eseguirlo.
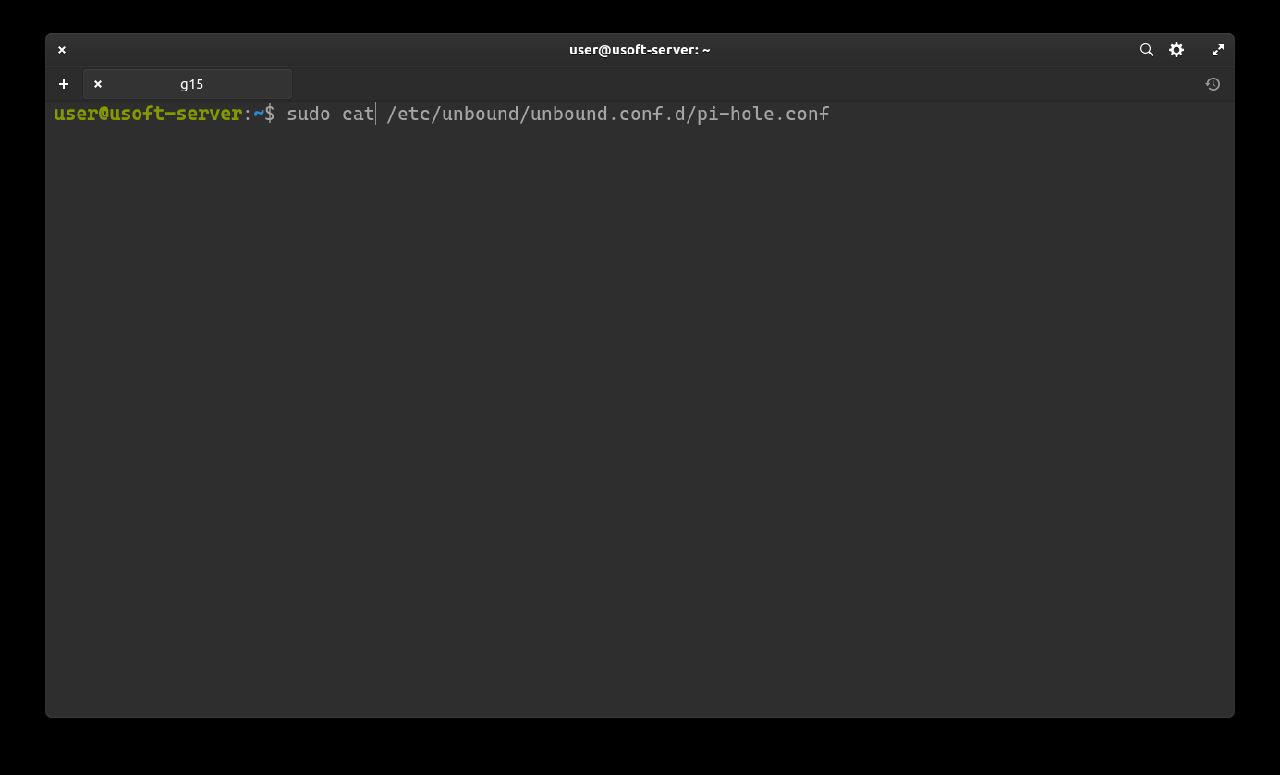
Controllare che sia uguale a quanto precedentemente copiato.
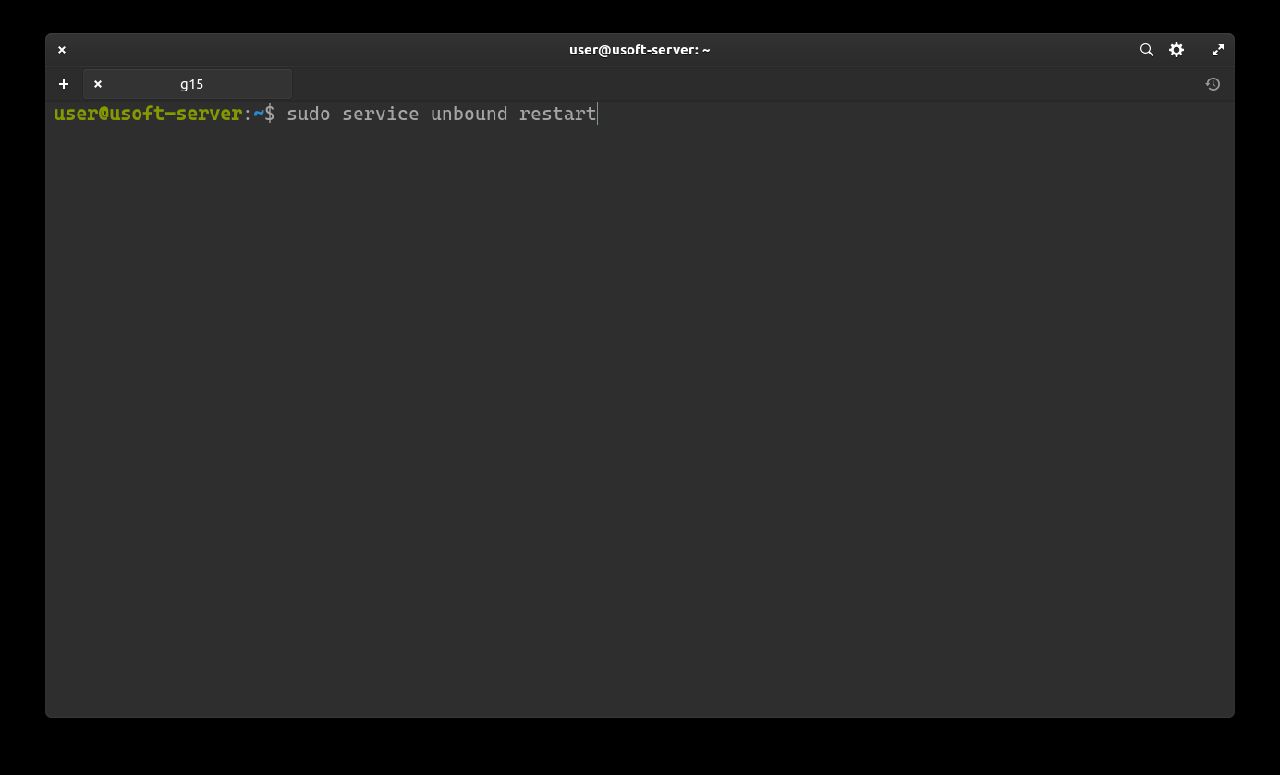
Riavvio servizio Unbound
Riavviare Unbound per caricare la nuova configurazione: sudo service unbound restart e premere Invio. È possibile che venga richiesta la password utente poiché viene lanciato con i privilegi di amministratore. In caso affermativo inserirla e premere Invio.
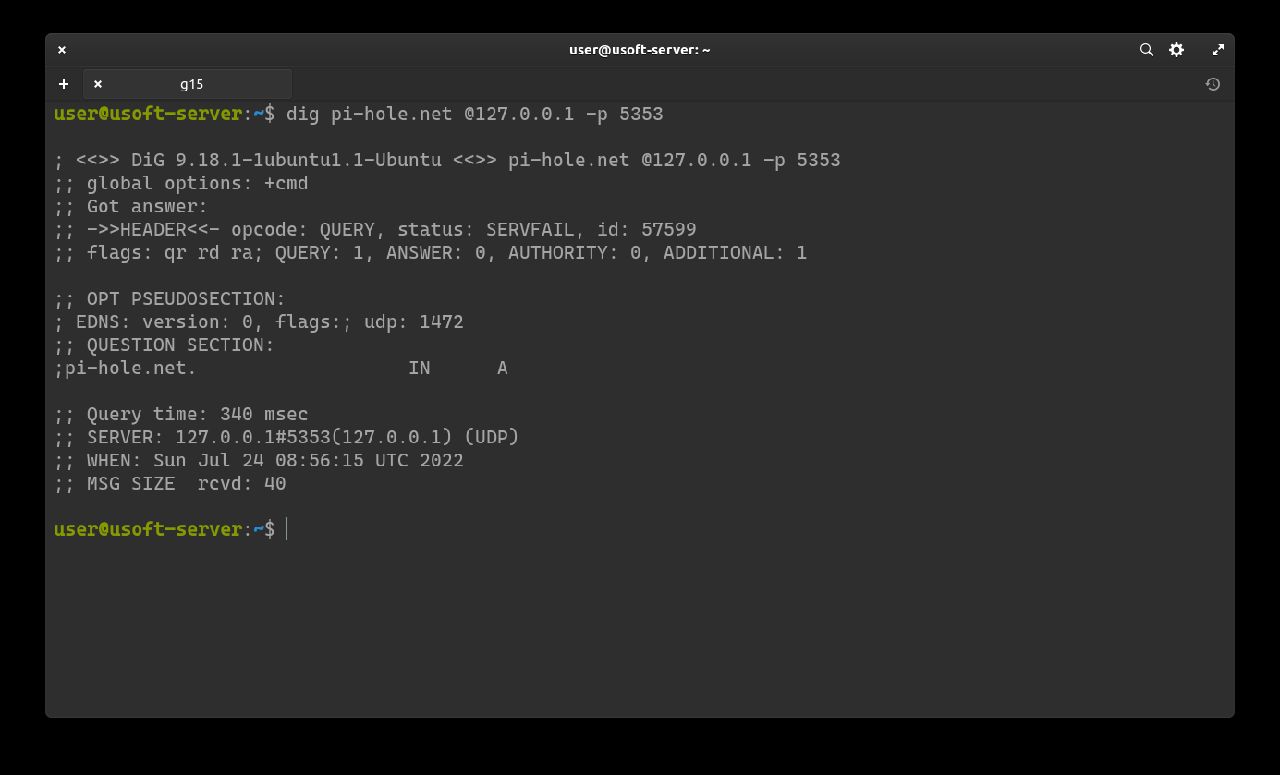
Verifica funzionamento DNSSEC
I seguenti comandi servono a verificare che DNSSEC funzioni in modo corretto.
Primo comando: dig pi-hole.net @127.0.0.1 -p 5353
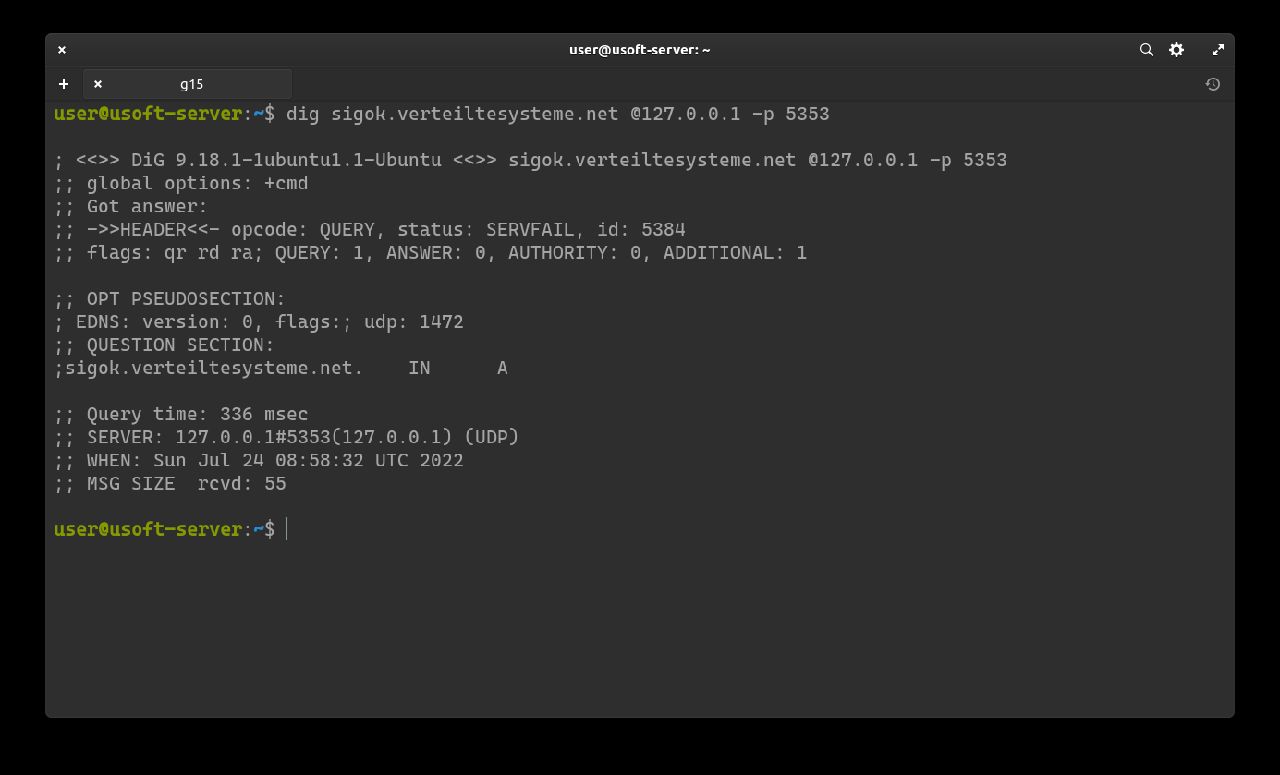
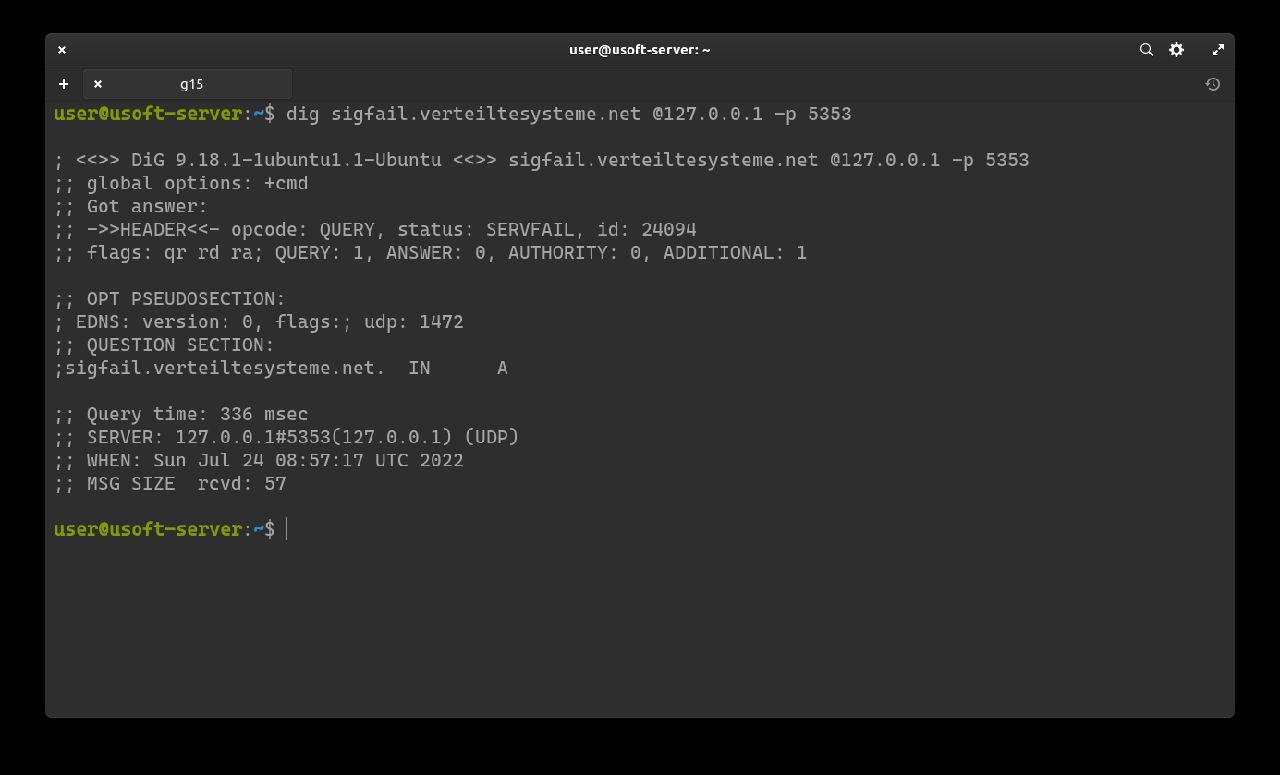
Il seguente comando dovrebbe ritornare SERVFAIL senza nessun indirizzo IP: dig sigfail.verteiltesysteme.net @127.0.0.1 -p 5353.
Questo comando dovrebbe ritornare NOERROR con un indirizzo IP: dig sigok.verteiltesysteme.net @127.0.0.1 -p 5353.
Se entrambi ritornano in modo corretto allora DNSSEC funziona.