In the previous part it was explained how to install Pi-Hole.
Unbound Installation
Package Installation
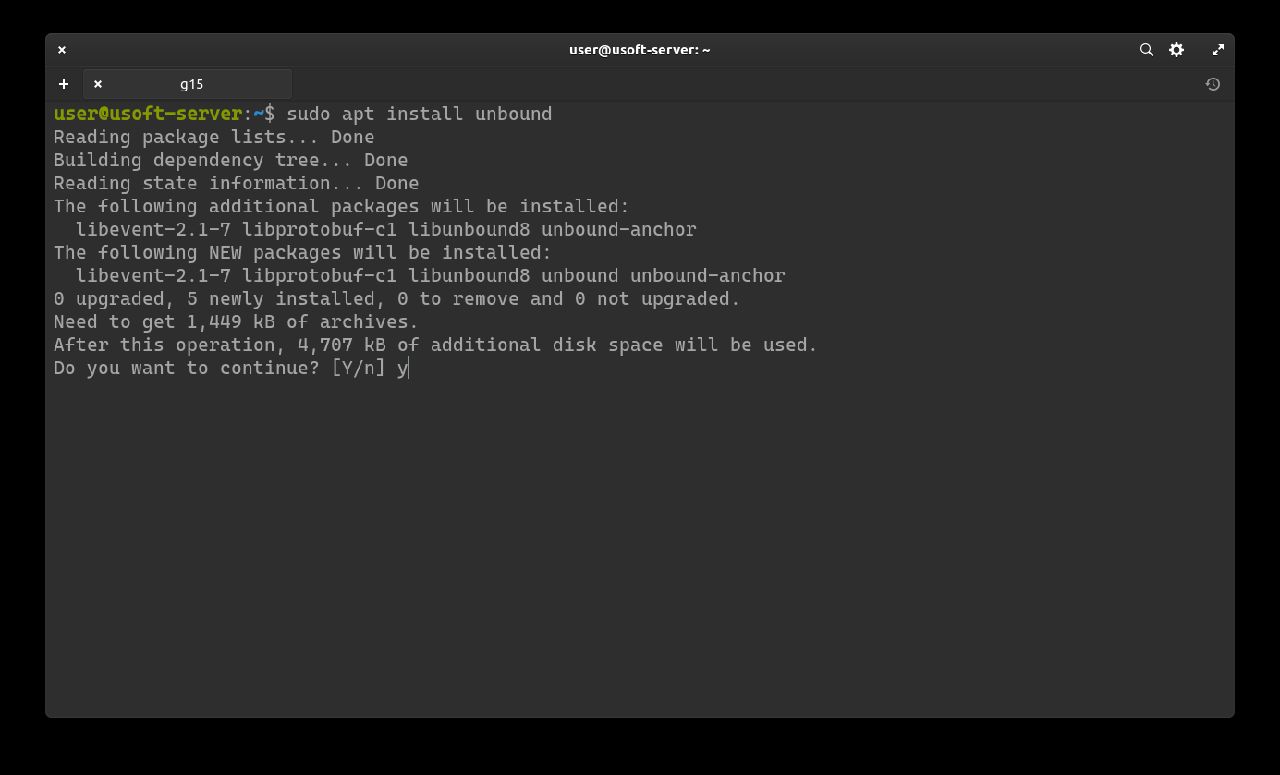
Now you can proceed with the installation of the DNS resolver Unbound with the command sudo apt install unbound.
It may request the user password as it is launched with administrator privileges.
In case affirmative, enter it and press Enter.

Confirm the application installation by writing y and pressing Enter.
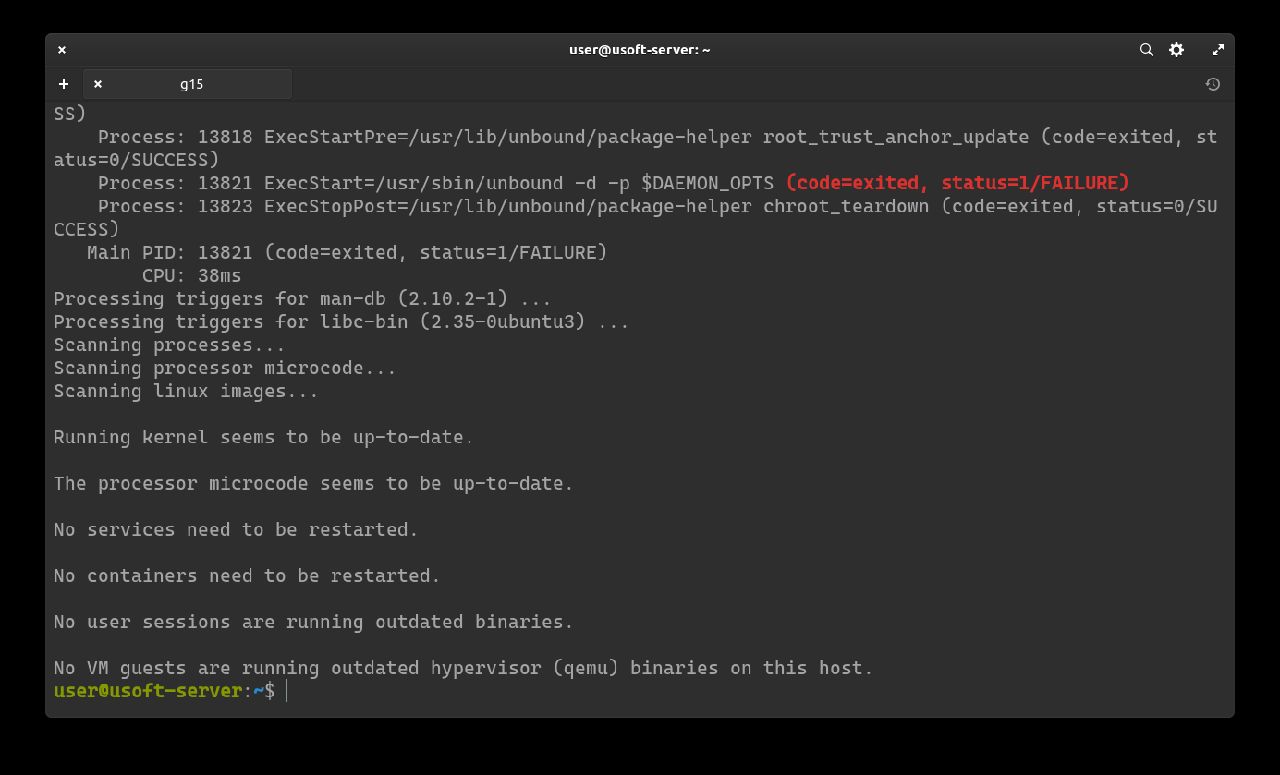
Once the installation is finished, you may see some written messages in red as follows. They can be ignored as they do not affect the functioning of the system and its applications.
Downloading domain registration server resolution IP
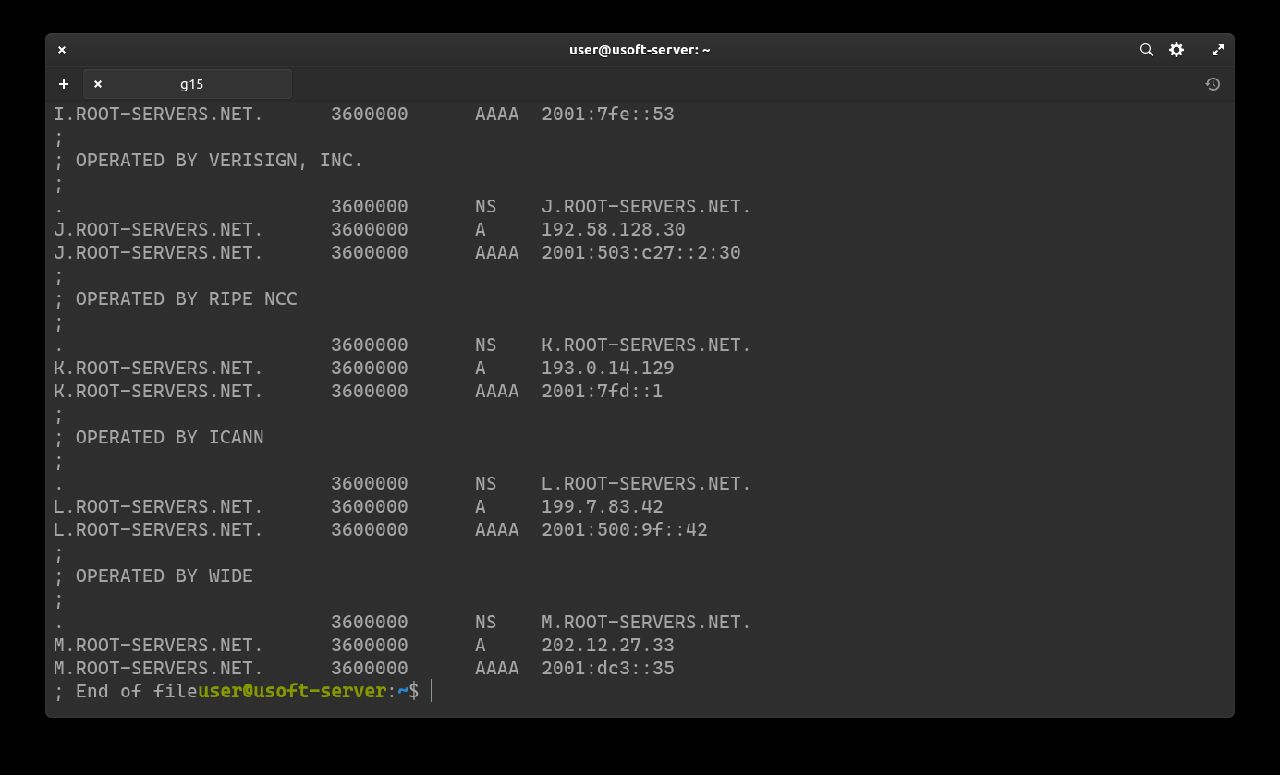
Now it is possible to download the list of IPv4 and IPv6 for resolving the domain registration servers. To do this, use the following string: wget -O root.hints https://www.internic.net/domain/named.root sudo mv root.hints /var/lib/unbound/.
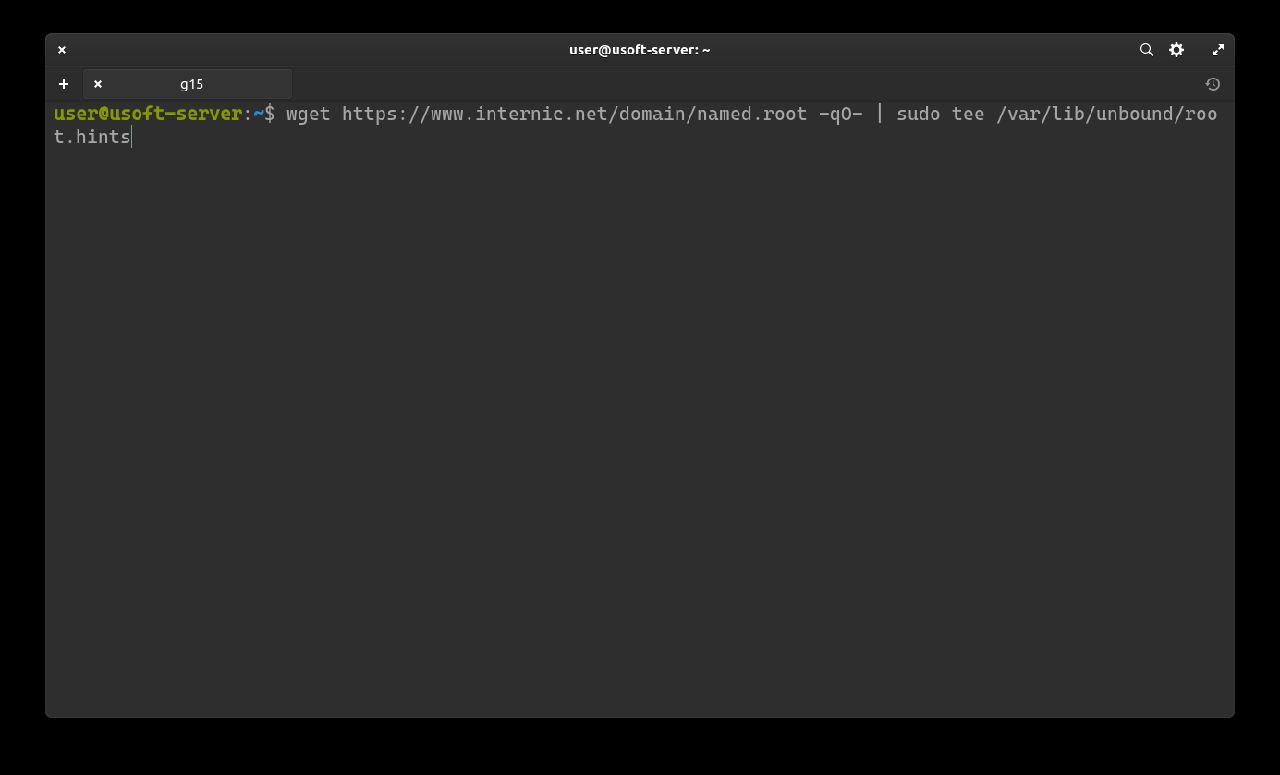
Press Enter to start everything.
File Configuration
It is necessary to modify the Unbound configuration file. To do this, write the command sudo nano /etc/unbound/unbound.conf.d/pi-hole.conf and confirm with the user password as it is executed with administrator privileges.

Within the empty file, the following text should be inserted:
server:
    # If no logfile is specified, syslog is used
    # logfile: "/var/log/unbound/unbound.log"
    verbosity: 0
    interface: 127.0.0.1
    port: 5353
    do-ip4: yes
    do-udp: yes
    do-tcp: yes
    # May be set to yes if you have IPv6 connectivity
    do-ip6: no
    # You want to leave this to no unless you have *native* IPv6. With 6to4 and
    # Terredo tunnels your web browser should favor IPv4 for the same reasons
    prefer-ip6: no
    # Use this only when you downloaded the list of primary root servers!
    # If you use the default dns-root-data package, unbound will find it automatically
    #root-hints: "/var/lib/unbound/root.hints"
    # Trust glue only if it is within the server's authority
    harden-glue: yes
    # Require DNSSEC data for trust-anchored zones, if such data is absent, the zone becomes BOGUS
    harden-dnssec-stripped: yes
    # Don't use Capitalization randomization as it known to cause DNSSEC issues sometimes
    # see https://discourse.pi-hole.net/t/unbound-stubby-or-dnscrypt-proxy/9378 for further details
    use-caps-for-id: no
    # Reduce EDNS reassembly buffer size.
    # Suggested by the unbound man page to reduce fragmentation reassembly problems
    edns-buffer-size: 1472
    # Perform prefetching of close to expired message cache entries
    # This only applies to domains that have been frequently queried
    prefetch: yes
    # One thread should be sufficient, can be increased on beefy machines. In reality for most users running on small networks or on a single machine, it should be unnecessary to seek performance enhancement by increasing num-threads above 1.
    num-threads: 1
    # Ensure kernel buffer is large enough to not lose messages in traffic spikes
    so-rcvbuf: 1m
    # Ensure privacy of local IP ranges
    private-address: 192.168.0.0/16
    private-address: 169.254.0.0/16
    private-address: 172.16.0.0/12
    private-address: 10.0.0.0/8
    private-address: fd00::/8
    private-address: fe80::/10
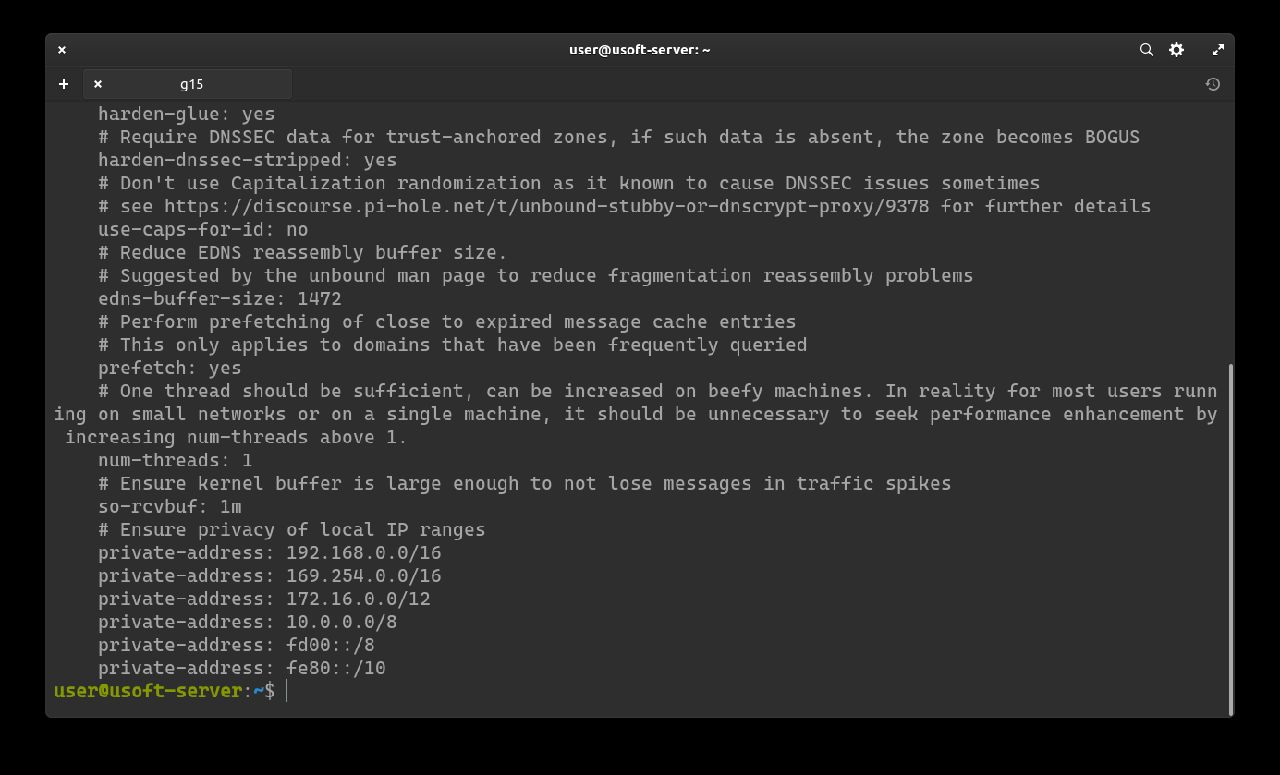
Link to the reference file: pi-hole.conf
At lines that begin with interface and port (in this case containing respectively 127.0.0.1 and 5353) will have the strings that will subsequently be inserted into the Pi-Hole web interface settings.

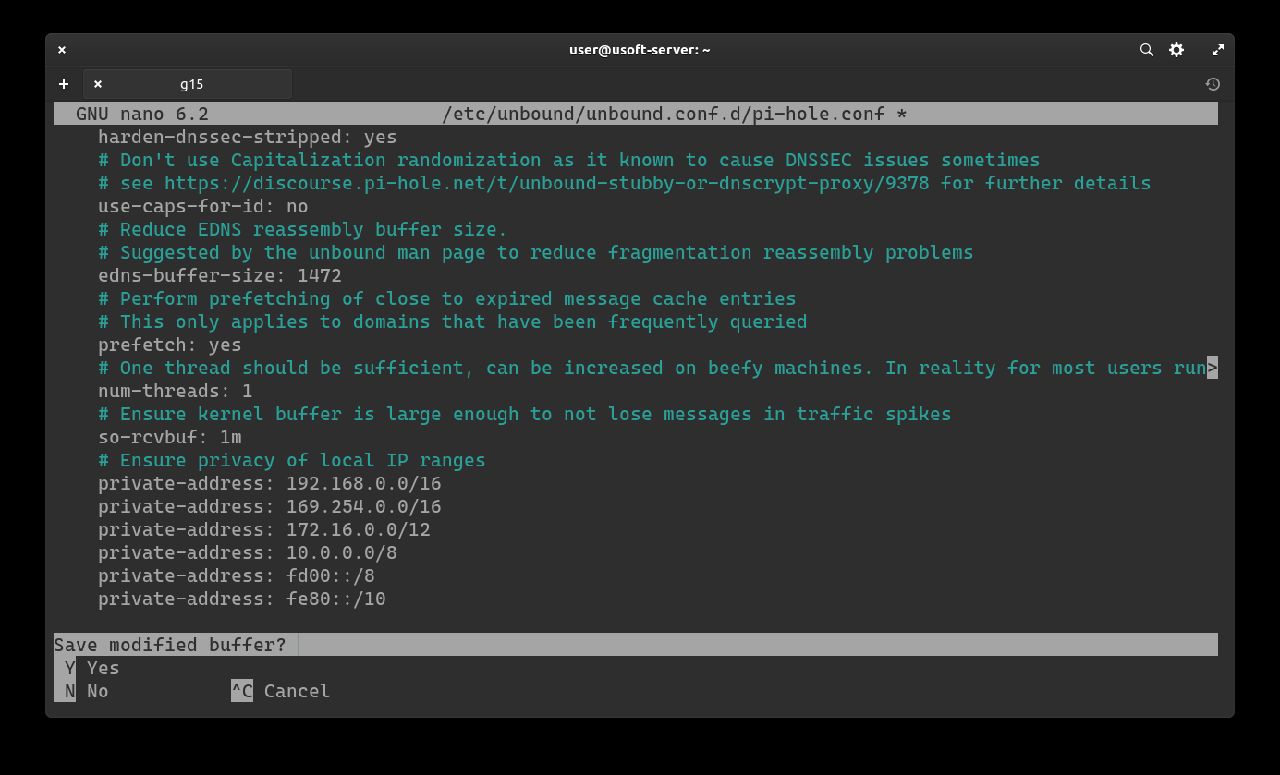
To exit, press CTRL+X. It will ask if you want to save and confirm by writing y and pressing Enter.
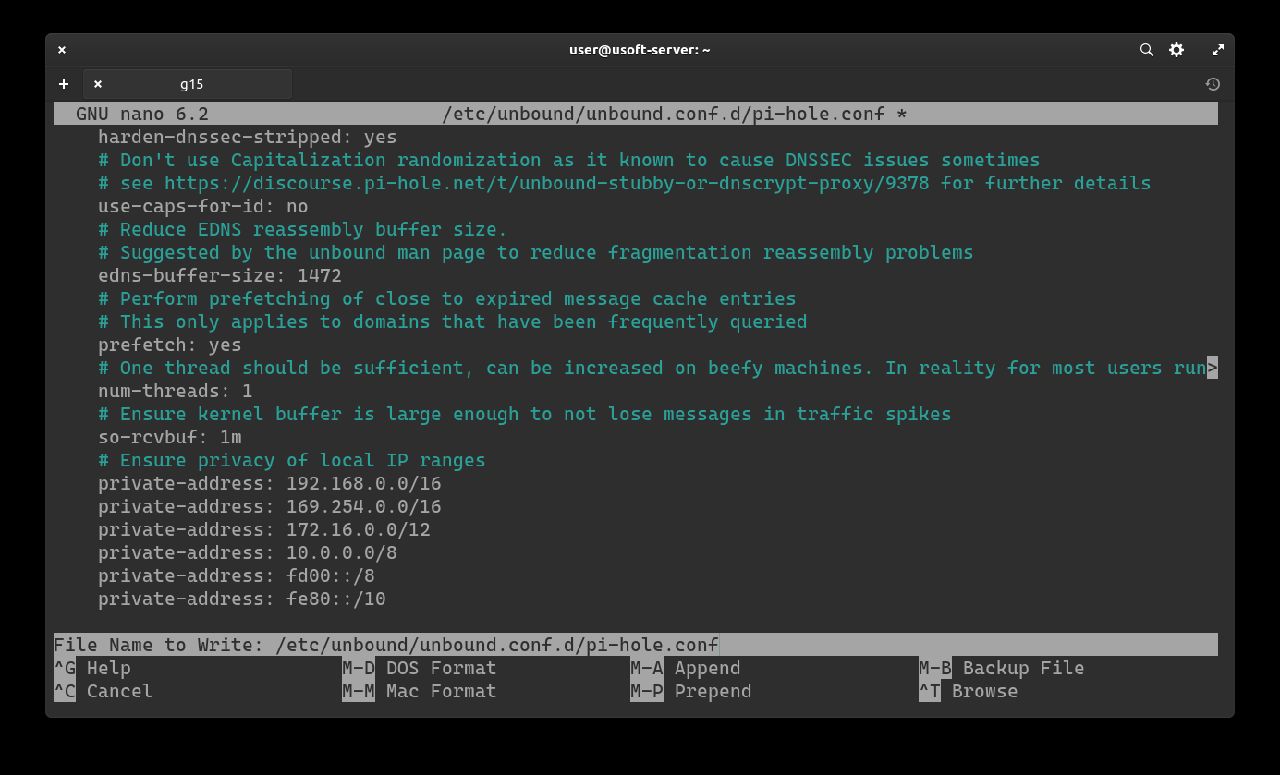
Confirm the name and save location of the file by pressing Enter.
Check correctness of the file
To be sure that the file has been saved correctly, copy the following command sudo cat /etc/unbound/unbound.conf.d/pi-hole.conf and press Enter to execute it.
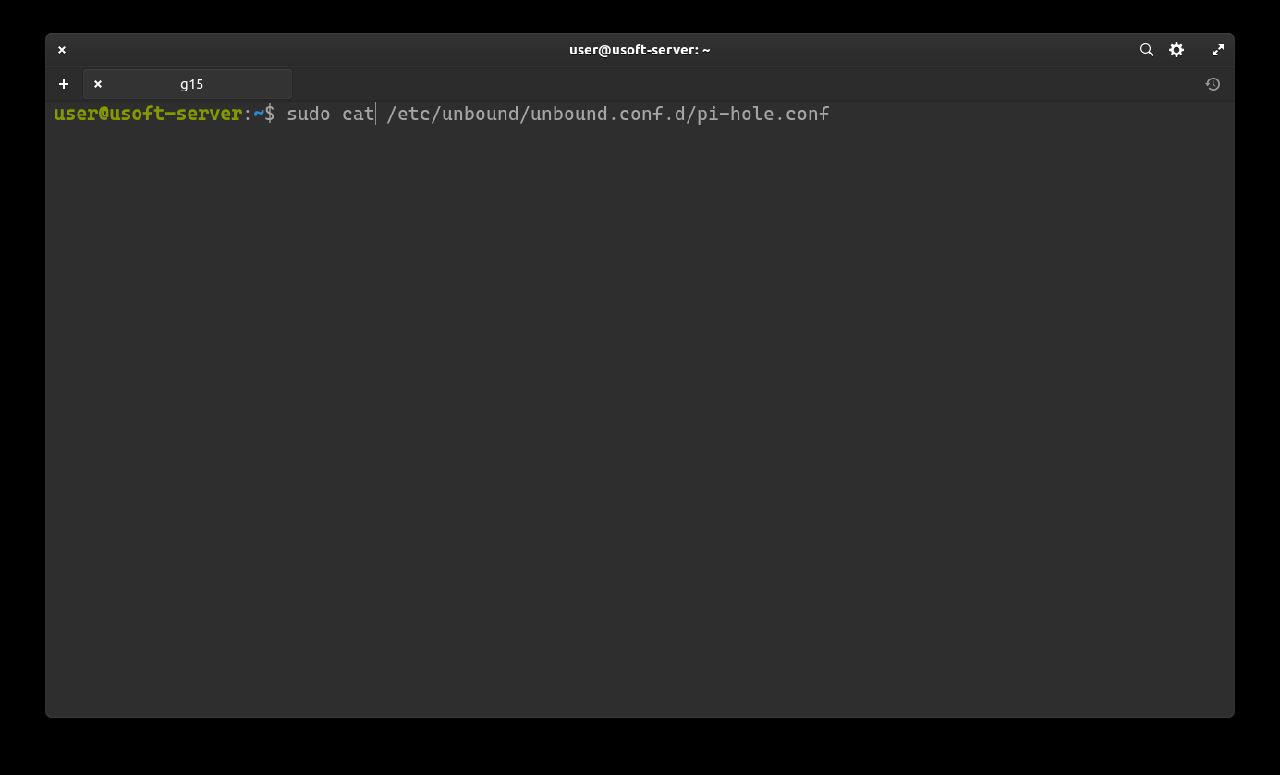
Check that it is equal to what was previously copied.
Restart Unbound service
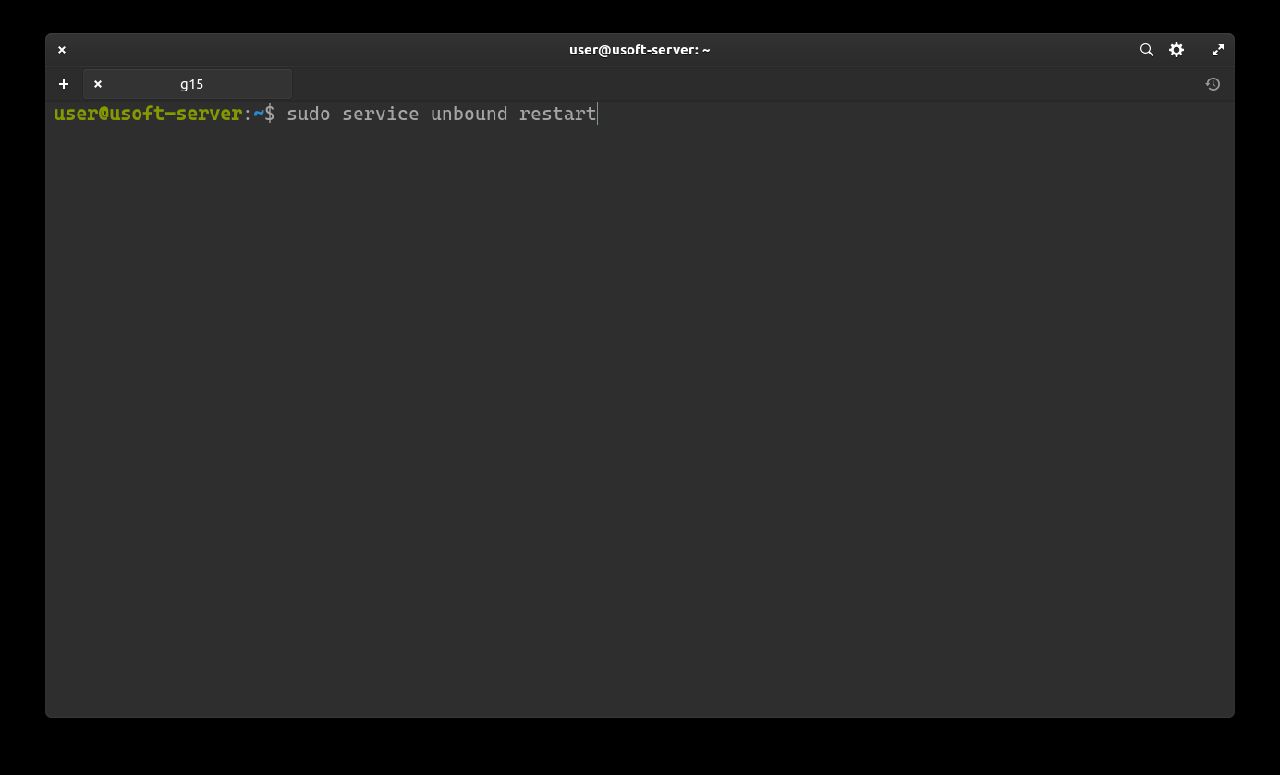
Restart Unbound to load the new configuration: sudo service unbound restart and press Enter. It may request the user password as it is launched with administrator privileges. In case affirmative, enter it and press Enter.
Check DNSSEC operation
The following commands serve to check that DNSSEC works correctly.
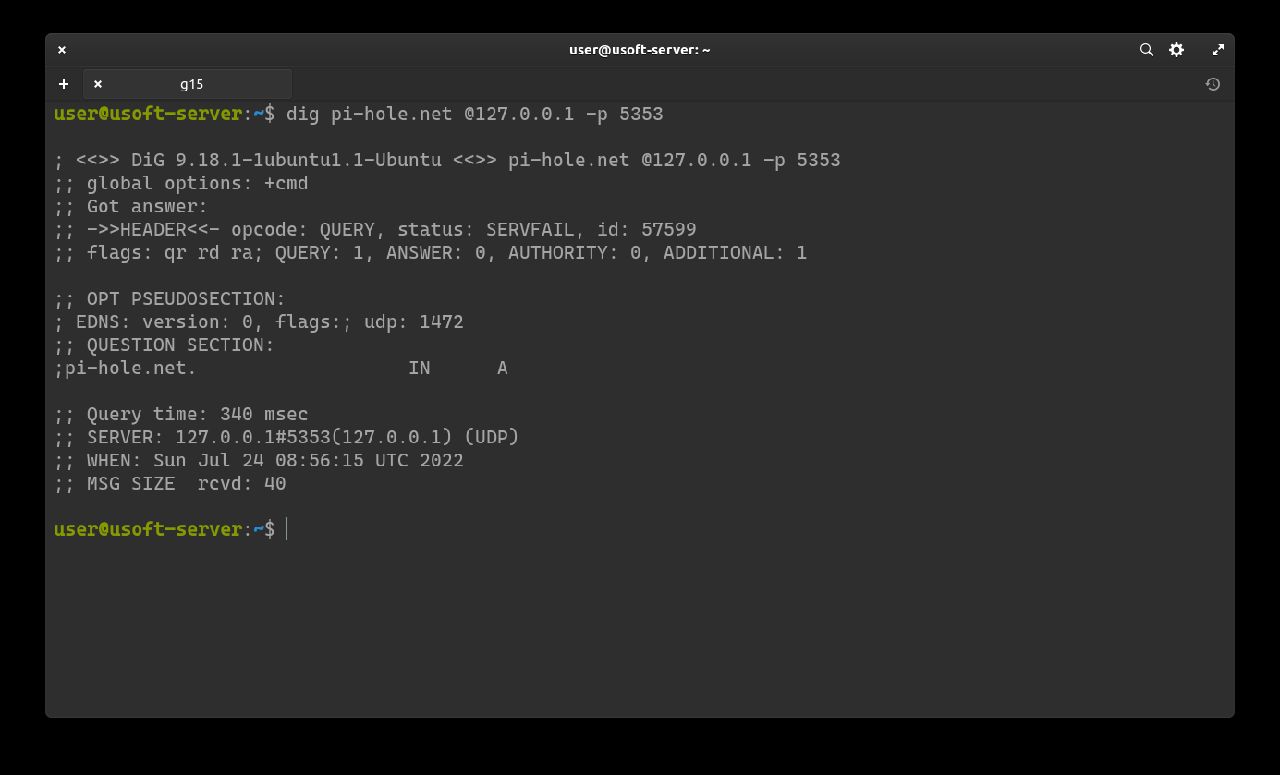
First command: dig pi-hole.net @127.0.0.1 -p 5353
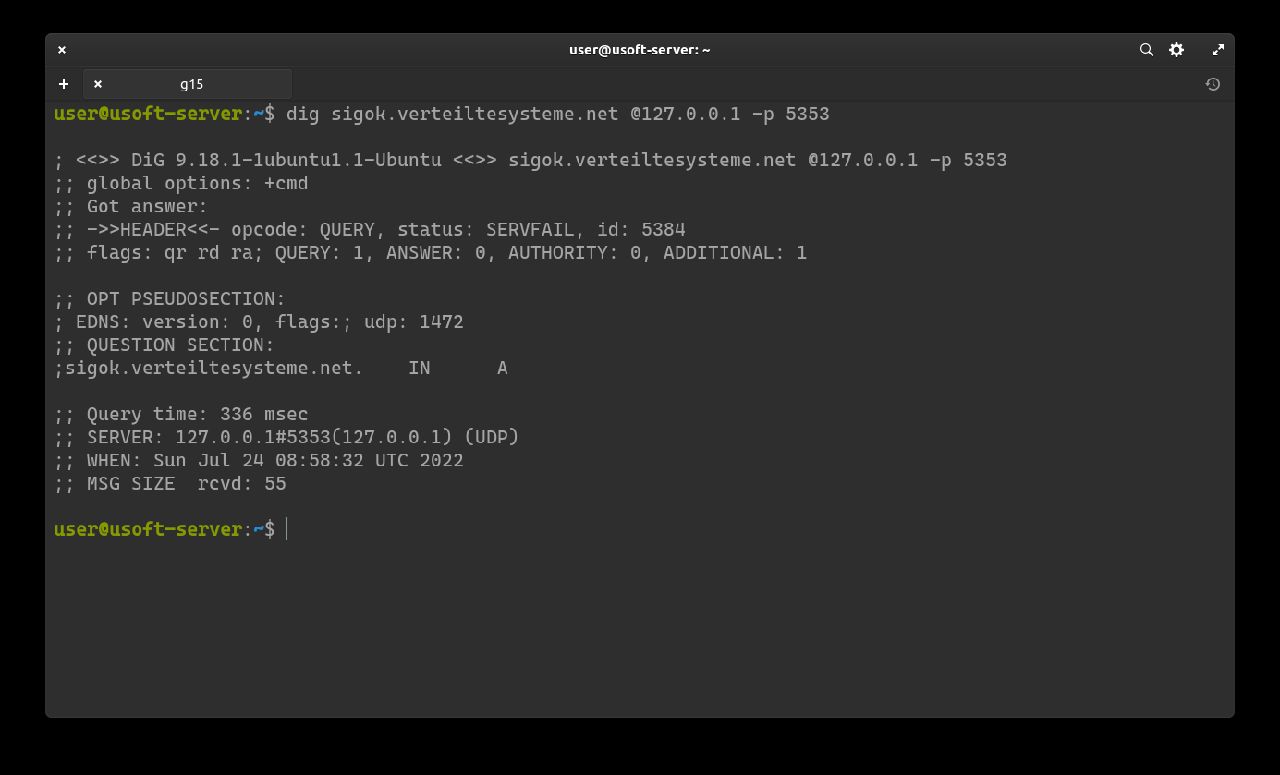
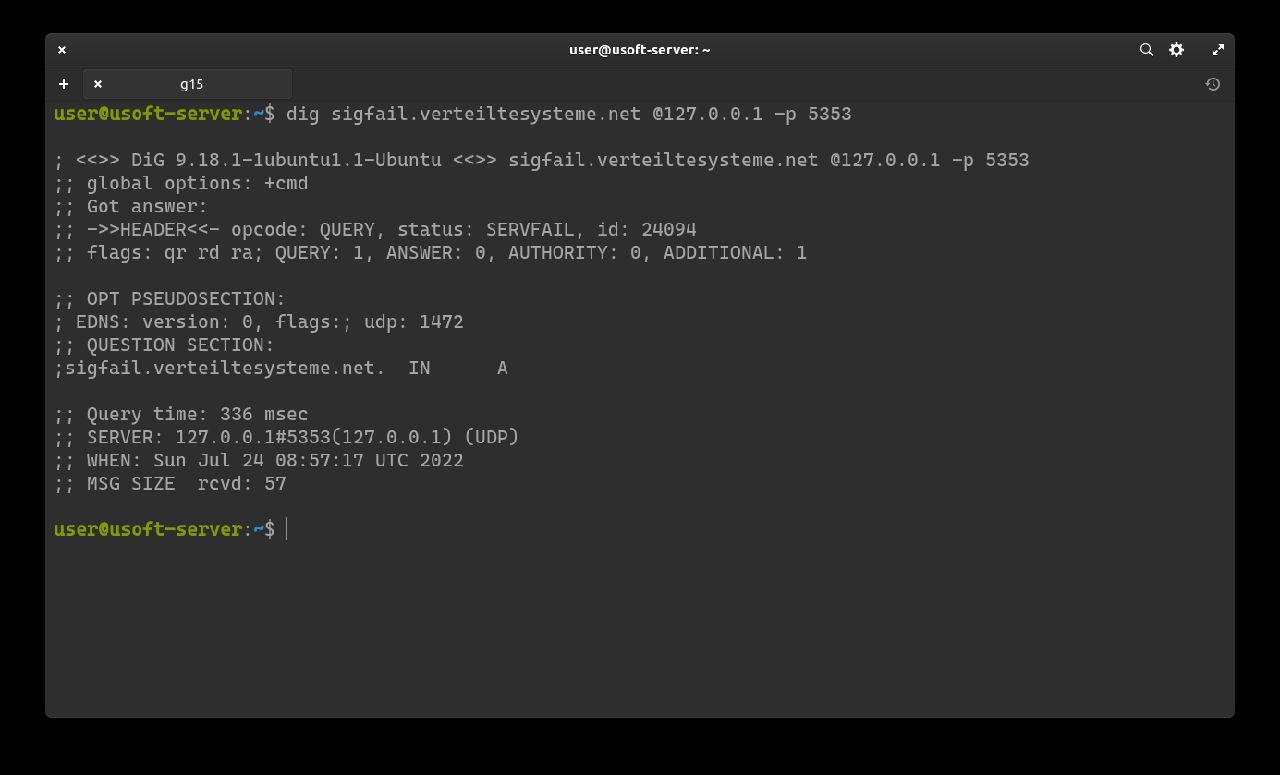
The following command should return SERVFAIL without any IP address: dig sigfail.verteiltesysteme.net @127.0.0.1 -p 5353.
This command should return NOERROR with an IP address: dig sigok.verteiltesysteme.net @127.0.0.1 -p 5353.
If both return correctly then DNSSEC is working.