In the previous part it was explained how to add two-factor authentication (2FA) for SSH access.
Pi-Hole Installation
In this phase, Pi-Hole, an open-source software, will be installed. It acts as a DNS sinkhole and optionally as a DHCP server. This application filters DNS requests to drastically reduce advertising present in web pages.
Download official repository
As the first step, download the Pi-Hole repository: git clone --depth 1 https://github.com/pi-hole/pi-hole.git Pi-hole.

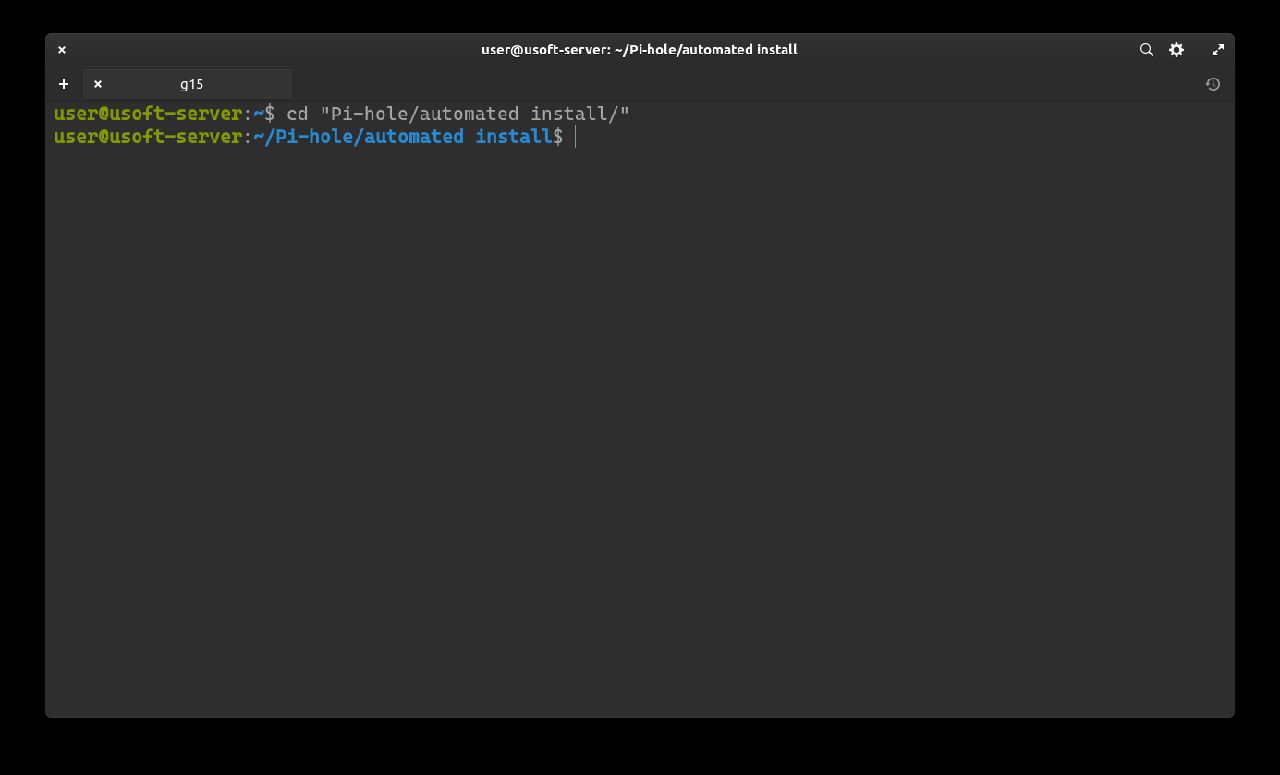
At the end of the download, enter the folder: cd 'Pi-hole/automated install/'.
Prepare Pi-Hole installation
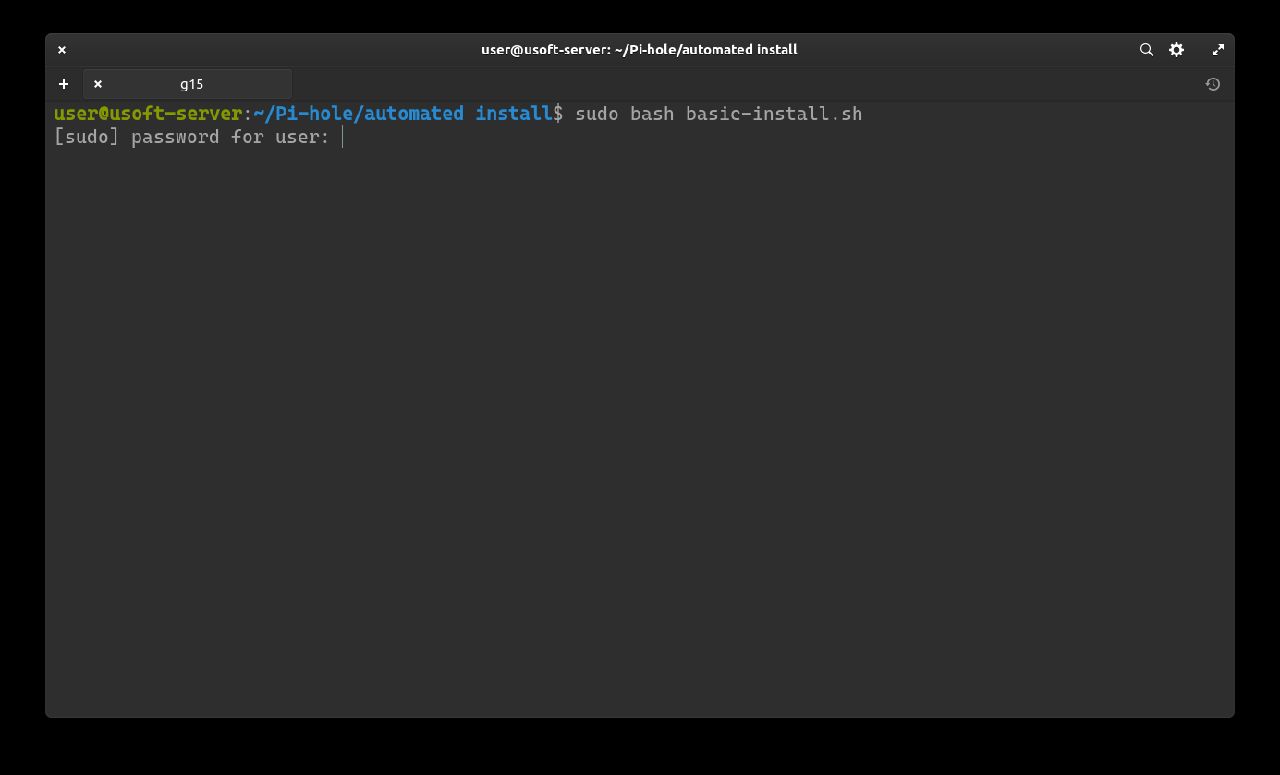
From this directory, launch the bash script: sudo bash basic-install.sh.
It may ask for the user password as it is launched with administrator privileges.
If so, enter it and press Enter.
Wait for a moment for compatibility checks and conflicts.
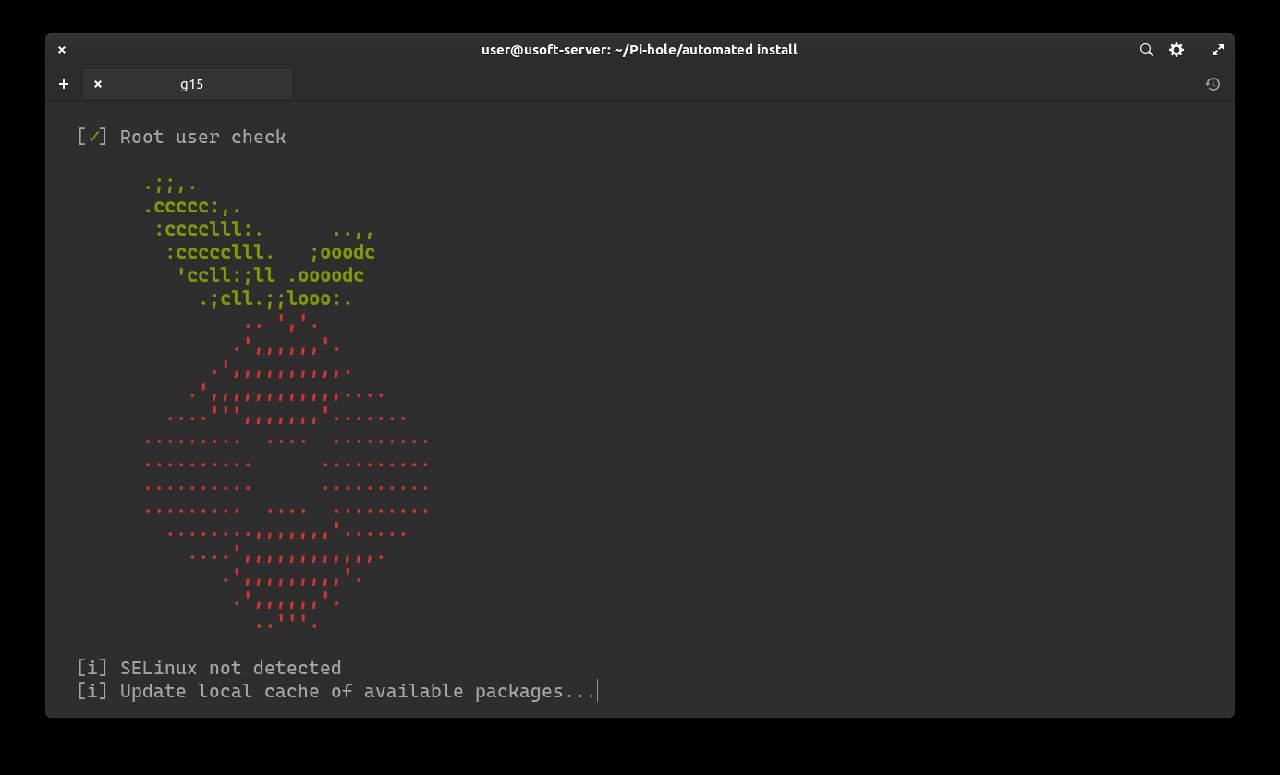
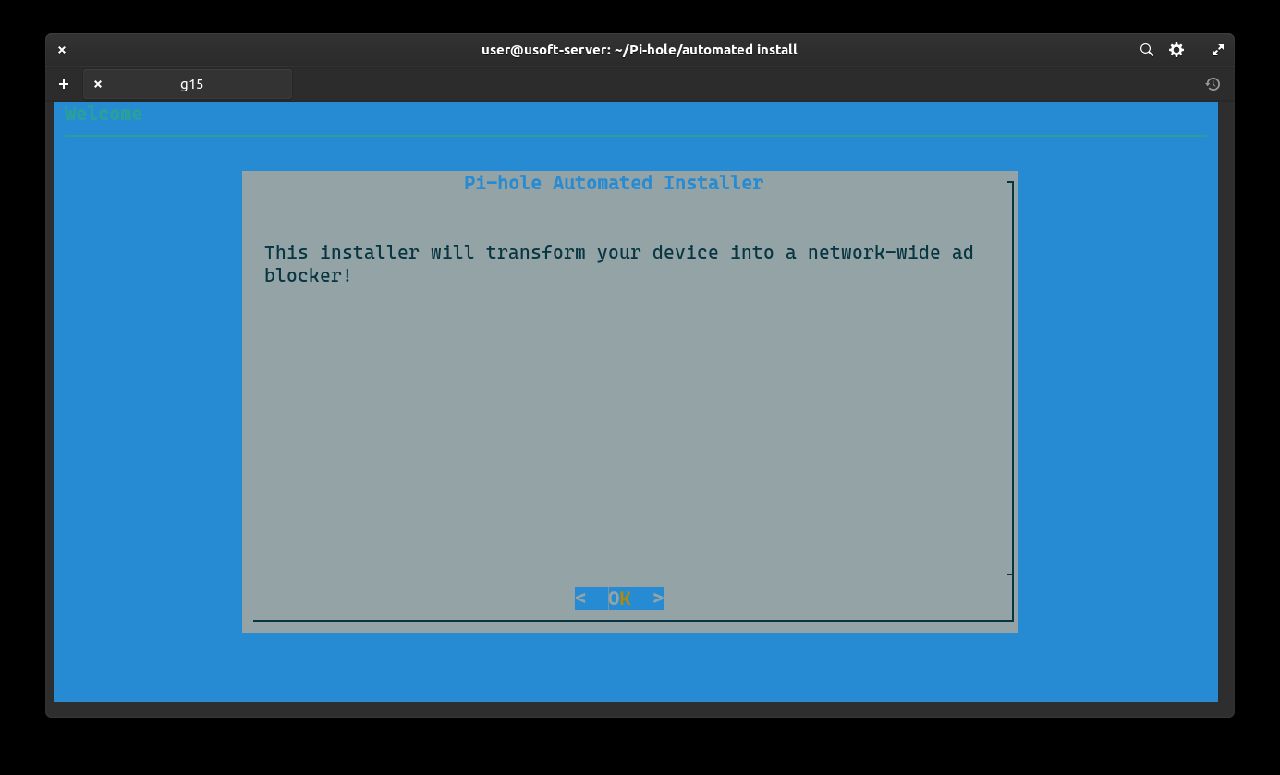
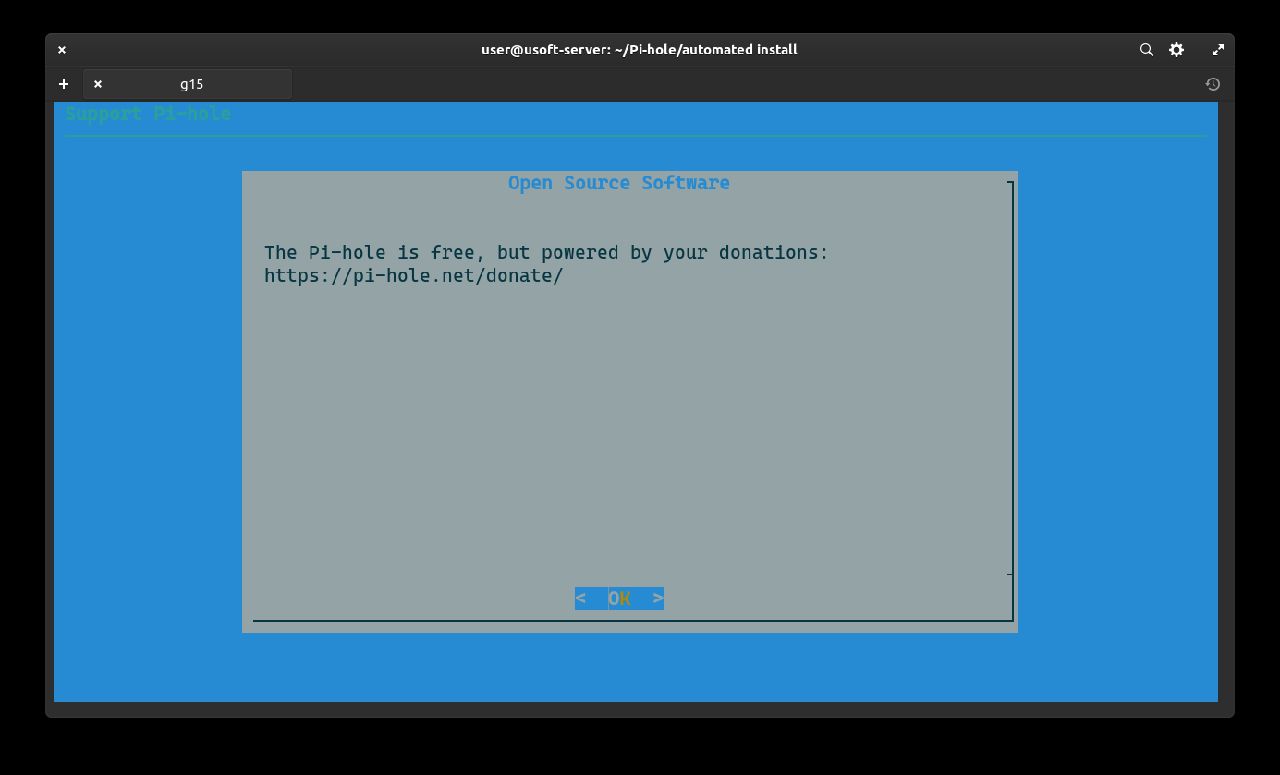
Press Enter for each of the two screens to start the configuration.
Configure Pi-Hole installation
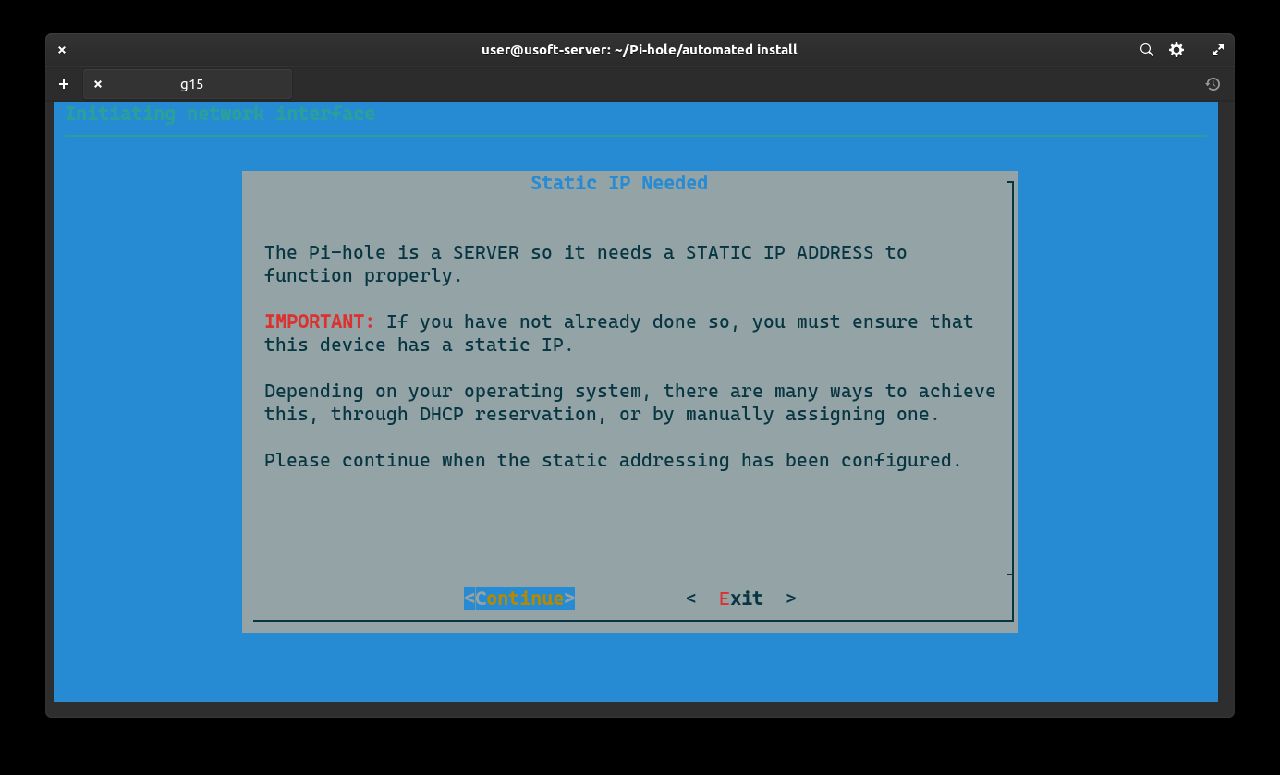
Since the router has been set as a static IP, we can confirm by selecting Continue and pressing Enter.
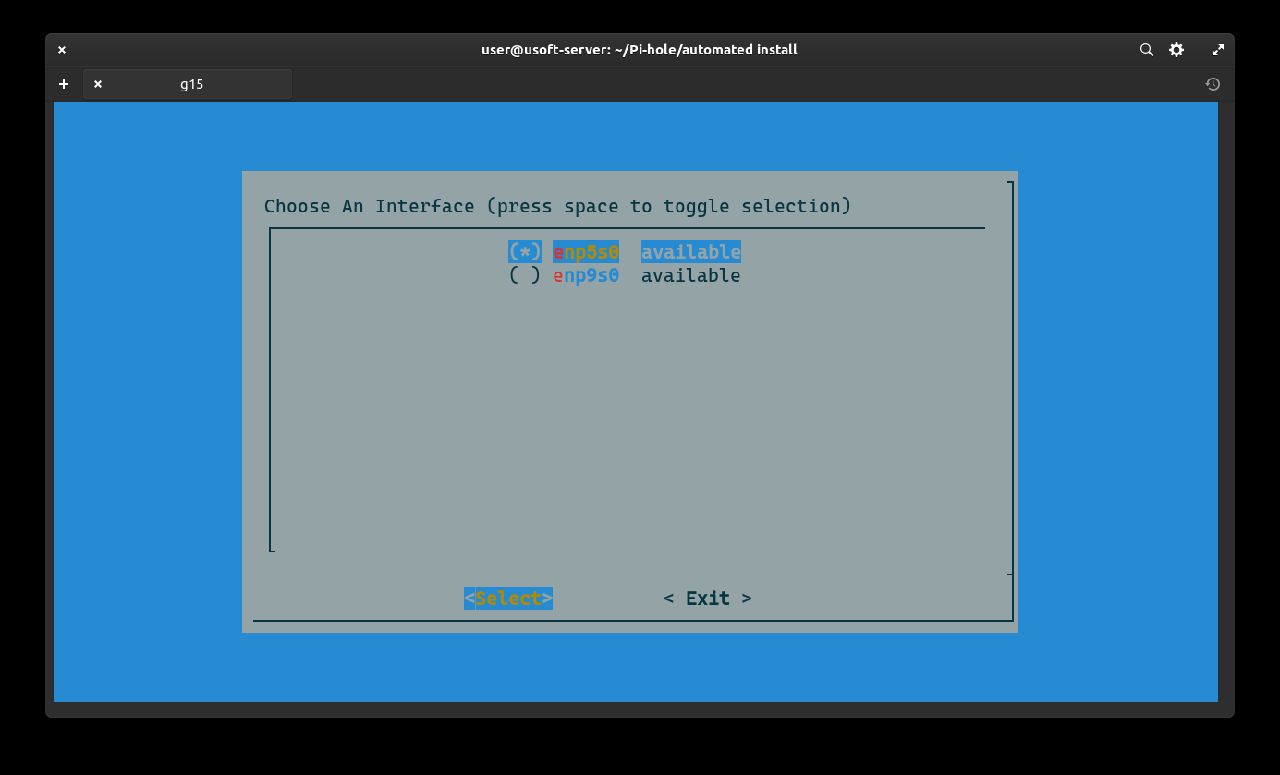
Select the same interface to which the IP used throughout the entire procedure was assigned. In this case, the first one. Press Enter to confirm.
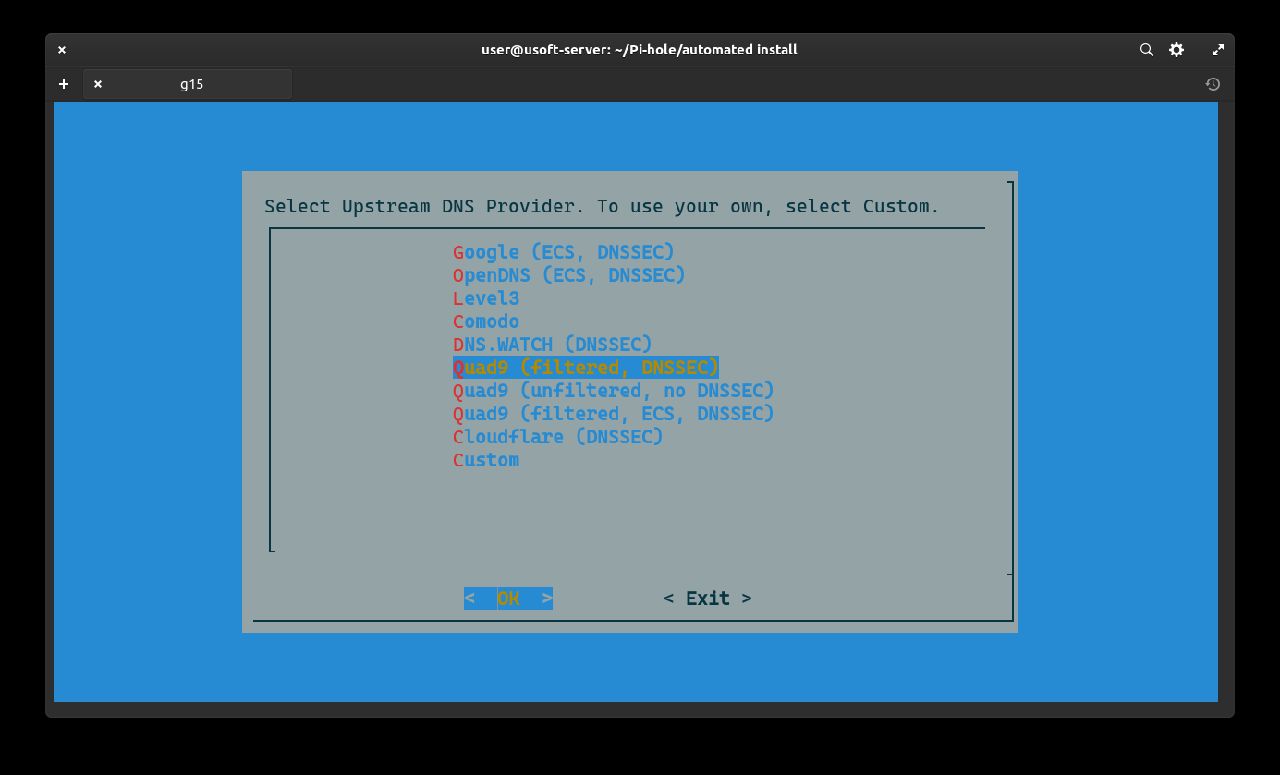
Select a temporary DNS provider. Later it will be removed as the computer with Ubuntu Server will become its own DNS resolver at port 5353 and address 127.0.0.1.
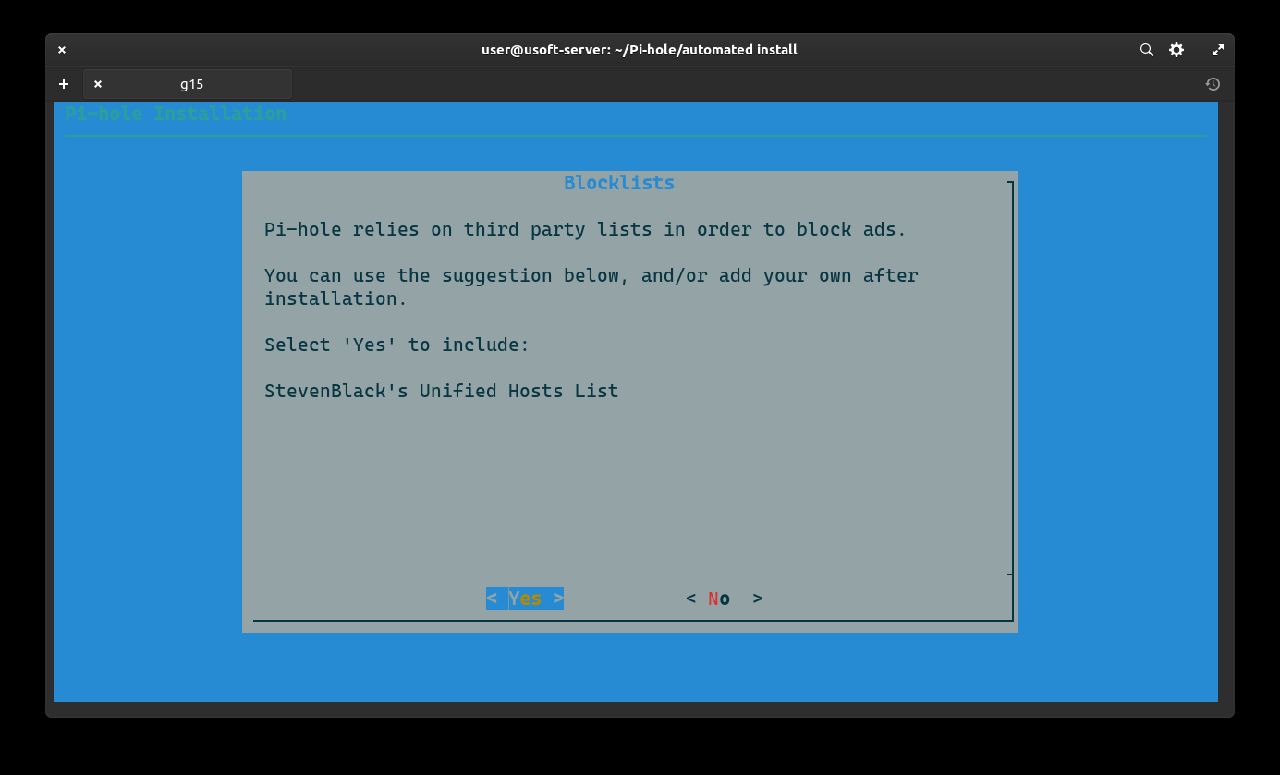
Select Yes to include third-party lists to filter content and confirm by pressing Enter.
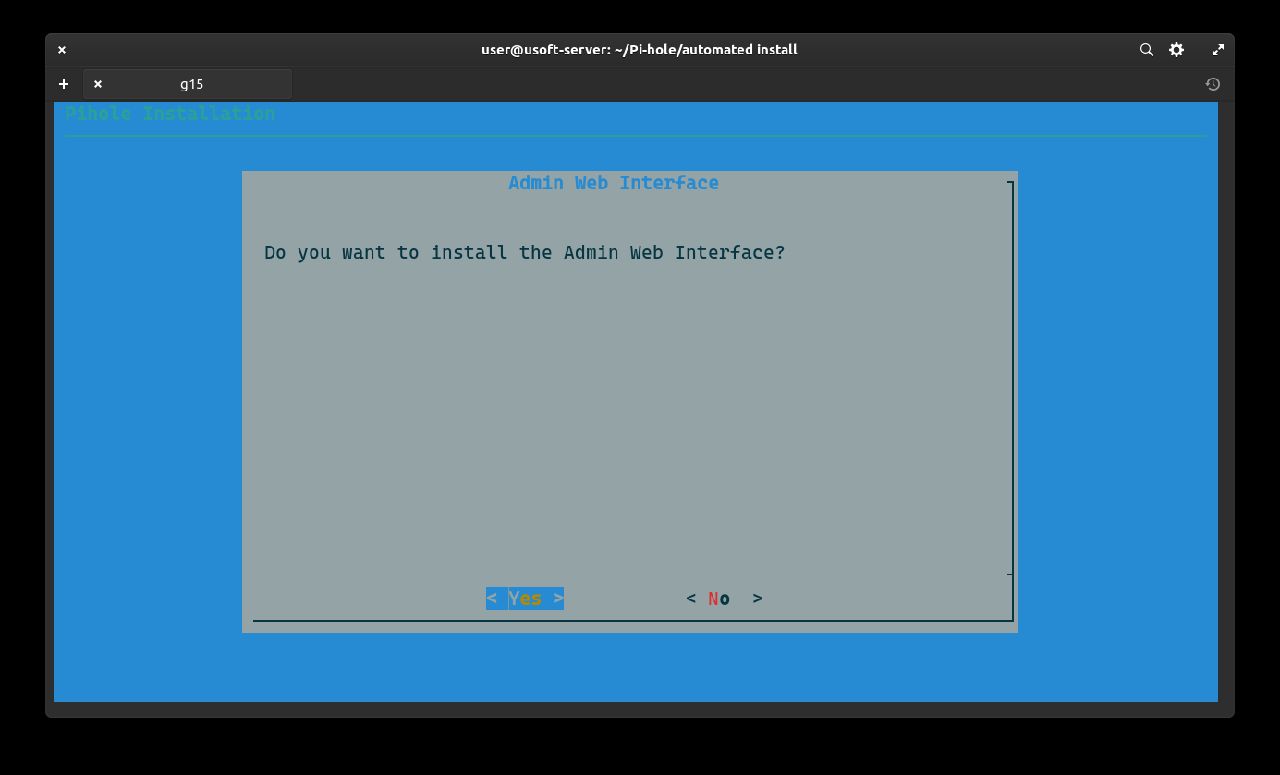
Confirm the installation of the web interface for making further changes to the settings. Select Yes and press Enter.
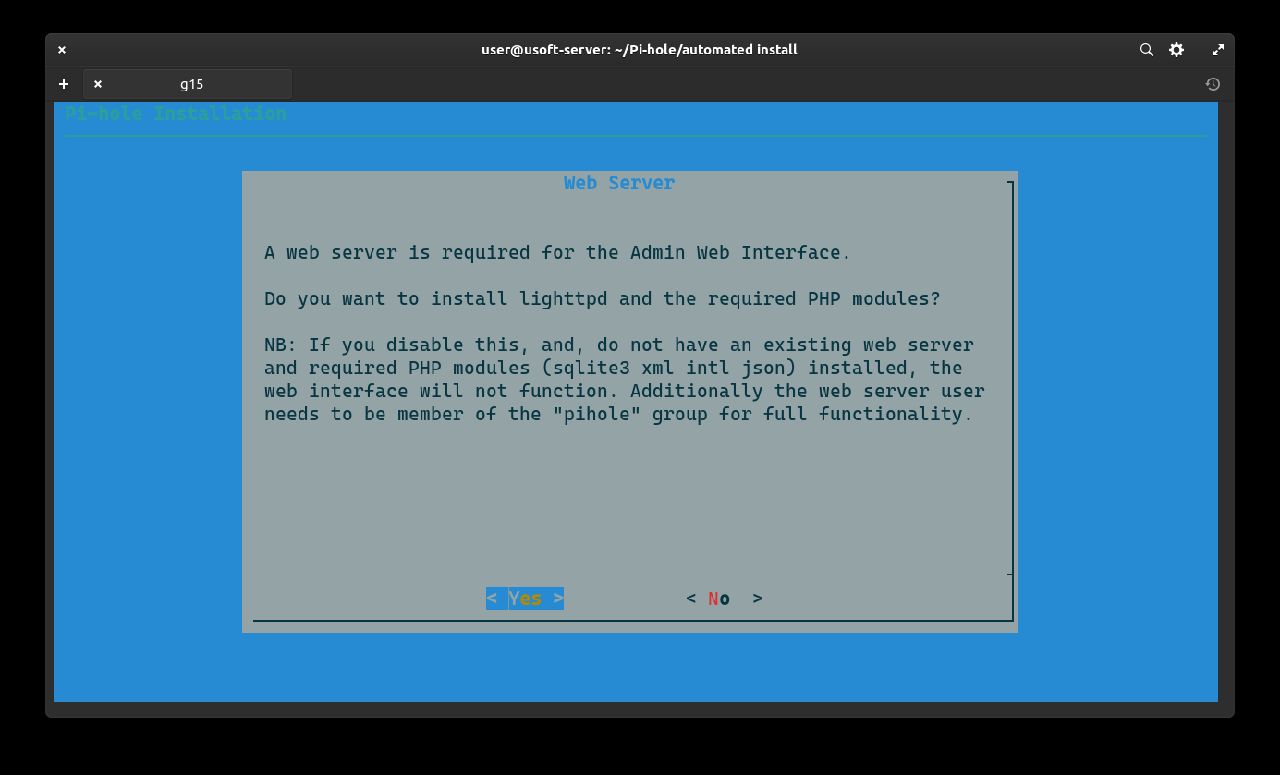
Confirm the installation of the lightweight web server lighttpd to make the web interface functional. Select Yes and press Enter.
Enable logging of queries for potential debugging of problems. Select Yes and press Enter.

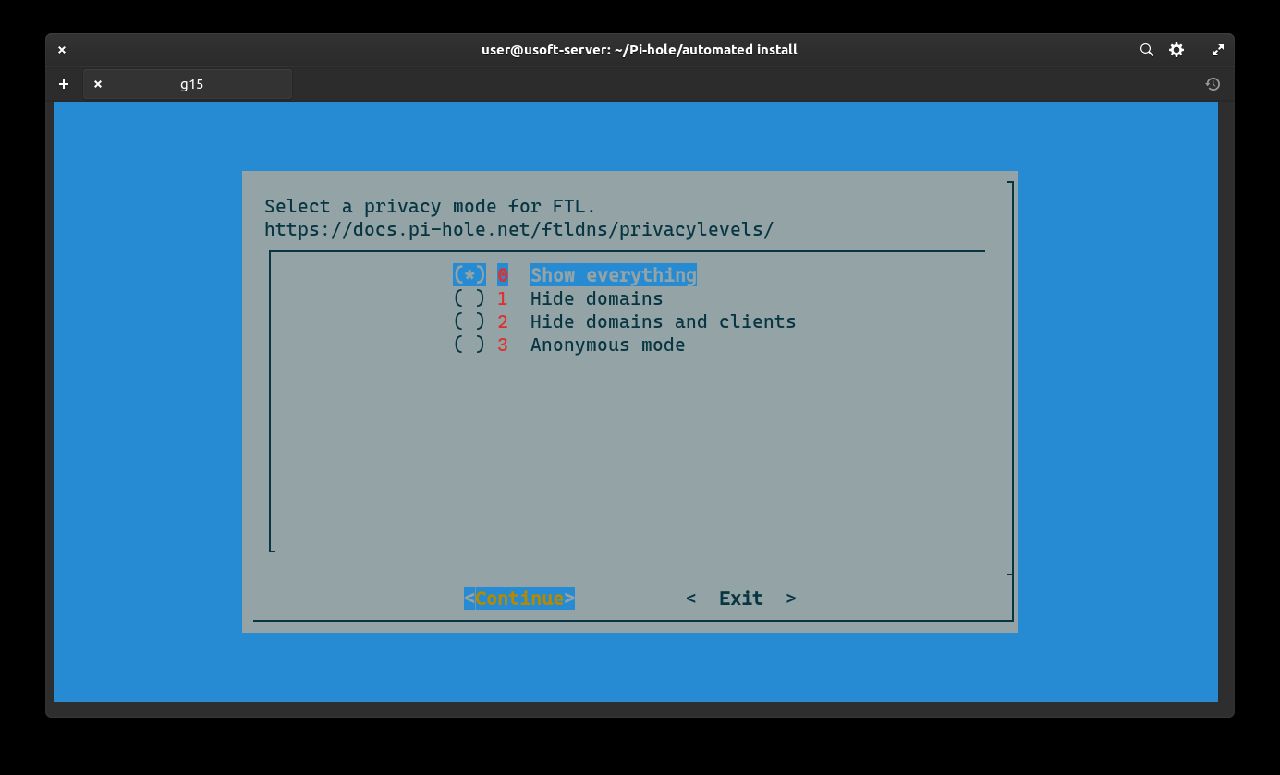
In this screen, you can choose how many contents are visible from the admin web interface. Leave the default Show everything. Select Continue and press Enter.
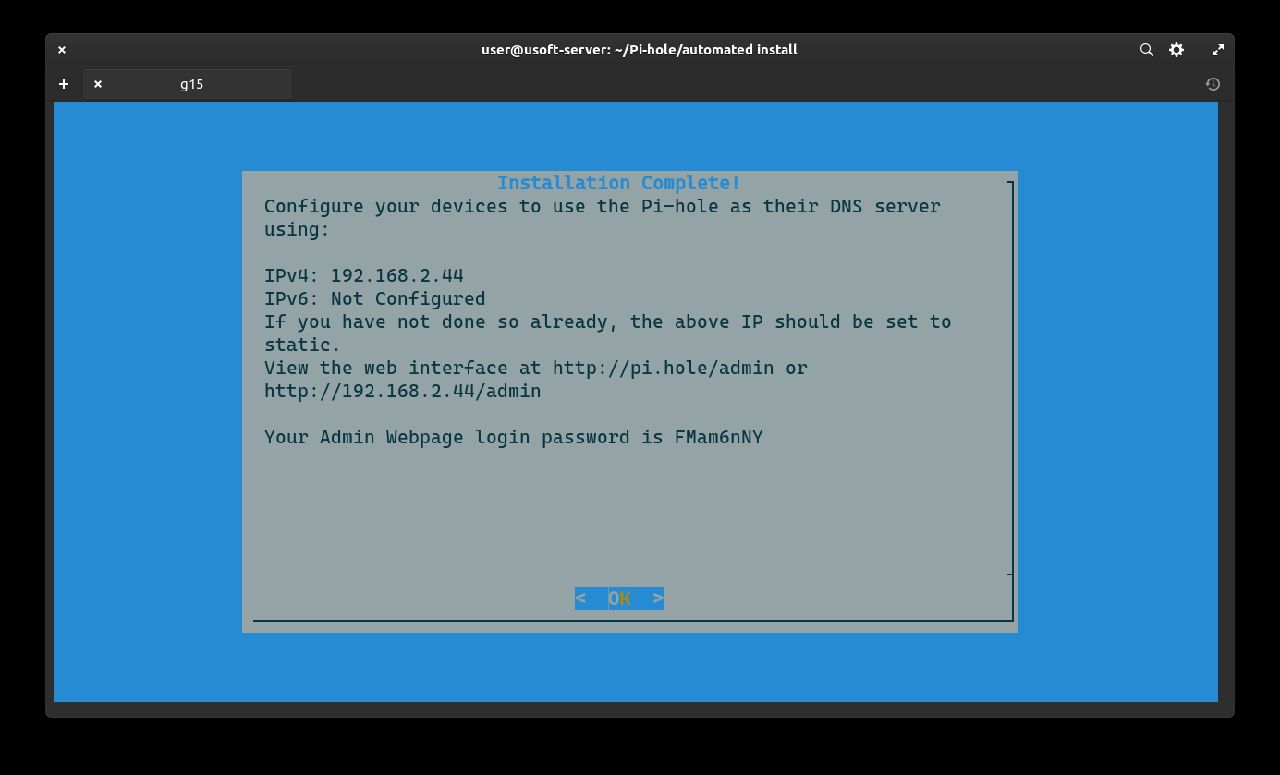
Here, the auto-generated password for logging into the web interface via the computer's IP will be displayed. It's not important to remember it since it will be changed with a longer one for security reasons later. Press Enter to continue.
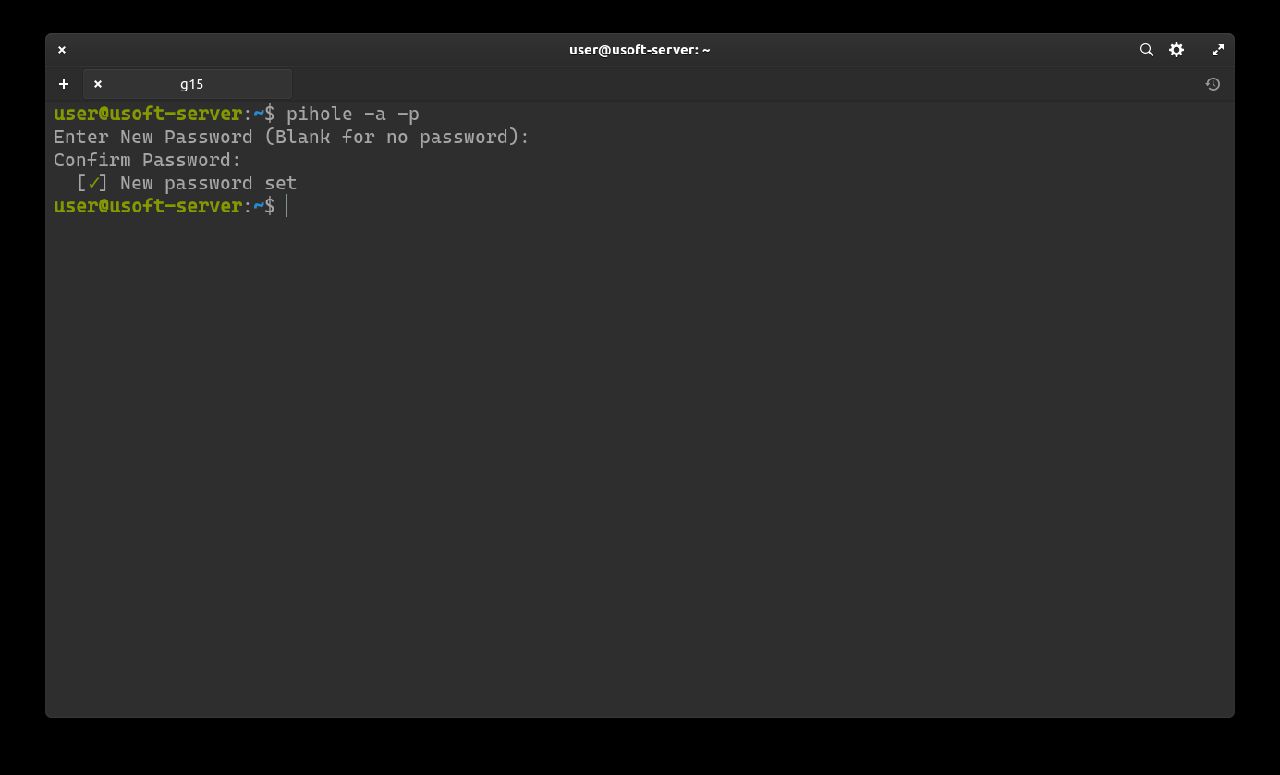
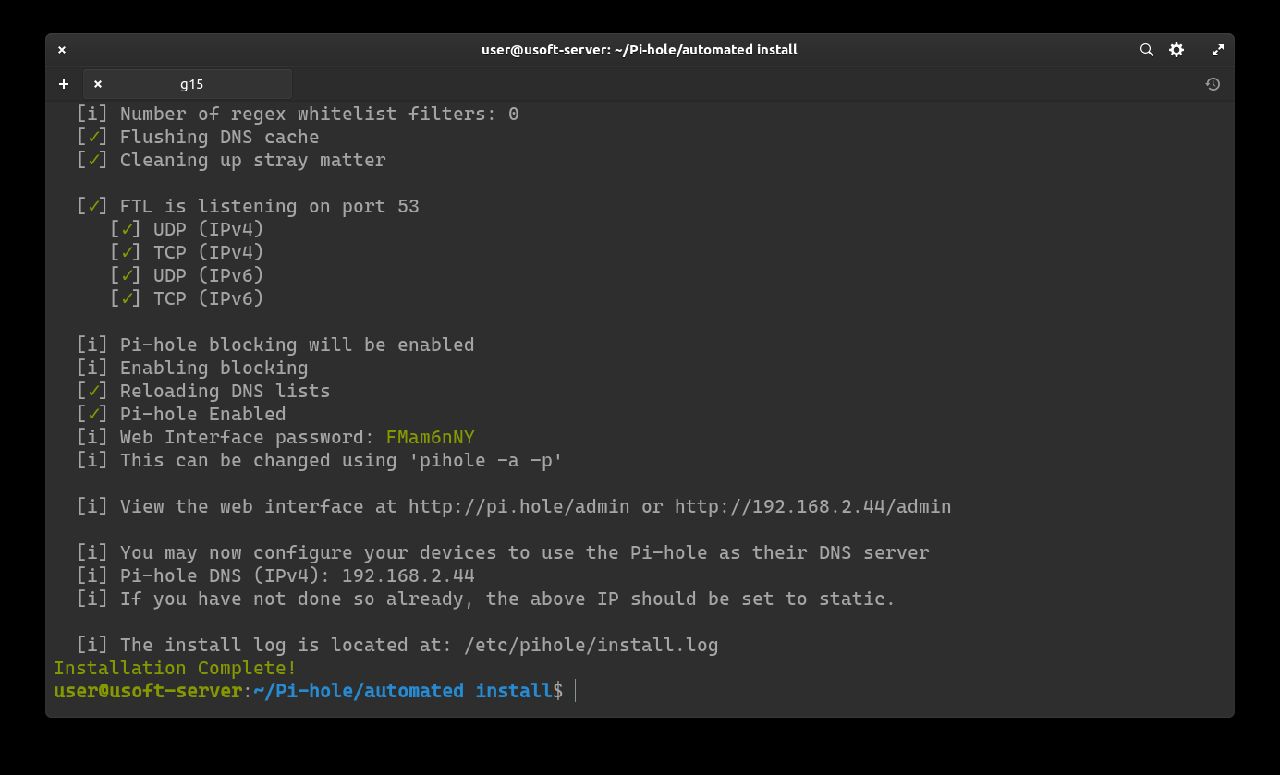
Once the Pi-Hole configuration procedure is completed, you can proceed to change the admin interface password (not to be confused with the user password).
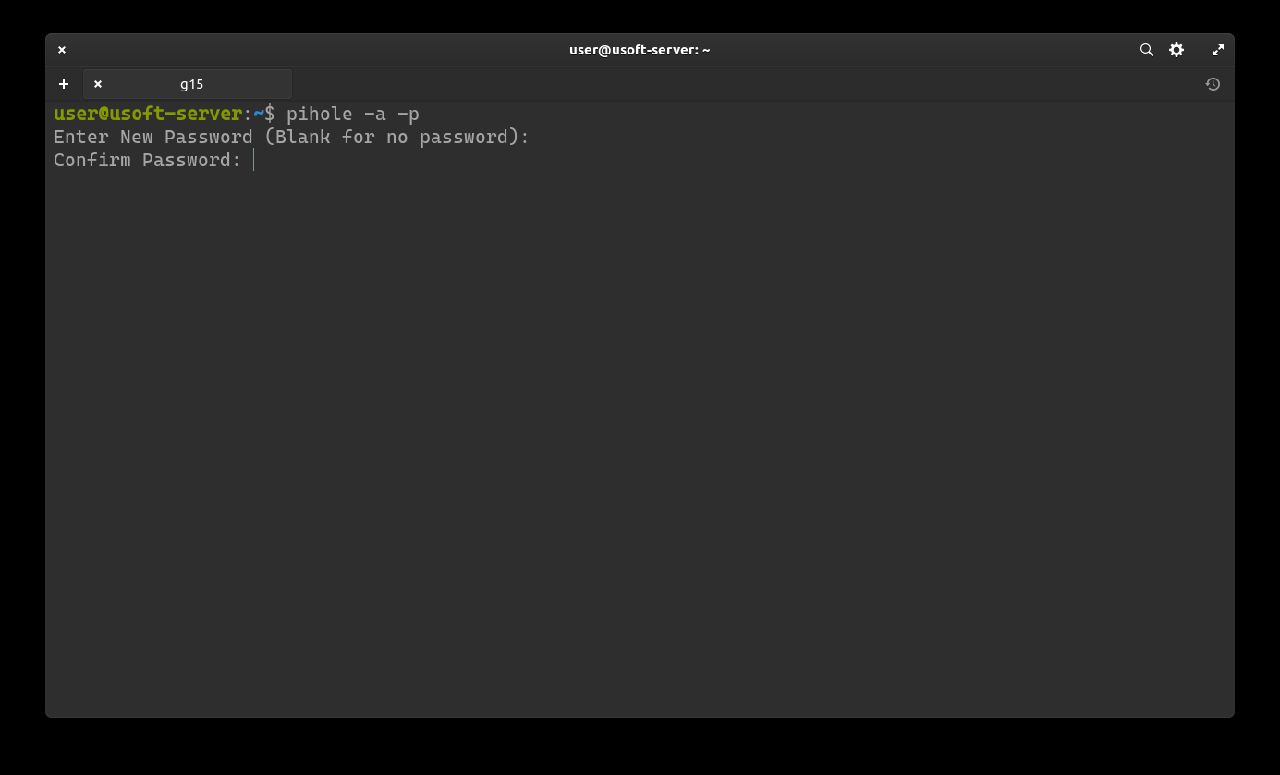
To change the Pi-Hole web interface password, use the command pihole -a -p.
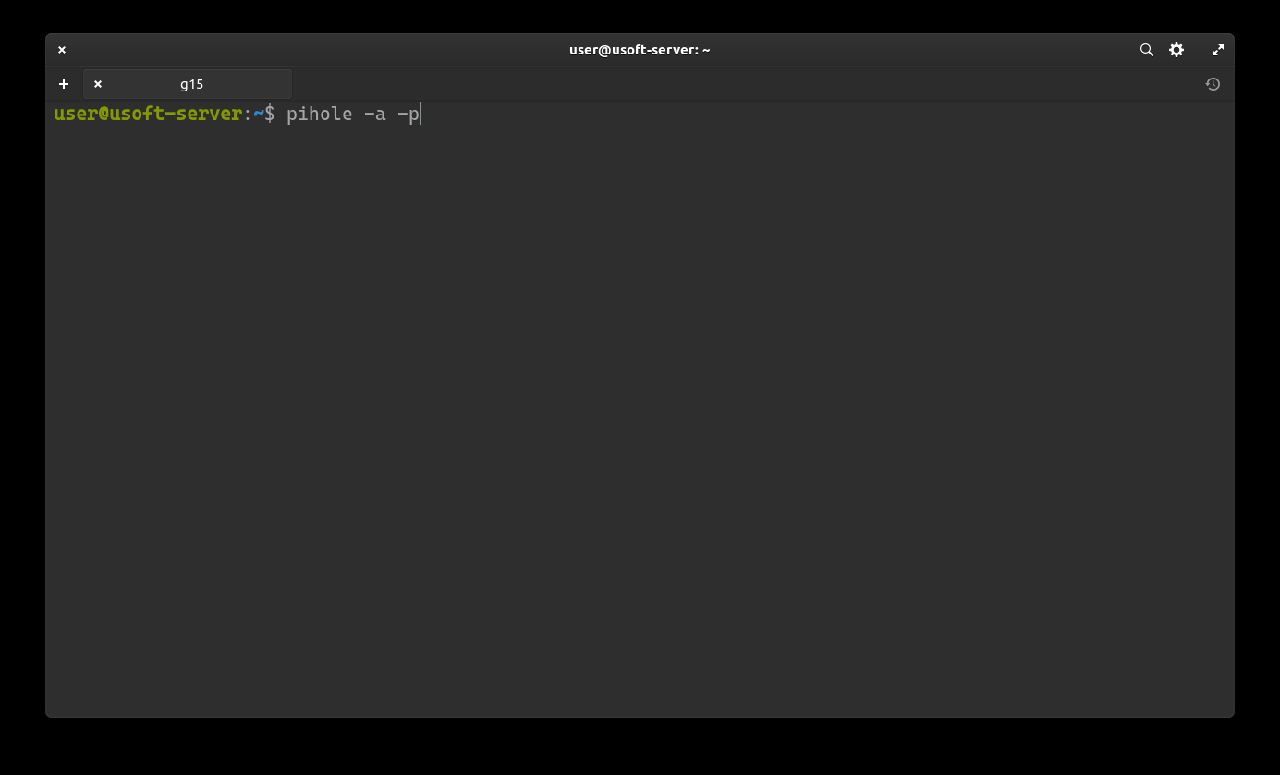
After pressing Enter, enter the password, press Enter again, re-enter the password, and finally confirm with the Enter key.
If the procedure was successful, the text New password set will appear.